Operation
3
3.
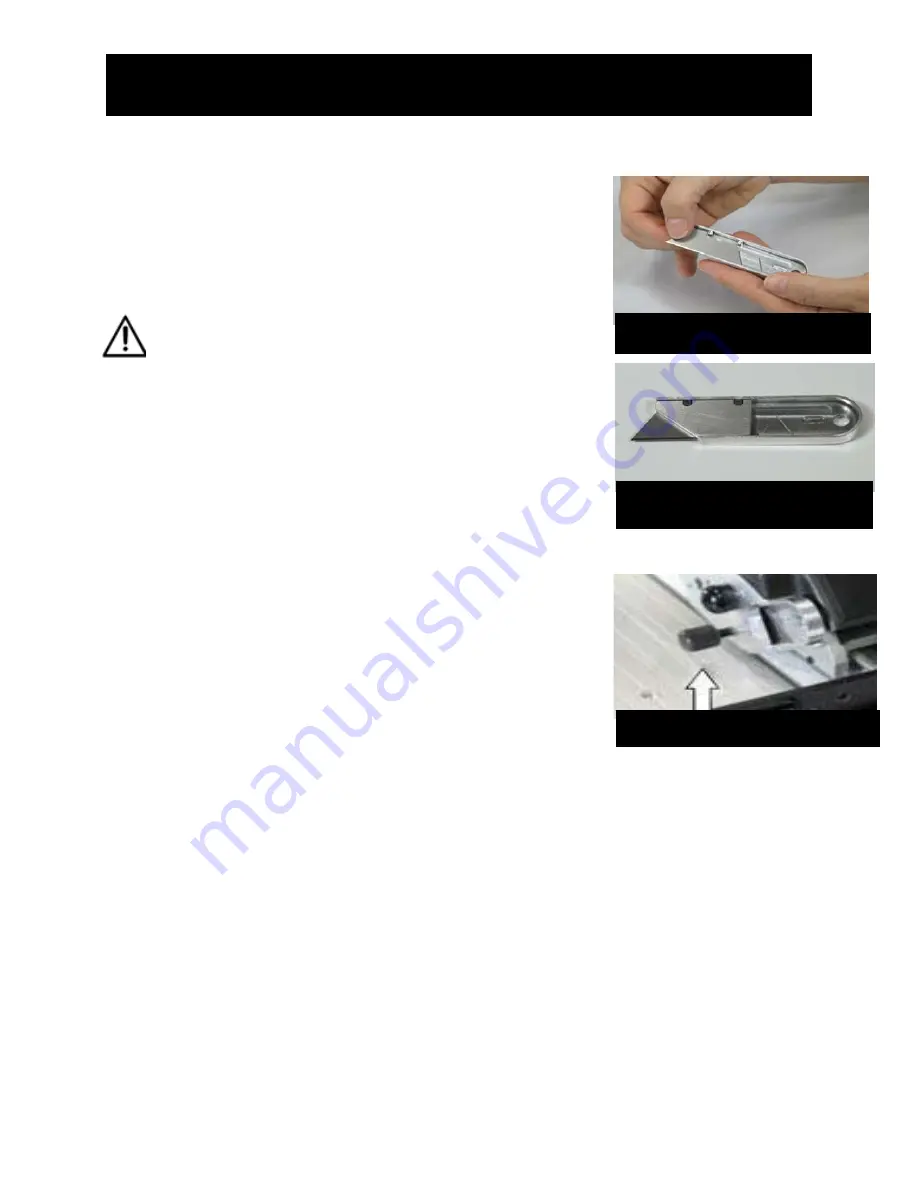
Installing the Blade
There are three (3) components to the complete blade
assembly unit: the Cutting Blade, the Magazine, and the
Blade Stiffener. Make sure you have all three parts before
continuing. When cutting material up to ¼" (7mm) thick, use
the back stop position in the Magazine. When cutting
material ¼" (7mm) to ½" (13mm) thick, use the forward stop
position in the Magazine.
CAUTION:
Blades are very sharp, so use care when
handling blades or positioning the magazine
.
1.
Locate the Blade Magazine.
2.
Remove the Blade Stiffener from its position in the
Magazine.
3.
Position the Blade in the forward stop position for
cutting thicker materials, or in the back stop position
for cutting thinner materials.
4.
Replace the Blade Stiffener, and place it on top of the
blade.
4.
Inserting the Blade Magazine
1.
Loosen the black Blade Locking Knob located on the
front of the Cutting Head.
2.
Hold the Magazine so the Blade Stiffener is facing you
and the blade is to the left.
3.
From the right side of the Cutting Head, gently slide the
Magazine into position.
4.
Tighten the black Blade Locking Knob to secure the
Magazine in place.
5.
Cutting Various Materials
The Gemini Pro can cut materials up to ½" (13mm) thick. The manual describes “pushing” or “pulling”
the Cutting Head. You may use your own judgment on the easiest method for cutting.
A.
Cutting Flexible Materials
1.
Position material under the Cutting Rail so the cutline matches up with the Guide Strip.
2.
Position the Cutting Head to its farthest left position.
3.
Place your right hand on top of the Cutting Head, and rotate the Cutting Head down so the
Blade is depressed.
4.
Pull the Cutting Head to the right until it has completed its cut.
Installing Blade
Blade in Blade Magazine
with Stiffener
Loosen Black Knob


