background image

XFE 15 150 18.0-EC

20

Instructions for use

WARNING!

Remove the battery before carrying out any 

work on the power tool.

Before switching on the polisher

Unpack the polisher and check that there 

are no missing or damaged parts.

NOTE

The batteries are not fully charged on 

delivery. Prior to initial operation, charge 

the batteries fully. Refer to the charger 

operating manual.

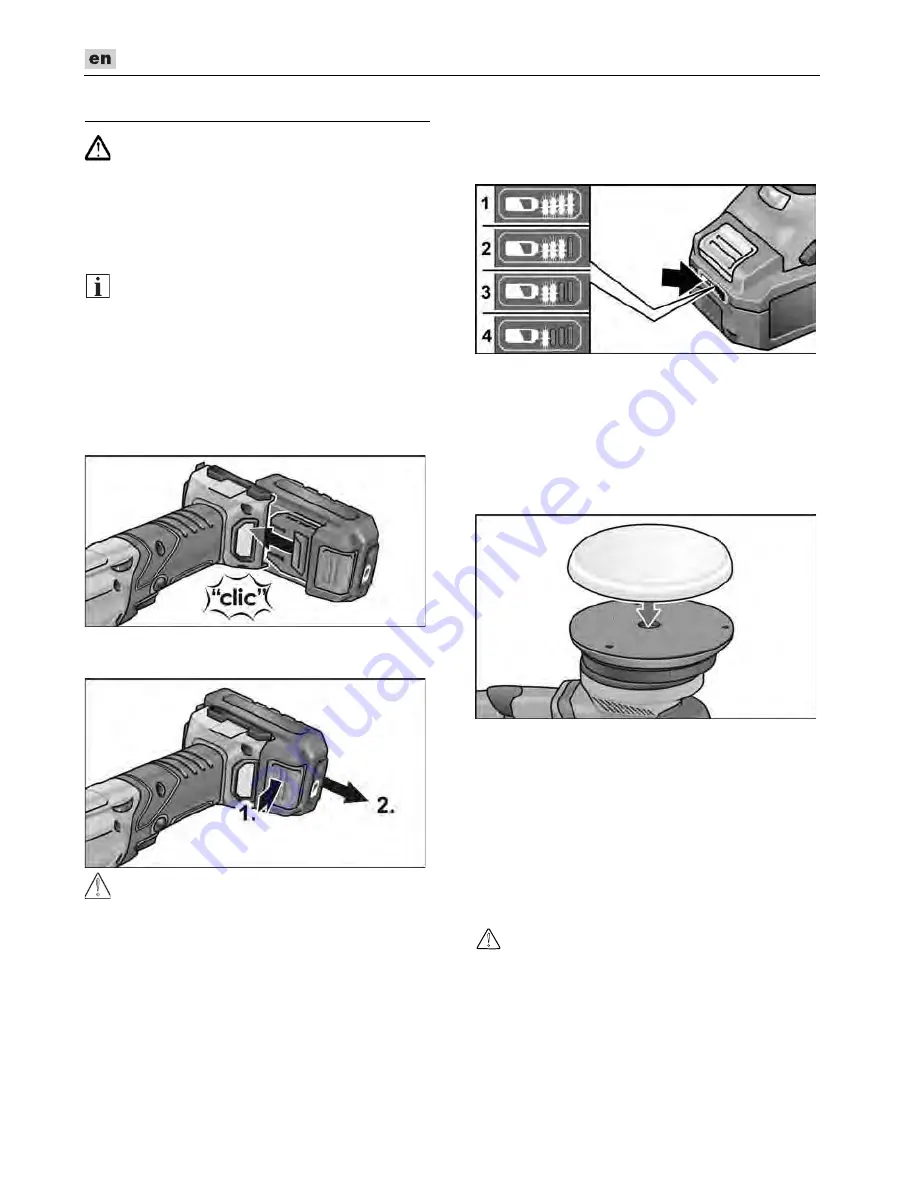
Inserting/replacing the battery

Press the charged battery into the power 

tool until it clicks into place.

To remove, press the release button (1.) 

and pull out the battery (2.).

CAUTION! 

When the device is not in use, protect the 

battery contacts. Loose metal parts may 

short-circuit the contacts; explosion and fire 

hazard!

Battery state of charge

Press the button to check the state of 

charge at the state of charge indicator 

LEDs.

he indicator goes out after 5 seconds.

If one of the LEDs flashes, the battery must 

be recharged. If none of the LEDs light up 

after the button is pressed, the battery is 

faulty and must be replaced.

Attaching/changing the tool

Remove the battery.

Firmly press polishing tool, centred on 

the eye, onto the Velcro pad. Use 

undamaged polishing tools only.

Insert the battery.

Switch on the polisher (without 

engaging it) and run the polisher for 

approx. 30 seconds. Check for 

imbalances and vibrations.

Switch off the polisher.

Attaching the tools

CAUTION!

Attach the tools in the centre of the tool 

holder. Imbalances may damage the power 

tool. The work result may be impaired.

Summary of Contents for XFE 15 15018.0-EC

Page 1: ...XFE 15 150 18 0 EC ...

Page 2: ... und Vorschriften zur Unfallverhütung Dieser Polierer ist nach dem Stand der Technik und den anerkannten sicherheitstechnischen Regeln gebaut Dennoch können bei seinem Gebrauch Gefahren für Leib und Leben des Benutzers oder Dritter bzw Schäden an der Maschine oder an anderen Sachwerten entstehen Der Polierer ist nur zu benutzen für die bestimmungsgemäße Verwendung in sicherheitstechnisch einwandfr...

Page 3: ...kzeuge Kontrollieren Sie vor jeder Verwendung Einsatzwerkzeuge wie Schleifscheiben auf Absplitterungen und Risse Schleifteller auf Risse Verschleiß oder starke Abnutzung Drahtbürsten auf lose oder gebrochene Drähte Wenn das Elektrowerkzeug oder das Einsatzwerk zeug herunterfällt überprüfen Sie ob es beschädigt ist oder verwenden Sie ein unbeschädigtes Einsatzwerkzeug Wenn Sie das Einsatzwerkzeug k...

Page 4: ...brechen oder einen Rückschlag verursachen Die Schleifscheibe bewegt sich dann auf die Bedienperson zu oder von ihr weg je nach Drehrichtung der Scheibe an der Blockierstelle Hierbei können Schleifscheiben auch brechen Ein Rückschlag ist die Folge eines falschen oder fehlerhaften Gebrauchs des Elektro werkzeugs Er kann durch geeignete Vorsichtsmaßnahmen wie nachfolgend beschrieben verhindert werden...

Page 5: ...präsentiert die hauptsächlichen Anwendungen des Elektrowerkzeugs Wenn allerdings das Elektrowerkzeug für andere Anwendungen mit abweichenden Einsatzwerkzeugen oder ungenügender Wartung eingesetzt wird kann der Schwingungspegel abweichen Dies kann die Schwingungsbelastung über den gesamten Arbeitszeitraum deutlich erhöhen Für eine genaue Abschätzung der Schwin gungsbelastung sollten auch die Zeiten...

Page 6: ...3 ohne Akku kg 2 1 Gewicht Akku AP 18 0 2 5 AP 18 0 5 0 kg kg 0 42 0 72 Durchschnittliche Akkulaufzeit abhängig von Drehzahl Werkzeugdurchmesser Belastung AP 18 0 2 5 AP 18 0 5 0 min min 20 40 A bewerteter Geräuschpegel entsprechend EN 62841 siehe Geräusch und Vibration Schalldruckpegel LpA dB A 77 Schallleistungspegel LWA dB A 88 Unsicherheit K db 3 0 Schwingungsgesamtwert entsprechend EN 62841 s...

Page 7: ... Arretiert den Schalter 5 im Dauerbetrieb 5 Schalter Zum Ein und Ausschalten sowie zum Hochfahren bis zu der vorgewählten Drehzahl 6 Filterabdeckung 7 Einschubschacht für Akku 8 Typschild 9 Telleraufnahme 10 Klettteller 11 Torx Schraubenschlüssel T15 12 Li Ion Akku 2 5 Ah oder 5 0 Ah 13 Entriegelungstaste für Akku 14 Akkuzustands Anzeige nicht dargestellt ...

Page 8: ...Kontakte kurzschließen es besteht Explosions und Brandgefahr Ladezustand des Akkus Durch Drücken der Taste kann an den LED der Akkuzustands Anzeige der Ladezustand geprüft werden Die Anzeige erlischt nach 5 Sekunden Blinkt eine der LED muss der Akku geladen werden Wenn nach dem Drücken der Taste keine LED leuchtet ist der Akku defekt und muss ersetzt werden Werkzeug befestigen oder wechseln Akku e...

Page 9: ...wird desto schneller entstehtdie Reibungswärme und Folgeschäden sind vorpogrammiert Einen solchen Verschleiß sieht man einem Schwamm äußerlich nicht an Hier hilft nur ein rechtzeitiges Austauschen und Entsorgen um Hitzeschäden am Gerät zu vermeiden Ein und Ausschalten Kurzzeitbetrieb ohne Einrasten Schalter drücken und festhalten Zum Ausschalten Schalter loslassen Dauerbetrieb mit Einrasten Abscha...

Page 10: ...zeug benutzen Weitere Informationen über die Produkte des Herstellers unter www flex tools com Ladegerät 1 Einschubschacht für Akku 2 Kontakte 3 Lüftungsschlitze 4 Display zur Anzeige des Betriebszustandes 5 Netzkabel mit Netzstecker Das Ladegerät CA 10 8 18 0 ist bestimmt zum Laden von FLEX Akkus der Typen AP 10 8 2 5 Ah AP 18 0 2 5 Ah AP 10 8 5 0 Ah AP 18 0 5 0 Ah Hinweise für eine lange Akku Le...

Page 11: ...Netzstecker ziehen HINWEIS Wenn nach dem Einsetzen des Akkus in das Ladegerät das Display blinkt liegt ein Fehler am Akku oder am Ladegerät vor Display blinkt langsam Hintergundbeleuchtung orange Der Akku ist zu heiß bzw zu kalt Wenn der Akku die Ladetemperatur 0 C 55 C erreicht hat beginnt der Ladevorgang Display blinkt schnell Hintergundbeleuchtung rot Akku aus dem Ladegerät entnehmen und wieder...

Page 12: ...und die Befestigungslöcher ausrichten 2 Schrauben eindrehen und mit Torx Schraubenschlüssel festziehen 3 Akku einsetzen Probelauf durchführen Auf Unwuchten und Vibrationen kontrollieren Reparaturen Reparaturen ausschließlich durch eine vom Hersteller autorisierte Kundendienst werkstatt ausführen lassen Ersatzteile und Zubehör HINWEIS Es dürfen nur die von FLEX freigegebenen Werkzeuge verwendet wer...

Page 13: ...keiten beim Fachhändler informieren Konformität Wir erklären in alleiniger Verantwortung dass das unter Technische Daten beschriebene Produkt mit folgenden Normen oder normativen Dokumenten übereinstimmt EN 62841 gemäß den Bestimmungen der Richtlinien 2014 30 EU 2006 42 EG und 2011 65 EU Verantwortlich für technische Unterlagen FLEX Elektrowerkzeuge GmbH R D Bahnhofstrasse 15 D 71711 Steinheim Mur...

Page 14: ...power tools in the enclosed booklet leaflet no 315 915 the currently valid site rules and the regulations for the prevention of accidents This polisher is state of the art and has been constructed in accordance with the acknowledged safety regulations Nevertheless when in use the power tool may be a danger to life and limb of the user or a third party or the power tool or other property may be dam...

Page 15: ...urself and bystanders away from the plane of the rotating accessory and run the power tool at maximum no load speed for one minute Damaged accessories will normally break apart during this test time Wear personal protective equipment Depending on application use face shield safety goggles or safety glasses As appropriate wear dust mask hearing protectors gloves and workshop apron capable of stoppi...

Page 16: ...a tendency to snag the rotating accessory and cause loss of control or kickback Do not attach a saw chain woodcarving blade or toothed saw blade Such blades create frequent kickback and loss of control Safety Warnings Specific for Polishing Operations Do not allow any loose portion of the polishing bonnet or its attachment strings to spin freely Tuck away or trim any loose attachment strings Loose...

Page 17: ...edure 01 2003 without battery kg 2 1 Weight of battery AP 18 0 2 5 AP 18 0 5 0 kg kg 0 42 0 72 Average battery life depending on speed tool diameter load AP 18 0 2 5 AP 18 0 5 0 min min 20 40 A weighted sound pressure level according to EN 62841 see Noise and vibration Sound pressure level LpA dB A 77 Sound power level LWA dB A 88 Uncertainty K db 3 0 Total vibration value according to EN 62841 se...

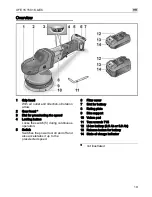
Page 18: ...on Locks the switch 5 during continuous operation 5 Switch Switches the power tool on and off and also accelerates it up to the preselected speed 6 Filter cover 7 Slot for battery 8 Rating plate 9 Disc support 10 Velcro pad 11 Torx wrench T15 12 Li ion battery 2 5 Ah or 5 0 Ah 13 Release button for battery 14 State of charge indicator not illustrated ...

Page 19: ...s may short circuit the contacts explosion and fire hazard Battery state of charge Press the button to check the state of charge at the state of charge indicator LEDs he indicator goes out after 5 seconds If one of the LEDs flashes the battery must be recharged If none of the LEDs light up after the button is pressed the battery is faulty and must be replaced Attaching changing the tool Remove the...

Page 20: ...heat Subsequent damage is inevitable Wear of this kind cannot be seen on the foam externally The only reliable action is replacement and disposal in good time to prevent thermal damage to the power tool Switch on and off Brief operation without engaged switch rocker Press and hold down the switch To switch off release the switch Continuous operation with engaged switch rocker Switching off removin...

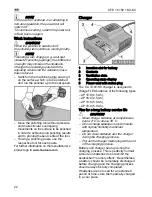
Page 21: ...l for each paste For further information on the manufacturer s products go to www flex tools com Charger 1 Insertion slot for battery 2 Contacts 3 Ventilation slots 4 Operating state display 5 Power cord with mains plug The CA 10 8 18 0 charger is designed to charge FLEX batteries of the following types AP 10 8 2 5 Ah AP 18 0 2 5 Ah AP 10 8 5 0 Ah AP 18 0 5 0 Ah Tips for a long battery service lif...

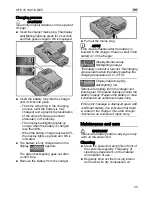
Page 22: ...ug NOTE If the display flashes after the battery is inserted in the charger there is a fault in the battery or in the charger Display flashes slowly Backlighting orange The battery is too hot or too cold The charging process starts when the battery reaches the charging temperature 0 C 55 C Display flashes rapidly Backlighting red Remove the battery from the charger and insert again If the same dis...

Page 23: ... Velcro pad and align securing holes 2 Insert screws and tighten with Torx wrench 3 Insert the battery Carry out test run Check for imbalances and vibrations Repairs Repairs may be carried out by an authorised customer service centre only Spare parts and accessories NOTE Only the tools released by FLEX may be used For other accessories in particular tools and polishing aids see the manufacturer s ...

Page 24: ...of Conformity We declare under our sole responsibility that the product described under Technical specifications conforms to the following standards or normative documents EN 62841 in accordance with the regu lations of the directives 2014 30 EU 2006 42 EC and 2011 65 EU Responsible for technical documents FLEX Elektrowerkzeuge GmbH R D Bahnhofstrasse 15 D 71711 Steinheim Murr 26 03 2018 FLEX Elek...

Page 25: ...460 362 03 2018 Für Druckfehler keine Gewähr Technische Änderungen vorbehalten ...

Reviews: