


Leave the replacement battery in its original packaging until ready to use. Please reference the battery
storage guidelines (section 2.3). Only use replacement batteries supplied by Flexco. Keep batteries in
original packaging until ready to replace.
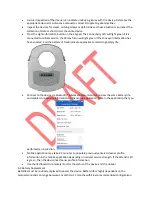
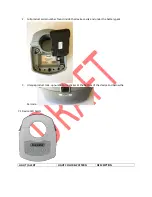
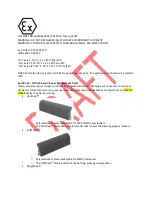
Remove the device
. Completely remove the device from the cleaner to change the battery. DO
NOT attempt to open the back panel of the device while the device is attached to the cleaner.
Use a T40 6-lobe (Torx) driver on the top cap screws.
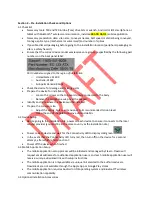
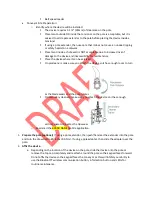
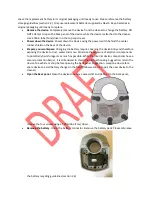
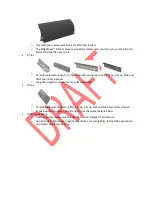
Power down the device
. Power down the device using the power switch behind the center
rubber shield on the back of the device.
Prepare your workspace
. Changing the battery requires opening the device body and therefore
exposing the device to dust, water and more. Minimize the exposure of electronic components
to potentially harmful agents as much as possible. While the internal device components have a
second protection barrier, it is still advised to shield the internal housing. Suggestion: return the
device to a vehicle or shop before opening the back panel. Suggestion: swap one device for a
spare device to avoid battery changes in the field (follow section 4 to pair the new device to the
cleaner).
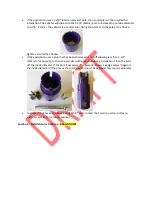
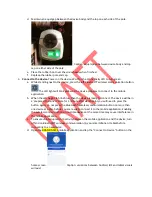
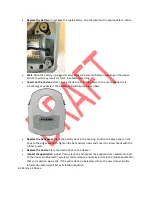
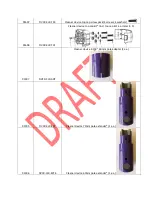
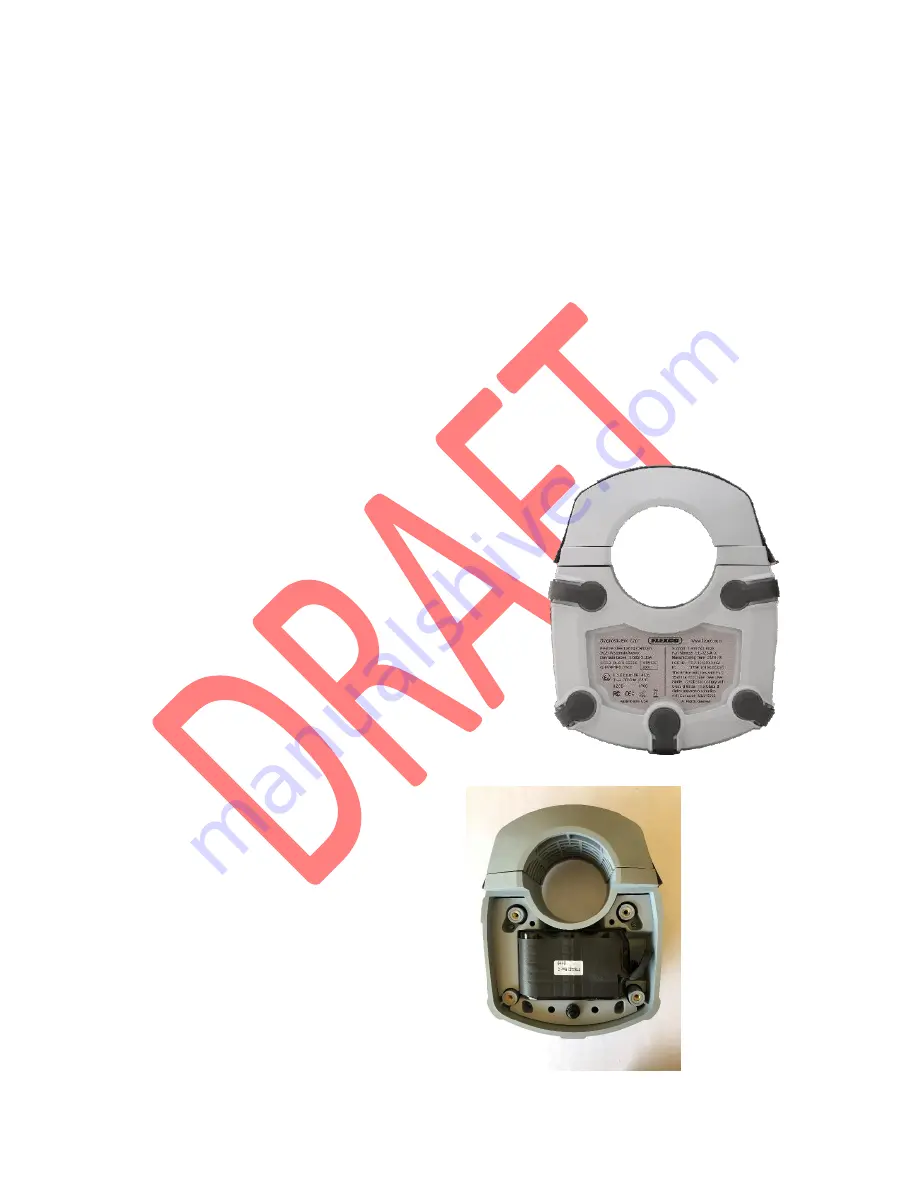
Open the back panel
. Clean the device to remove excess dirt and debris. On the back panel,
remove the four screws using a T20 6-lobe (Torx) driver.
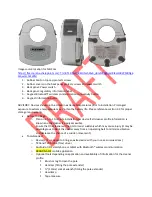
Remove the battery
. Unclip the battery connector. Remove the battery pack. Please reference
the battery recycling guidelines (section 2.4).


