13
6.4 Blade Replacement Instructions (cont.)
Section 6 – Maintenance
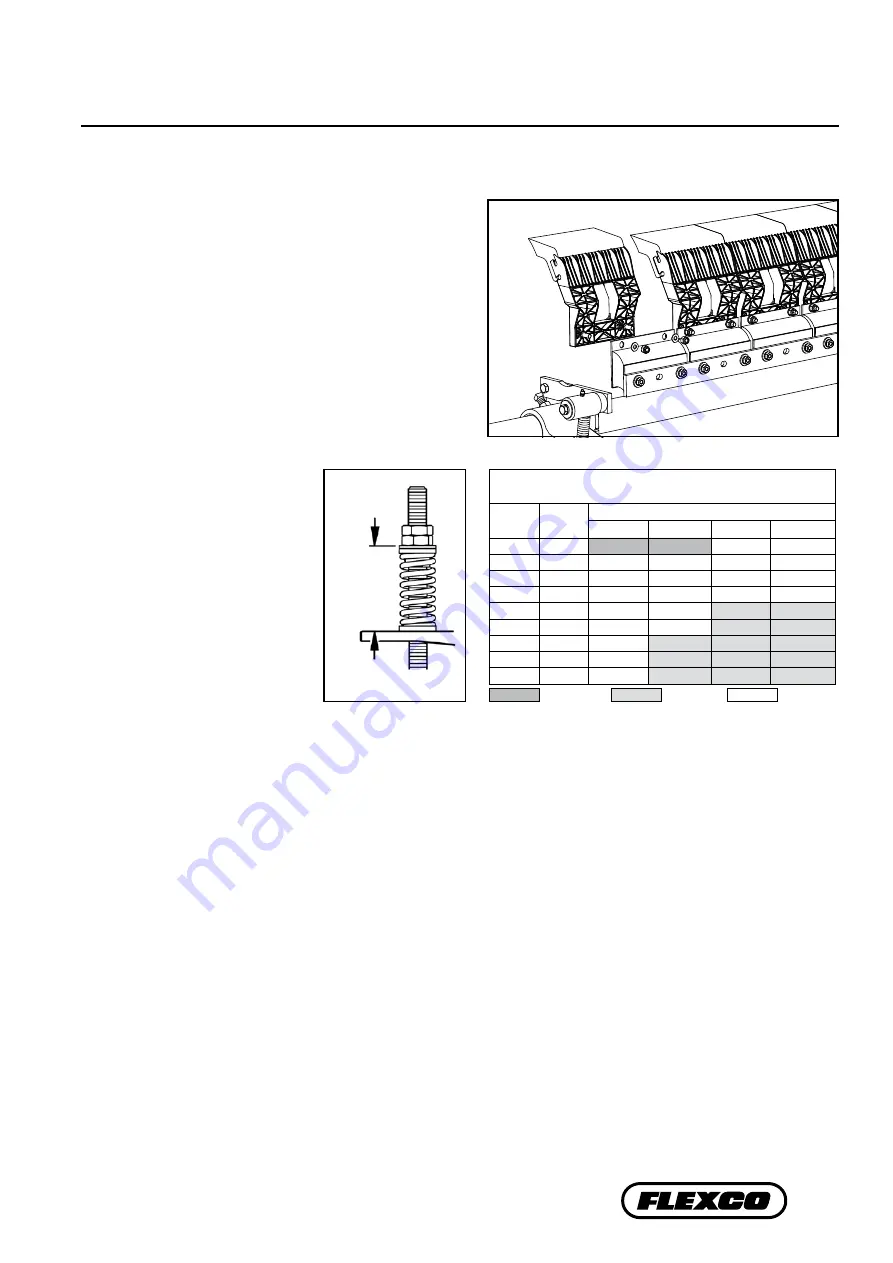
4. Reset the correct blade tension. Refer to the chart for
the spring length required for the belt width. Lightly
pull the pivot arm toward the end of the torque arm
slot nearest the pole and turn the adjusting nuts until
the required spring length is achieved.
Test run the cleaner. Run the
conveyor for at least 15 minutes
and inspect the cleaning
performance. Check the spring
length for proper tensioning.
Make adjustments as necessary.
3. Install the new tips. Locate each tip onto each
suspension arm, then install the hardware to fasten
the tip to the cushion (Fig. 3).
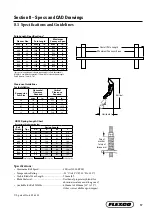
HXF2 Spring Length Chart
(for optimal blade tensioning)
Belt
Width
Tips
Spring Length
SS
S
M
L
450
2
114
102
145
N/A
600
3
142
138
135
N/A
750
3
142
138
135
N/A
900
4
127
130
5"
109
1050
5
128
120
152
152
1200
5
128
120
152
152
1350
6
120
152
149
149
1500
7
N/A
149
145
145
1800
8
N/A
145
142
142
Purple Spring
Silver Spring
White Spring
Top of
washer
to top of
torque arm
NOTE: The chart is also on the cleaner’s pivot shaft for
future reference for retensioning maintenance.
Fig. 3


