Page 3
© 2019 FlexRadio
Opening the Maestro Case
Switch off your Maestro.
Remove the battery compartment cover and remove the battery bank if one is installed. Store the battery
compartment cover in a safe location for reassembly later.
Using a #2 Phillips screwdriver, remove the screws that attach the tilt feet or fixed stand to the Maestro.
Store the screws and the tilt feet/stand in a safe location for reassembly later.
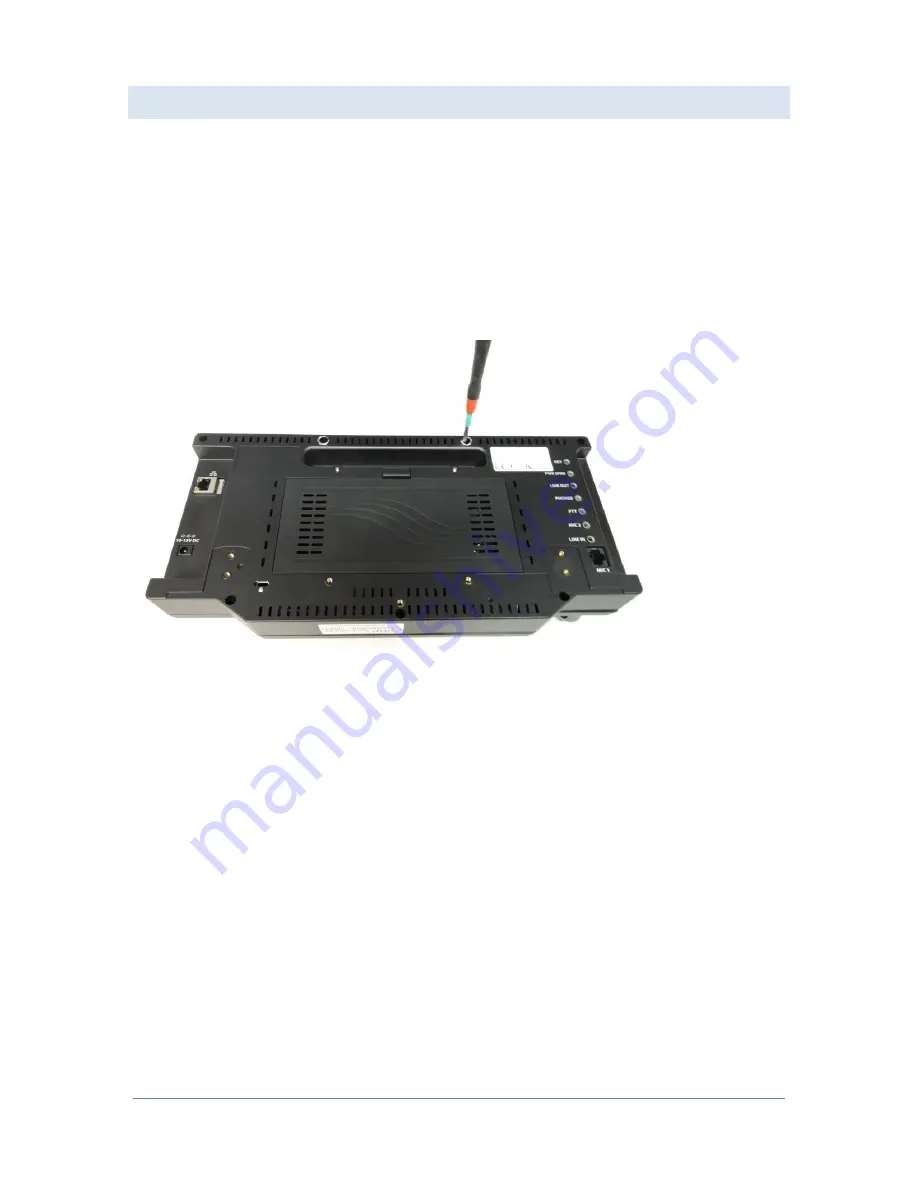
Remove all seven (7) screws from the Maestro rear chassis, using a #1 Phillips screwdriver and put them in
a secure place for reassembly later. See the image below.
NOTE: Be careful not to lose the ON/OFF button with the small spring inside located at the top of the
front chassis! If you have purchased the clear front panel Maestro cover, leaving it on will secure the
power bottom in place. Alternatively, you can use a small piece of tape to hold it in place too.
NOTE: It is not generally necessary to replace the removed or broken Tamper Proof Seal at the bottom
of the Maestro. It may be removed or cut with the tip of a thin blade knife if necessary to open the two
halves of the Maestro case.
Note: When opening the Maestro case, pay attention not to disturb the clear plastic bump stops inside
the Maestro cover.


