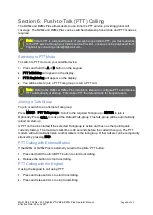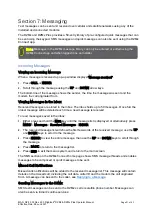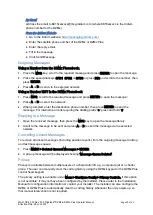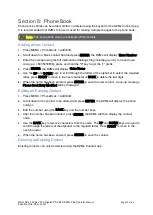
MAN_DZ4_002 Rev 22.0 Flightcell
©
DZMx & DZMx Plus Operator Manual
Page 26 of 43
Effective Date: 28 Jun 2021
2.
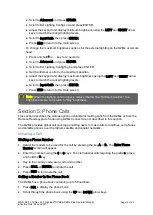
Scroll down to the message to be sen.t
3.
Press ENTER to display the message then press ENTER to send; the DZMx will display
‘Position Marked’
and the tracking message will be added to the outgoing message queue.
Mission Reports
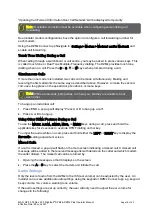
Pre-defined mission reports can be sent to the mapping service provider and to individual
contacts. When used in conjunction with the MARK button, one of the four coloured buttons on
the keypad can correspond to a stage of a mission (e.g. picked up patient) and there is also the
option to enter a job number. The status of the mission is reported to the operations centre,
and/or pre-determined contacts, along with the location information. It is important to ensure the
tracking service provider supports this capability.
Send a Mission Report to Tracking Provider
1.
Short press the MARK button.
2.
Select the colour that relates to the mission.
3.
Enter the mission or job number.
4.
Press ENTER
Send a Position Report to Tracking Provider and Text (SMS) Contacts
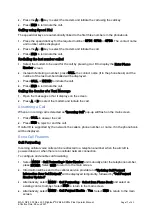
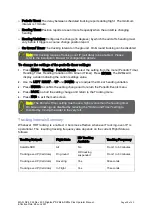
Preconfigured text messages can be sent to selected contacts or to multiple text recipients
numbered from 1
–
10 from the DZMx quick message library.
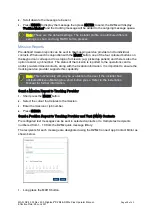
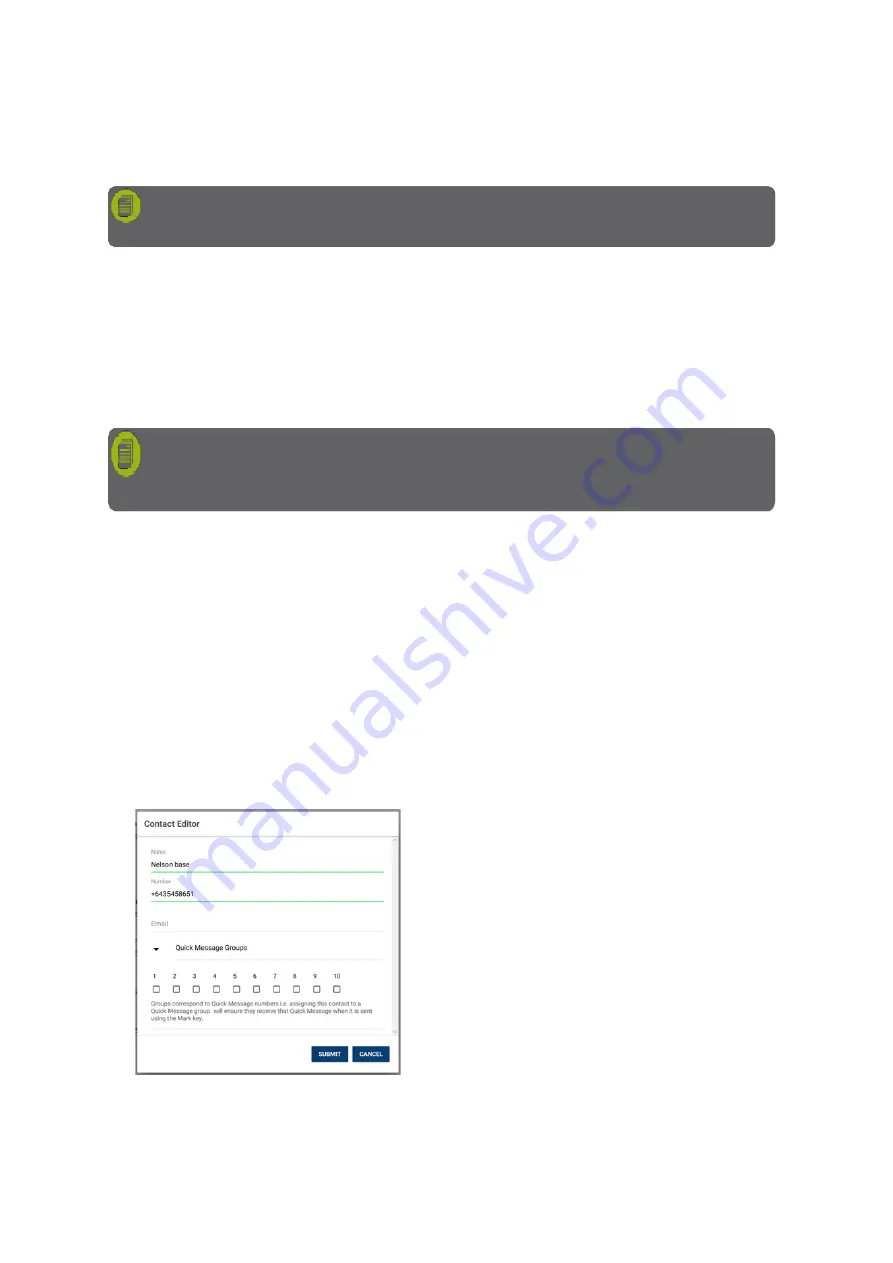
The recipients for each message are designated using the DZMx Connect app Contact Editor as
shown below.
1.
Long press the MARK button.
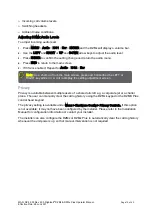
Note
:
These are the default settings. The installer profile can attribute different
settings to short and long MARK button presses.
Note
:
This functionality will only be available to the user if the installer has
attributed Mission Marking to a short button press. Refer to the Installation
Manual for further information.
Summary of Contents for DZMx
Page 42: ......

