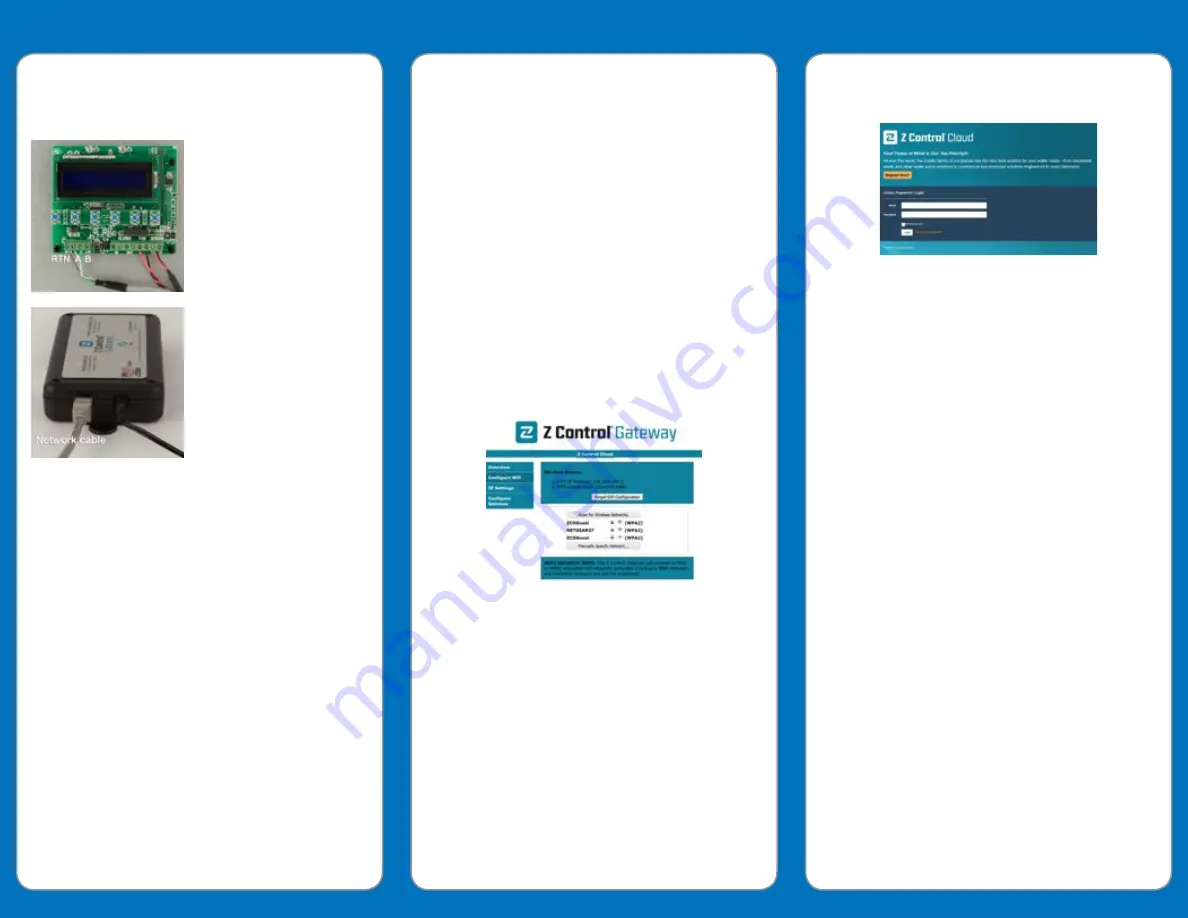
1. Local Device Network
Physical Wiring
While the drive is powered down, remove an unused knockout
on the drive, and install the provided strain relief.
Feed the stripped end of the
network cable through the strain
relief and connect the wires as
follows to the terminal strip on
the lower left-hand side of the
drive display board:
Brown → RTN
White w/Green stripe → A
Green → B
Connect the other end of the
network cable to the black RJ45
jack on the left side of the
Gateway. Do not use the
Gateway’s silver colored RJ45
jack on the right side of the drive
for this step. Tighten the strain
relief until it is snug on the
network cable.
NOTE: The Gateway will need to be placed where an
Ethernet wire can be extended to the location of the router OR
where the router’s WiFi signal is sufficient.
Pairing the Gateway with the VS Drive.
1.
With the drive and Gateway both powered, press the Link
button on the Gateway. The “DEVICE CONNECTED” LED
on the Gateway will flash.
2.
Press the Enter button on the VS Drive. If the pairing
is successful, the “DEVICE CONNECTED” LED on the
Gateway will turn solid.
3.
Repeat this process for each End Point Device connected.
2. Connect Gateway to Your
Existing Router
The Gateway can be connected to the building’s existing
internet Router either by Wired Ethernet or WiFi.
Wired Ethernet
1.
Plug one end of the cable into the silver Ethernet jack on
the Gateway and the other end into an available network
port on the router.
2.
Once the “INTERNET & Z CONTROL CLOUD” LED on the
Gateway turns solid blue, proceed to Step 3 “
Z Control
®
Cloud Setup
”.
2. Connect Gateway,
continued
WiFi Provisioning
Note: Skip this section if your Gateway is connected to
the router via wired Ethernet. You must provide your WiFi
credentials to the Gateway in order for it to access your WiFi
Router. You need your Router’s password/passphrase.
1.
Open your computer (or mobile device) WiFi settings to
search for available WiFi.
2.
Select “Z Control-xxxx”, where “xxxx” is the last 4 digits of
your Gateway’s Device ID.
3.
Once you are connected to the Gateway, which looks the
same as connecting to an available WiFi, open an internet
browser such as Explorer, Safari, Firefox, etc. In the
address bar, type “192.168.100.1” (Windows users may
alternately type “Z Control-xxxx”). The Gateway’s local
configuration page will load.
4.
In the left hand navigation, click “Configure WiFi”. Select
the WiFi that you want the Gateway to use from now
on. When prompted, CAREFULLY type the password/
passphrase required to connect to your WiFi (if your WiFi is
unsecured, you won’t need to type a passphrase).
5.
After 1 minute or so, verify that the flashing blue “Internet
and Z Control
®
Cloud Light” on the Gateway has turned
to solid blue. If it doesn’t, then the connection was
unsuccessful and the Gateway will require a reset by
holding the Link button during Power Up for 10 seconds.
This will force the Gateway to return to Wireless Access
Point mode, as described above. The most common
reason the Gateway didn’t connect successfully is that
the passphrase was entered incorrectly. Try the above
steps again, including Reset, being very careful that the
passphrase is entered correctly. If your router settings ever
change or the router is replaced, you will need to reset the
Gateway as described to force it back into Wireless Access
Point mode to provide the new WiFi setting information.
6.
Once the Gateway connects to the router, close the
Gateway interface and reconnect your computer or mobile
device to the internet.
3. Z Control
®
Cloud Setup
1.
From any internet connected computer or mobile device, go
to www.zcontrolcloud.com.
2.
Log into your account or click “Register Now” create a new
account.
3.
Follow the instructions to verify your email address. Once
your email address is verified you can add Z Control
devices to your account. Click Edit on the Location you
want to add the device to, and then select Add New Device.
4.
There are two ways to add Devices to your Account.
a. Click Auto if you’re on the same LAN connection as your
device. This method will attempt to locate your device on
your local network and automatically add them to your
account.
OR
b. Click Manual to manually enter the Device ID or your
internet enabled Z Control Device such as the Z Control
Gateway or APak Indoor WiFi.
Note: Devices such as the F & W Commander Pro are
automatically registered in conjunction with registering the
Z Control Gateway. You do not need to enter the Device ID
for the these devices.
5.
Depending on the device, you will have various notification,
configuration, and remote access capabilities. You can set
up multiple locations, claim additional devices, silence an
alarm, test equipment, etc.
Assumptions:
•
Your router is using DHCP. If this isn’t true, the network
administrator will need to manually configure the
Gateway to connect to the router.
•
Your router is broadcasting its SSID. If this isn’t
true, you will either need to turn this feature on, or
the network administrator will need to complete the
configuration. An experienced user may be able
to select “Other networks” and enter the required
information to successfully connect to a router not
broadcasting the SSID.
•
Your router’s WiFi signal is sufficient where the
Gateway is placed. If this isn’t true, either reposition the
Gateway, or a range extender may be required.
QUICK START


