7
Quick Start Guide
7.1
Detecting a temperature
Procedure
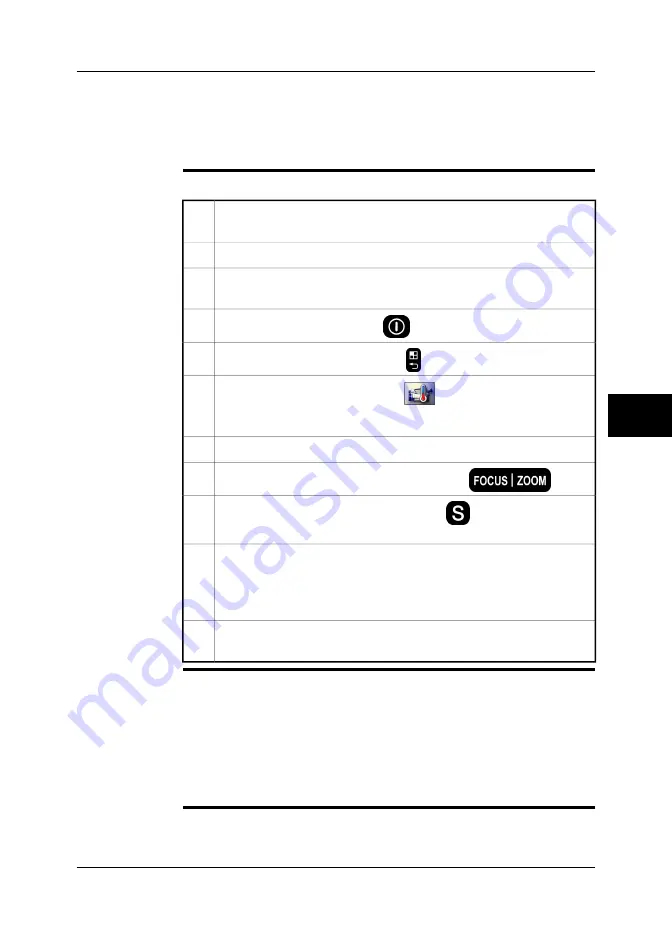
Follow this procedure to get started right away:
Charge the battery for four hours before starting the camera for the first
time, or until the green battery condition LED glows continuously.
1
Install the battery.
2
Insert an SD Memory Card into the card slot marked ‘I’ at the rear end of
the camera.
3
To turn on the camera, push the
button.
4
To go to the mode selector, push the
button to the right of the joystick.
5
In the mode selector, select
Camera
and push the joystick.
A spotmeter is now displayed in the middle of the screen.
6
Aim the camera towards the object of interest.
7
Autofocus the camera by pushing the center of the
button.
8
To save an image directly, push and hold the
button for more than
one second.
9
To move the image to a computer, do one of the following:
■
Remove the SD Memory Card and insert it in a card reader connected
to a computer.
■
Connect a computer to the camera using a USB mini-B cable.
10
Move the image from the card or camera, respectively, using a drag-and-
drop operation.
11
Related topics
Section 13.1.1 – Charging the battery using the power supply cable on page 43
■
■
Section 13.1.2 – Charging the battery using the stand-alone battery charger on
page 44
■
Section 13.3.1 – Installing the battery on page 48
■
Section 11.3 – Inserting SD Memory Cards on page 39
■
Section 13.5 – Turning on the camera on page 54
■
Section 16.1 – Creating & setting up a spotmeter on page 95
■
Section 14.2 – Saving an image on page 70
7
Publ. No. 1558550 Rev. a557 – ENGLISH (EN) – October 7, 2011
17
Summary of Contents for B6 series
Page 2: ......
Page 4: ......
Page 6: ......
Page 8: ......
Page 9: ...User s manual Publ No 1558550 Rev a557 ENGLISH EN October 7 2011...
Page 12: ...INTENTIONALLY LEFT BLANK xii Publ No 1558550 Rev a557 ENGLISH EN October 7 2011...
Page 192: ...it 26 174 Publ No 1558550 Rev a557 ENGLISH EN October 7 2011 26 Dimensional drawings...
Page 325: ......


