To save an image, push the Preview/Save button.
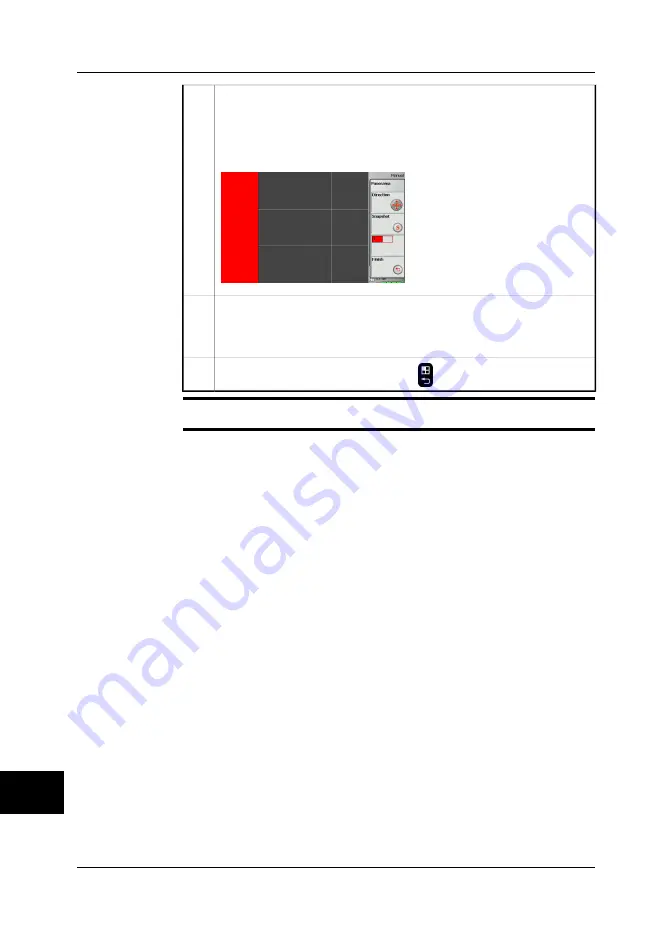
The saved image will now be displayed in the corresponding area in the
tools pane. You can also see that the left-most area on the screen shows
the image you just saved (indicated here in red):
T630357;a1
5
Using the joystick, you can now decide in which area you want to save the
next image, and then save the image by pushing the Preview/Save button.
Continue with this procedure until you have created a complete image.
6
To finish and leave this mode, push the
button.
7
Related topics
For locations of camera buttons, see section 9 – Camera parts on page 21.
14
74
Publ. No. 1558550 Rev. a557 – ENGLISH (EN) – October 7, 2011
14 – Working with views and images
Summary of Contents for B6 series
Page 2: ......
Page 4: ......
Page 6: ......
Page 8: ......
Page 9: ...User s manual Publ No 1558550 Rev a557 ENGLISH EN October 7 2011...
Page 12: ...INTENTIONALLY LEFT BLANK xii Publ No 1558550 Rev a557 ENGLISH EN October 7 2011...
Page 192: ...it 26 174 Publ No 1558550 Rev a557 ENGLISH EN October 7 2011 26 Dimensional drawings...
Page 325: ......


