FLIR
DM92
USER
GUIDE
Document
Identifier:
DM92
‐
en
‐
US_AB
14
5.3
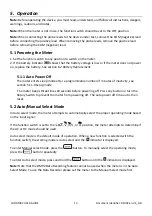
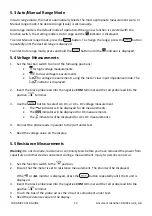
Auto/Manual
Range
Mode
In
Auto
range
mode,
the
meter
automatically
selects
the
most
appropriate
measurement
scale.
In
Manual
range
mode,
the
desired
range
(scale)
is
set
manually.
Auto
range
mode
is
the
default
mode
of
operation.
When
a
new
function
is
selected
with
the
function
switch,
the
starting
mode
is
Auto
range
and
the
indicator
is
displayed.
To
enter
Manual
range
mode,
press
the
button.
To
change
the
range,
press
the
button
repeatedly
until
the
desired
range
is
displayed.
To
enter
Auto
range
mode,
press
and
hold
the
button
until
the
indicator
is
displayed.
5.4
Voltage
Measurements
1.
Set
the
function
switch
to
one
of
the
following
positions:
for high voltage measurements.
for
low
voltage
measurements.
for
voltage
measurements
using
the
meter’s
low
input
impedance
mode.
The
indicator
is
displayed.
2.
Insert
the
black
probe
lead
into
the
negative
COM
terminal
and
the
red
probe
lead
into
the
positive
terminal.
3.
Use
the
button
to
select
AC,
DC,
or
AC
+
DC
voltage
measurement.
The
indicator
will
be
displayed
for
AC
measurements.
The
indicator
will
be
displayed
for
DC
measurements.
The
indicator
will
be
displayed
for
AC
+
DC
measurements.
4.
Connect
the
probe
leads
in
parallel
to
the
part
under
test.
5.
Read
the
voltage
value
on
the
display.
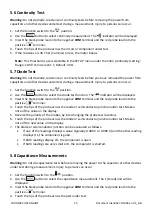
5.5
Resistance
Measurements
Warning:
Do
not
do
diode,
resistance
or
continuity
tests
before
you
have
removed
the
power
from
capacitors
and
other
devices
under
test
during
a
measurement.
Injury
to
persons
can
occur.
1.
Set
the
function
switch
to
the
position.
2.
Ensure
that
the
meter
is
set
to
resistance
measurement.
The
Ω
unit
will
be
displayed.
If
the
or
indictor
is
displayed,
press
the
button
repeatedly
until
the
Ω
unit
is
displayed.
3.
Insert
the
black
probe
lead
into
the
negative
COM
terminal
and
the
red
probe
lead
into
the
positive
terminal.
4.
Touch
the
tips
of
the
probe
across
the
circuit
or
component
under
test.
5.
Read
the
resistance
value
on
the
display.


