427-0101-01-12 Revision 100
September 2020
15
This document does not contain any export-controlled information.
Installation
2.8
Aiming the Radar and Testing Target Detection
Step 1
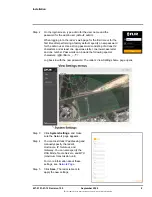
While viewing the radar’s display in View Settings, aim the radar by manipulating the
assembly to provide the desired field of view.
Step 2
On the Radar page, under Radar Mode, click
On
.
Step 3
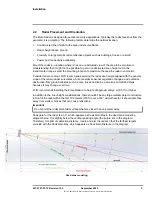
Have a person walk in a straight line directly away from and the back towards the radar.
Verify the detection track appears in the radar display.
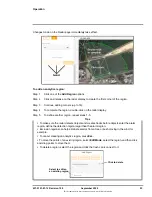
The following image shows an Elara Radar tracking two objects within previously defined
detection and alarm regions, and with a compatible FLIR PTZ camera mounted at the
same position as the radar:
Step 4
Tighten the two set screws and verify the camera's orientation setting.
2.9
Defining Analytics Regions
Open the
and define alarm, exclusion, or detection regions.
2.10
Pairing a PTZ Camera with the Radar (Optional)
Users assigned the expert or admin role can pair the following FLIR Security PTZ cameras (firmware
v1.6.1.0) to work with the Elara Radar, so that the camera follows targets detected and tracked by
the radar:
Important
Use the
camera’s
web page to pair the radar with a camera and enable an automatic radar mode.
The computer you are using to access the camera’s web page must have access to the internet.
2.10.1
Open the camera’s web page and select the radar
Step 1
Log in to the camera’s web page. For information about accessing the camera’s web
page, see the camera’s installation and user guide.
Visible Security Cameras
Multispectral Thermal Cameras
Quasar 4K 22x IR-PTZ CP-6408-21-I
DM-Series
Quasar 4K 33x IR-PTZ CP-6408-31-I
DX-Series
The video tracking and advanced radar integration relies on accurate geographic location
information for the radar and for the camera. On both the radar’s and the camera’s Georeference
pages, make sure the settings are accurate.
Radar and PTZ camera
Detection region (green)
Tracked objects
Alarm region (red)


