427-0101-01-12 Revision 100
September 2020
11
This document does not contain any export-controlled information.
Installation
•
The THIS SIDE UP marking and the FLIR logo on the radar assembly.
Note
2.3
Site Preparation
The following recommendations provide for proper installation and operation of the radar
.
Adhere to
all local and industry standards, codes, and best practices.
•
Ambient Environment Conditions
: Avoid positioning the radar near heaters or heating system
outputs. Avoid exposure to direct sunlight.
•
Safety
: Cables and electrical cords should be routed in a manner that prevents safety hazards.
Ensure that nothing rests on the radar’s cables or power cords.
•
Ample Air Circulation
: Leave enough space around the radar to allow free air circulation.
•
Physical Security
: The radar provides threat detection for physical security systems. In order to
ensure that the radar cannot be disabled or tampered with, the system should be installed with
security measures regarding physical access by trusted and untrusted parties.
•
Network Security
: The radar transmits over IP to security personnel for video surveillance.
Proper network security measures should be in place to assure networks remain operating and
free from malicious interference. Install the radar on the backbone of a trusted network.
•
Electrostatic Discharge Safeguards
: The radar and other equipment connected to it (relay
outputs, alarm inputs, racks, carpeting, etc.) shall be properly grounded to prevent electrostatic
discharge.
2.4
Installing the Wall Mount Bracket
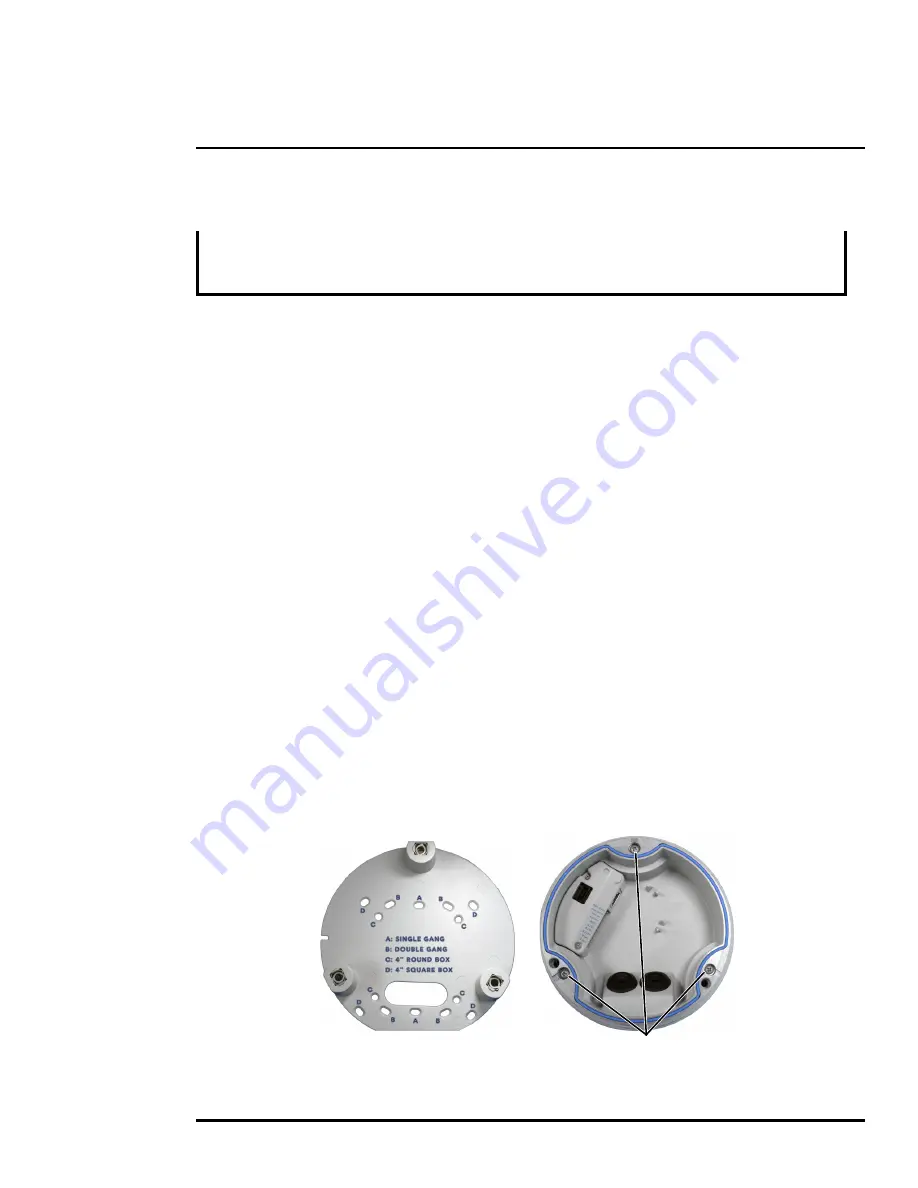
The wall mount bracket fits standard electrical boxes. For surface mounting, route the conduit into
the side opening of the back box.
Step 1
Remove the back box cover by unscrewing it from the back box.
While it is possible to install the wall mount bracket so that the text on the inside of the wall mount
bracket is not upright, when you aim the radar, make sure the THIS SIDE UP marking on the
radar assembly faces up and the FLIR logo on the flat front panel is upright.
Twist-lock screws in back box
Wall mount bracket


