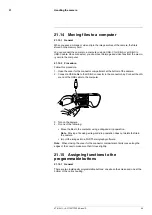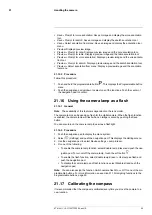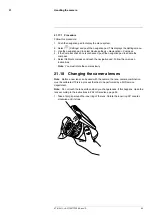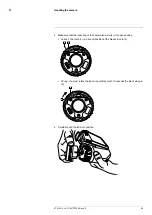
Note
You can also enable/disable screen rotation on the swipe-down menu. For
more information, see section 9.7.5
, page 24.
◦
Image overlay information
: This setting specifies what image information, and also
lens information, the camera will display as an overlay on the image. For more in-
formation, see section 9.7.6
, page 25. You can select the following
information to display:
–
Compass
.
–
Date & time
.
–
Emissivity
.
–
Reflected temperature
.
–
Distance
.
–
Relative humidity
.
–
Atmospheric temperature
.
–
Lens information
.
◦
Active display
: This setting defines the behavior of the display and viewfinder.
–
Auto
: The display will automatically turn off when you look into the viewfinder.
–
Screen
: The display is always on and the viewfinder is always off.
–
Viewfinder
: The viewfinder is always on and the display is always off.
◦
Screen brightness
: The screen brightness slider is used to control the brightness
of the screen.
Note
You can also control the screen brightness on the swipe-down menu. For
more information, see section 9.7.5
, page 24.
◦
Viewfinder brightness
: This setting defines the brightness of the viewfinder. Avail-
able options are
Low
,
Medium
, and
High
.
•
Geolocation
: This submenu includes the following settings:
◦
GPS
: This setting is used to enable/disable the GPS.
◦
Compass
: This setting is used to enable/disable the compass and to calibrate the
compass. For more information, see section 21.17
, page
•
Lamp & laser
: This submenu includes the following settings:
◦
Enable lamp & laser
: This setting is used to enable the camera lamp and the laser.
◦
Enable lamp & laser + Use lamp as flash
: This setting is used to enable the flash
function. When the flash function is enabled, the camera lamp will flash when an
image is saved.
◦
Disable all
: This setting is used to disable the camera lamp, laser, and flash
function.
•
Auto power off
: This setting defines how soon the camera is automatically turned off.
Available choices are
Off
,
5 min
, and
20 min
.
•
User interface options
: This submenu includes the following settings:
◦
Manual adjustment using touch
: This setting is used to enable/disable the touch
functionality for manual image adjustments. For more information, see section 12
◦
Manual adjustment mode
: This setting specifies the type of manual image adjust-
ment mode. Available options are
Level, Max, Min
and
Level, Span
. For more infor-
mation, see section 12
, page 34.
◦
Emissivity mode
: This setting specifies how the measurement parameter emissivity
will be entered. Available options are
Select values
and
Select from materials table
.
For more information, see section 11.7
Changing the measurement parameters
page 32.
•
Volume
: The volume slider is used to control the volume of the built-in speaker.
•
Reset options
: This submenu includes the following settings:
◦
Reset default camera mode...
: This setting will affect the image mode and color pa-
lette. Saved videos/images will not be affected.
#T810411; r. AC/70277/70566; en-US
103
Summary of Contents for GF7 Series
Page 1: ...User s manual FLIR GF7x series...
Page 93: ...Handling the camera 21 21 8 2 Figure T810411 r AC 70277 70566 en US 85...
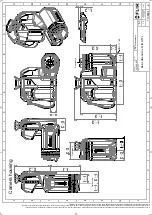
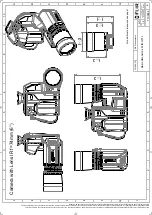
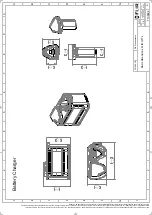
Page 119: ...Mechanical drawings 28 See next page T810411 r AC 70277 70566 en US 111...
Page 124: ...CE Declaration of conformity 29 See next page T810411 r AC 70277 70566 en US 116...
Page 125: ......


