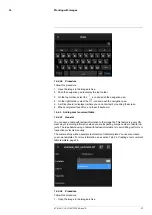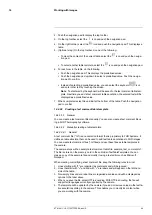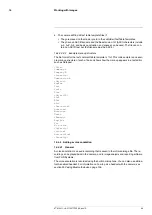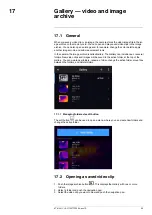
Working with measurement tools
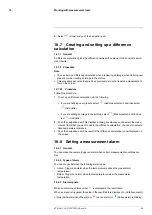
3. To move the spot, do the following:
3.1.
Select
(
Move spot
) and push the navigation pad.
3.2.
Push the navigation pad up/down and left/right to move the spot.
4. To center the spot, select
Center spot
and push the navigation pad.
5. When completed, push the navigation pad and select
(
Done
).
6. Push the navigation pad to confirm and exit the menu mode.
18.4.3
Moving and resizing a box or circle tool
Note
You can also move and resize the measurement tool by touching the screen.
Follow this procedure:
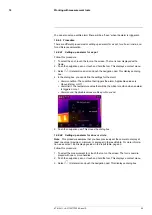
1. To select the measurement tool, touch the tool on the screen. The tool is now dis-
played with one or more handles.
2. Push the navigation pad—or touch and hold the tool. This displays a context menu.
3. Select
(
Move/resize
) and push the navigation pad. This displays a submenu.
4. Use the navigation pad to select one of the following:
• Select
(
Resize
) to change the size of the tool.
• Select
(
Move
) to move the tool.
• Select
(
Center box/circle
) to center the box or circle tool.
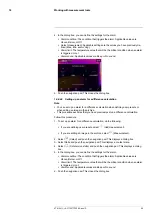
5. Push the navigation pad up/down and left/right to resize or move the tool.
6. When completed, push the navigation pad and select
(
Done
).
7. Push the navigation pad to confirm and exit the menu mode.
18.5
Changing the measurement parameters
18.5.1
General
For accurate measurements, it is important to set the measurement parameters.
Note
During normal operation there is typically no need to change the default meas-
urement parameters, see section 18.5.3
18.5.2
Types of parameters
The camera can use these measurement parameters:
•
External IR window compensation
, i.e., the temperature of any protective windows,
external lenses (e.g., the close-up lens), etc., that are set up between the camera and
the object of interest. If no protective window, protective shield, or external lens is
used, this value is irrelevant and should be left inactive.
•
Object distance
, i.e., the distance between the camera and the object of interest.
Note
The camera can be configured to automatically measure the distance when
an image is saved. With this setting, the
Object distance
parameter in the image data
is automatically updated with the measured distance when an image is saved. (There
is no effect on the
Object distance
setting in live mode.) For more information, see
section 9.5
Laser distance meter and laser pointer
#T810411; r. AC/70277/70566; en-US
60
Summary of Contents for GF7 Series
Page 1: ...User s manual FLIR GF7x series...
Page 93: ...Handling the camera 21 21 8 2 Figure T810411 r AC 70277 70566 en US 85...
Page 119: ...Mechanical drawings 28 See next page T810411 r AC 70277 70566 en US 111...
Page 124: ...CE Declaration of conformity 29 See next page T810411 r AC 70277 70566 en US 116...
Page 125: ......


