58
intelliRock® III– Operating Instructions Guide
Connecting Loggers to the Wireless Remote Box
To use the intelliRock wireless remote box, first start any loggers you wish to connect to it us-
ing the procedure described in the “Starting an intelliRock Logger” section of this guide.
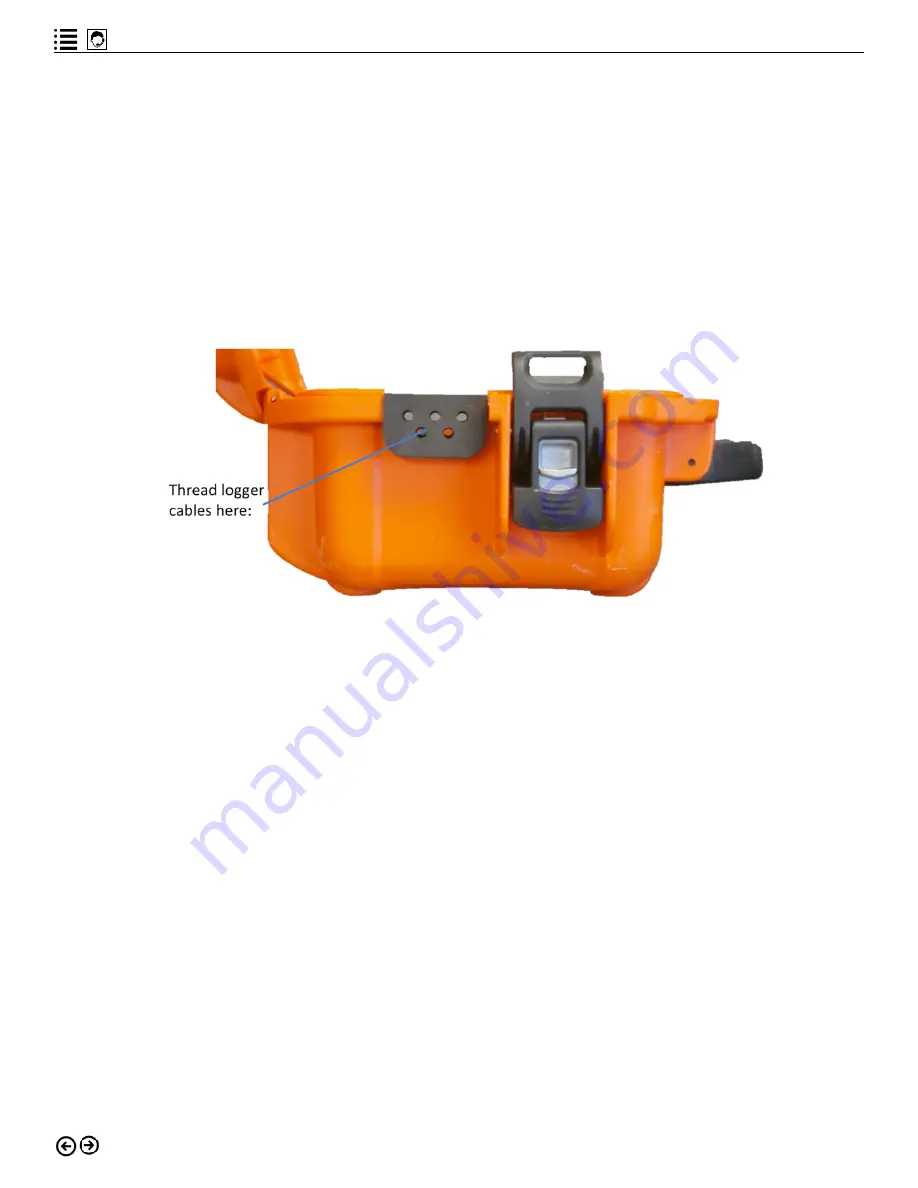
After starting the loggers, connect them to the terminals by threading the logger cables
through the openings on either side of the remote box. It does not matter whether the wireless
remote box is powered on or off when connecting loggers to it. Figure 7.3 shows a side view
of the wireless remote. The gray, foam insert where logger cables pass through is removeable
from the wireless box to facilitate easier cable threading.
Figure 7.3: Side view of the wireless remote box, where logger cables pass through.
Connect each logger cable to one pair of the red and black terminals located inside the wire-
less remote box. Each pair of connectors is numbered, one through eight. Ensure that the
exposed wire of the logger cable make contact with only one terminal and that both wires of a
logger are connected to a single pair of terminals, not terminals from two different pairs. Se-
cure the connection to the terminal by tightening the connector.
Changing the Wireless Remote Box Name
The Wireless remote boxes will come configured from the manufacturer for use with the pur-
chaser’s intelliRock cloud software account. Each box has a unique IMEI number, a designation
from the cellular communications industry. For new boxes from the manufacturer, the box
name in the cloud will match the IMEI number assigned to that box. The IMEI number is also
the box’s serial number. Figure 7.4 shows the location of the sticker with the serial number. In
the cloud software, users can change the Initial box names to any, desired name.


