12
SiriusXM SR200 InfoLINK Receiver Installation Guide
InfoLINK Receiver Installation
Select a mounting location for the InfoLINK Receiver
that is sheltered from the elements. While the
receiver is water resistant, it should be mounted
where there will be no direct contact with water, or
water spray, if possible.
Also consider the proximity for the several cables
which will be need to be connected, antenna, power,
data, and optionally audio, so that the cables reach.
Before mounting the unit, make a note of the
Electronic Serial Number on the underside of the
unit.
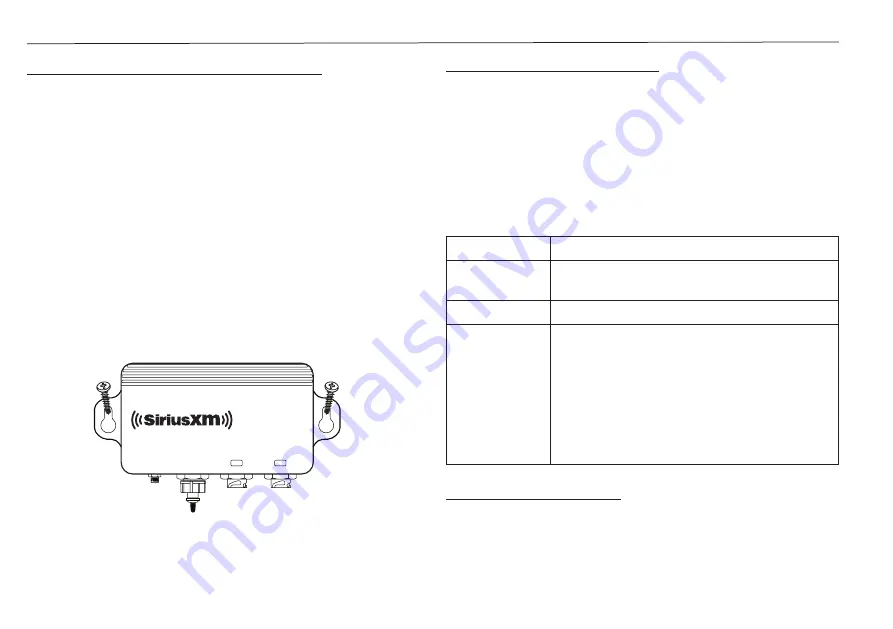
Once you have determined a suitable location,
attach the receiver using the two provided screws.
ANTENNA
AUDIO
M A R I N E
NETWORK
R E C E I V E R
POWER
InfoLINK
Connect the Power Cable
The InfoLINK Receiver should be connected to a 12
or 24 volt power source, negative ground.
Caution
: Some vessels may have a positive ground
system. DO NOT connect to positive ground system.
Be sure the vessels’ power is off before making the
power connection, or the fuse or circuit breaker
which will be powering the InfoLINK Receiver is off.
Power Wire Connection
(See diagram on page 7)
Red
12v or 24v positive power (switched
on/off with vessel’s main power)
Black
Ground (negative)
White
RF shield ground. Ground this wire
by connecting it to the vessel’s RF
ground point. For vessels without
an RF ground system this wire
should be connected
directly
to the
same grounding point as the Black
wire (Negative battery terminal as
example).
Power Cable Extension
The product is supplied with a power cable, which
can be extended if required.
The following restrictions apply to any extension to
the power cable:


