TTCF-9A
Variable High Flow Heated
Hydraulic Component Flusher
40201409
QUICK START
INSTRUCTIONS
Flo-Dynamics, Inc. • 3300 Reedy Drive • Elkhart, IN 46514 • 800-303-5874
Page
4
of
5
ADDITIONAL FUNCTIONS
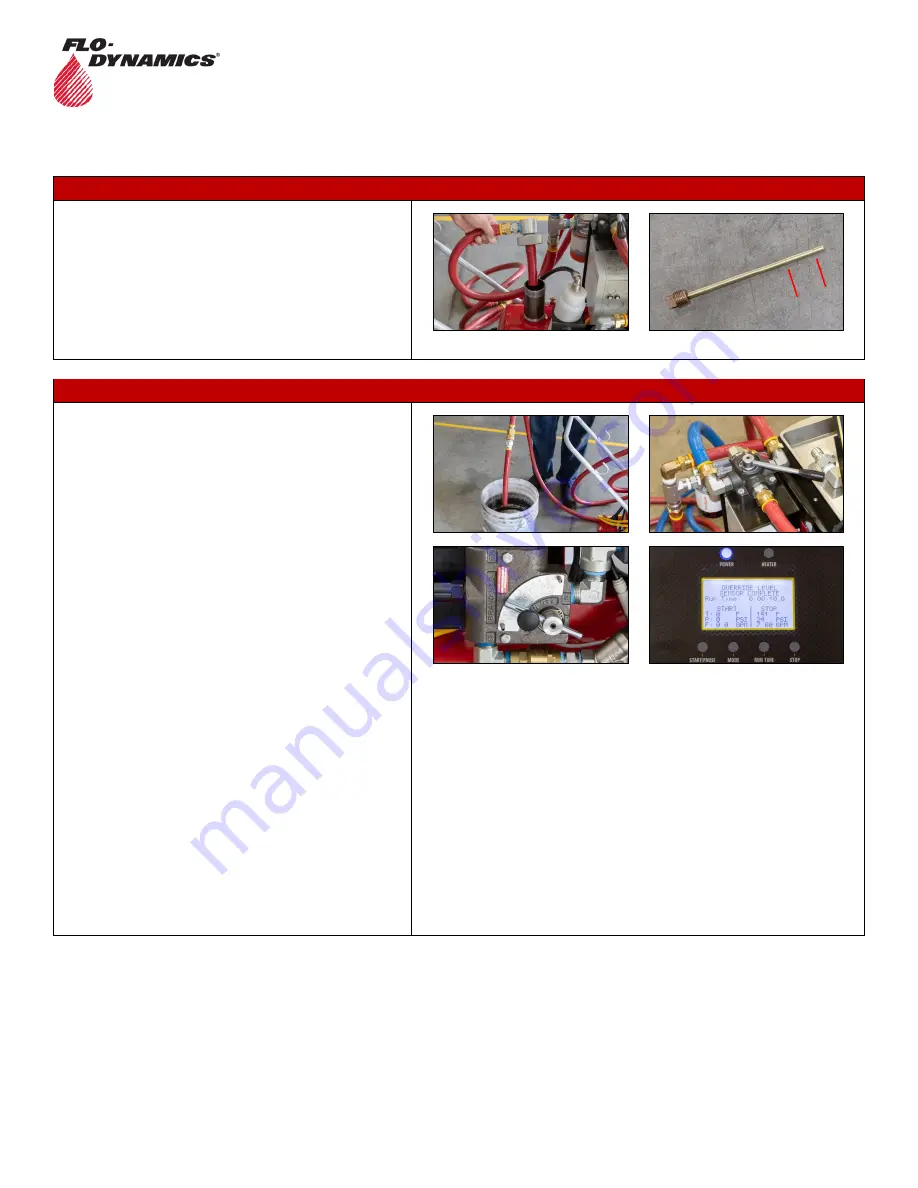
FILL THE TANK
Remove the fill cap and add enough hydraulic fluid to bring
the level between the marks on the dipstick. When
checking the level, do not thread the dipstick into the tank.
CAUTION: To prevent hydraulic fluid from overflowing
during a flush cycle or when air purging, do not run with
fluid higher than high-level mark on dipstick.
Replace the fill cap when full level is reached.
DRAIN THE TANK USING OVERRIDE LEVEL SENSOR MODE
CAUTION: To prevent burns, only drain tank when fluid is
below 100 degrees.
Connect the drain hose adapter to the red service hose.
Move the Reverser Valve toward the red service hose.
Place the drain hose adapter into a suitable waste
container.
Move the Flow Control Valve to position 3.
CAUTION: Make sure the flow rate is set to a low level to
prevent a high fluid flow into the waste container.
Use the MODE button to select “START OVERRIDE
LEVEL SENSOR”.
Press the START/PAUSE button.
Check the following:
o
Secure fill cap
o
Secure filter screen
o
Check fluid level
o
Check all connections
o
Set flow rate
o
Set flow direction
Press the START/PAUSE button to begin draining. The unit
will run for 10 seconds. Repeat until the unit is drained.
NOTE: There is still approximately one gallon left in the
tank. To completely drain, see “Completely Drain for Fluid
Type Change” procedure below.


