GB
GB
18
NOTE: Never leave batteries completely
discharged even if the machine is not used.
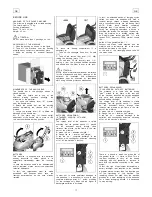
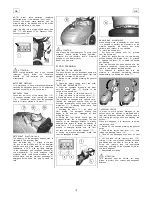
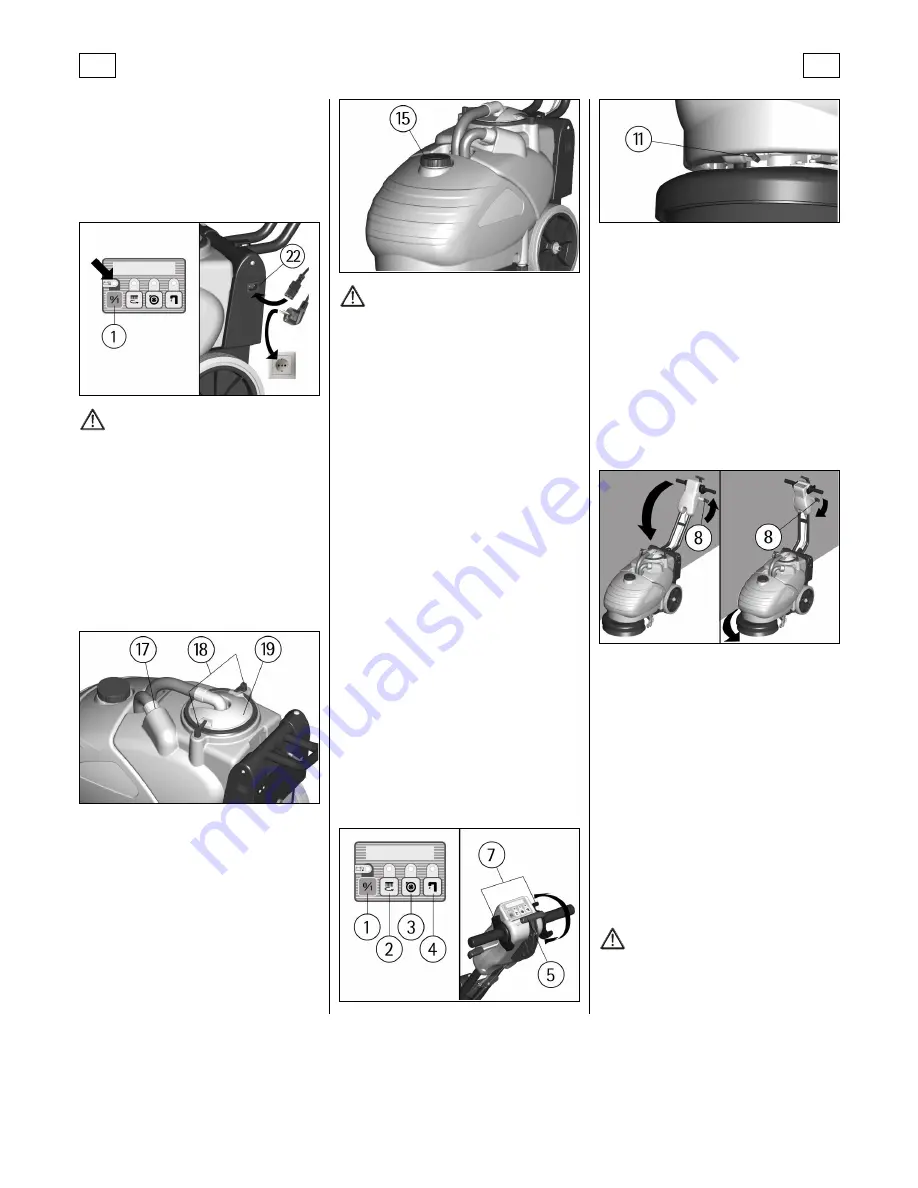
Connect the mains cable supplied with the
machine both to the machine and to the mains
socket as indicated in the figure.
Insert the plug into a single-phase socket type
CEE 7/7, with tension 230V, frequency 50Hz,
nominal current 10A.
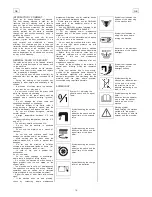
ATTENTION:
Never charge batteries with a non suitable
recharger. Strictly follow the instructions
supplied by the batteries and recharger
manufacturer.
BATTERIES DISPOSAL
It is compulsory to hand over exhaust batteries,
classified as dangerous waste, to an authorized
institution according to the current laws.
RECOVERY TANK
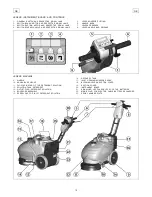
Check that the cover of the suction filter (19)
is correctly secured, after rotating the levers
(18). Furthermore, check that the squeegee
hose is correctly seated in its seat (17).
DETERGENT SOLUTION TANK
The capacity of the detergent solution tank is
indicated in the technical data.
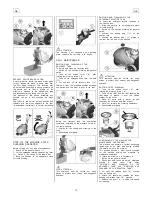
Open the screw plug (1) placed in the rear
left part of the machine and fill the detergent
solution tank with clean water at a maximum
temperature of 50°C. Add the liquid detergent
in the percentage and conditions foreseen by
the manufacturer. To avoid excessive foam
presence, which could cause problems to the
suction motor, use the minimum percentage of
detergent. Screw down the plug to close the
tank.
ATTENTION:
Use always low foam detergent. To avoid foam
presence, before starting working operation,
introduce into the recovery tank a minimum
quantity of anti-foam product.
Never use pure acid.
FLOOR CLEANING
STARTING OF THE MACHINE
The push buttons on the instrument board are
equipped with an upper green signal light that
signal the activation of the control.
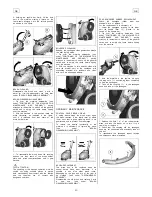
1. Switch on the machine pressing the general
switch (1).
2. Check the battery charge level (see under
“BATTERIES RECHARGING”).
3. Lower the squeegee rotating to the lower
part the handle lever (5) placed in the
centre of the handle bar.
4. Press the switch of the brush motor (2).
5. Press the switch of the suction motor (3).
6. Press the switch of the solenoid valve (4).
The machine is equipped with solenoid valve,
therfore the detergent solution flow will be
activated automatically acting upon the levers
movement (7). Releasing these levers, flow
will stop automatically.
7. Activating the levers (7) the brush will
start rotating. The detergent solution flow
begins to run and the squeegee will start
drying the floor.
9. During the first meters check that the
detergent solution flow is appropriate. The flow
adjuster of the detergent solution is already
adjusted inthe factory to satisfy the cleaning of
most floors. If it is necessary to modify the
quantity of detergent solution onto the floor,
act upon the lever of the flow adjuster (11).
9. Moving the machine backwards, make sure
that the squeegee is lifted.
HANDLE BAR ADJUSTMENT
When arriving close to obstacles or near walls,
it is possible to simplify the manoeuvre of the
machine adjusting the handle bar more
vertically with respect to the machine.
To rotate the handle bar:
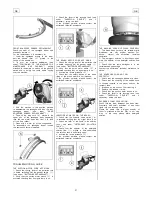
1. Act upon the release lever (8) present
near the handle bar.
2. Rotate the handle bar into the new working
position keeping the release lever (8) pressed.
3. Release the lever (8) to obtain the handle
bar blocking.
Once the obstacle has been passed and the
manoeuvre completed repeat the operation to
return to the previous working position.
This operation is possible also with the
machine in movement maintaining pressed
contemporarily the handle bar levers (7).
OVERFLOW DEVICE
In order to avoid serious damages to the
suction motor, the machine is equipped with a
float that intervenes when the recovery tank is
full, closing the suction hose and stopping the
suction.
When this happens, it is necessary to empty
the recovery tank.
1. Switch off the machine pressing the general
switch.
2. Take off the suction filter cover (19) after
turning the blocking levers (18).
3. Take off the squeegee hose from its seat
(17).
4. Lift and take off the recovery tank (16)
holding it from the provided handles obtained
one behind and the other in front of the tank.
Empty the recovery tank into appropriate
containers, according to the standard norms for
the liquid disposal.
5. Reassemble everything.
ATTENTION:
This operation must be carried out using
gloves to protect from contact with dangerous
solutions.


