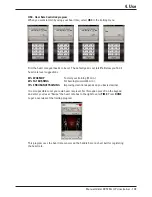

Manual Glider DCT250i UP crosstrainer - 115
4. Use
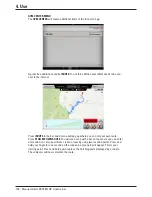
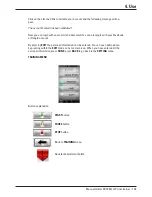
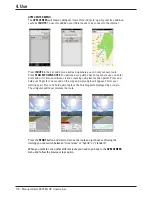
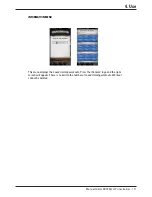
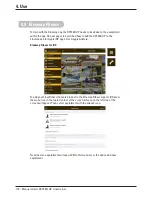
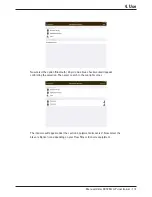
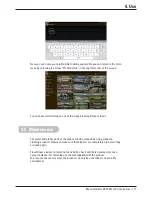
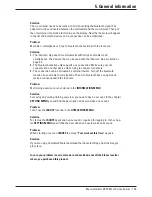
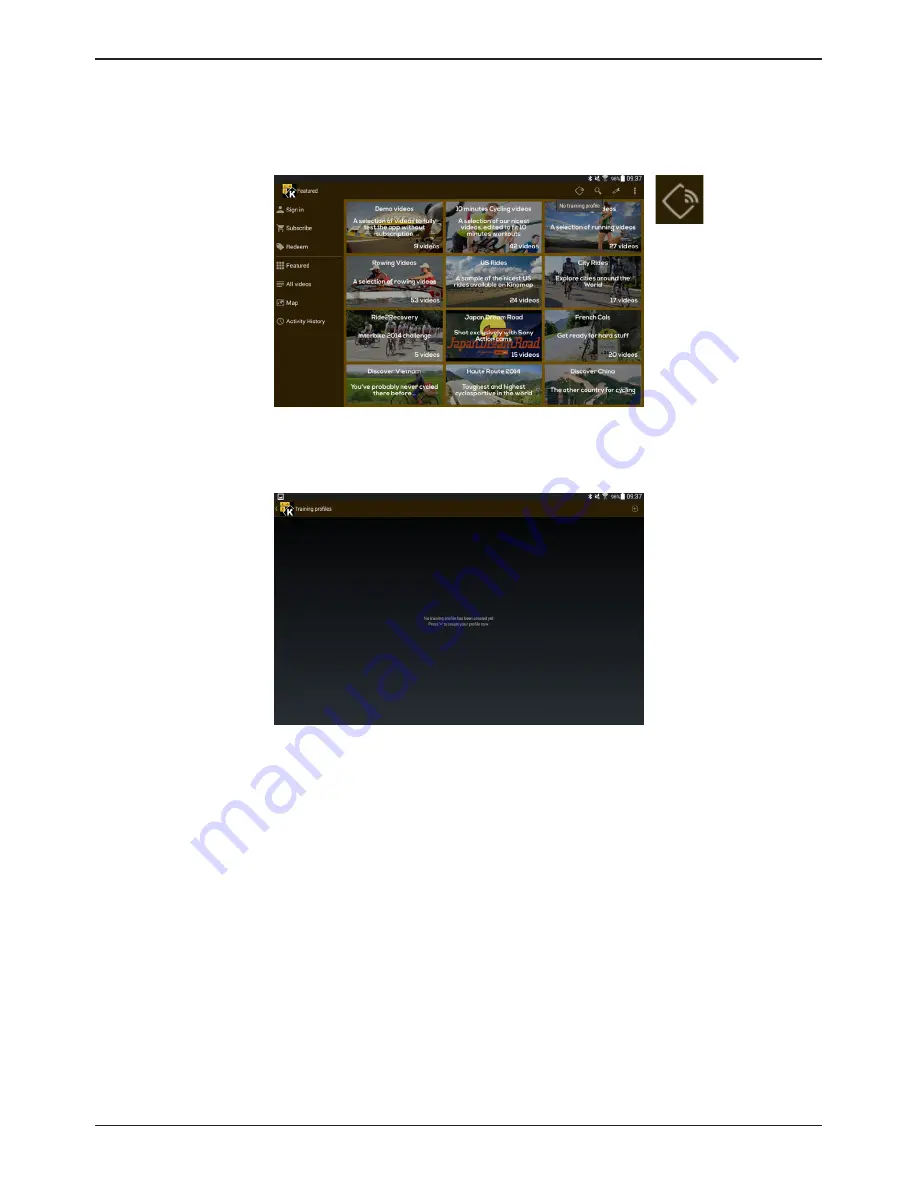
Google Android app
To add an iConsole product to the Android app you need to create a profile
containing your Flow Fitness iConsole equiptment. Press the ‘Profile’icon in the top
right corner to create a new profile.
Press the “+” icon in the top right corner to create a new profile.
Summary of Contents for Glider DCT250i UP
Page 1: ...www flowfitness nl Gebruiksaanwijzing Manual ...
Page 7: ...Gebruiksaanwijzing Glider DCT250i UP crosstrainer 7 2 Introductie ...
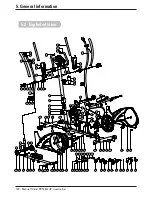
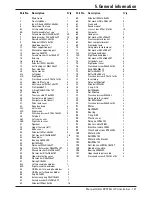
Page 58: ...58 Gebruiksaanwijzing Glider DCT250i UP crosstrainer 5 Algemene informatie 5 2 Exploded view ...
Page 63: ...Manual Glider DCT250i UP crosstrainer 63 ...
Page 64: ...www flowfitness nl en Manual ...
Page 69: ...Manual Glider DCT250i UP crosstrainer 69 2 Introduction ...
Page 120: ...120 Manual Glider DCT250i UP crosstrainer 5 General information 5 2 Exploded view ...
Page 125: ...Manual Glider DCT250i UP crosstrainer 125 ...
Page 126: ...126 Glider DCT250i UP crosstrainer Notities Notes Notities Notes ...
Page 127: ...Glider DCT250i UP crosstrainer 127 Notities Notes ...
Page 128: ...Glider DCT250i UP crosstrainer www flowfitness nl ...


