HPXM USER INSTRUCTIONS ENGLISH 14983571 - 03/11
Page 34 of 48
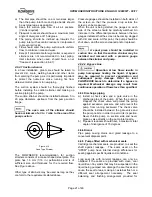
h) Correctly support pumping element in horizontal
position. For non-inducer machines release
impeller locking screws and locknut on impeller.
For machines fitted with an inducer, release cap
nut then remove security washer.
Locking devices have left hand
thread form
i) Remove inducer (if fitted) and impeller.
j) Remove and discard gasket from casing cover.
Now rotate assembly so that the shaft axis is in
the vertical plane with coupling end uppermost.
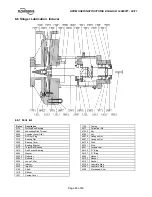
6.7.1.1 Mechanical seal disassembly
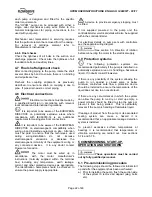
a) Refer to mechanical seal drawing (in the job’s
user instruction) and identify the seal setting
plates on the front of the gland plate.
b) Rotate (or slide as appropriate for the design) the
plates into the mechanical seal sleeve setting
groove and then secure.
c) Slacken the screws locking the collar/seal sleeve
onto the pump shaft.
d) Unscrew any pipework from the tapped ports on
the periphery of the gland plate.
e) Remove the cap screws which secure the casing
cover to the bearing housing.
f) With the casing cover suitably supported carefully
remove the bearing housing and place
horizontally on flat surface.
g) Remove the four nuts securing the gland plate to
the casing cover. Returning to the casing cover
(with the gland plate uppermost). Note - When
oil ring lubrication is provided an additional ½"
NPT plug is fitted in the top of the bearing
housing adjacent to the mushroom headed vent.
Removal of the plug should enable the visual
inspection of the ring.
h) Remove mechanical seal cartridge assembly.
Refer to any special instructions supplied with
the mechanical seal.
6.7.1.2 Bearing housing disassembly
a) Looking at the bearing housing, remove impeller
key (and throat bush if fitted). If a cooling fan is
fitted, then remove the three locking screws
securing the fan to the outboard deflector.
Withdrawal the fan from the coupling end of the
shaft.
b) Loosen clamping screws and remove both the
deflectors from pump shaft.
c) Remove cap screws from bearing end covers,
securing cover to bearing housing.
d) Remove bearing end covers remove and discard
gasket. Remove labyrinth from bore of outboard
end cover. Remove o-ring from labyrinth.
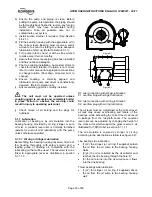
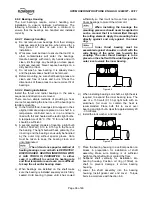
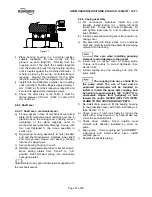
e) Place the bearing housing in a vertical position,
(coupling end up) on blocking. Blocking must be
of sufficient height to prevent shaft end from
contacting the floor. To avoid damage to the oil
rings, (when fitted) position them as shown.
Figure 6.2
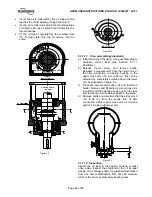
f) Remove the shaft assembly from coupling end of
bearing housing. Remove labyrinth from seal end
of bearing housing. Remove o-ring from labyrinth.
Take care not to damage the oil
rings.
g) Release locking tab of lock washer. Remove
locknut and lock washer.
h) Bearings can be removed by the use of a press
or puller. Bearing must be installed in the same
manner as removed. It is suggested that each
bearing be marked for sequence and direction.
When removing bearings exert
pressure on inner race only. Do not exert any
pressure on outer bearing race. (See Section
7.6).
i) Remove oil rings and oil throwers from the shaft
as appropriate.
j) Check the shaft for run out using "V" blocks or
rollers placed under the bearing areas. Run out
of shaft is not to exceed 0.05 mm TIR (0.002
in.TIR).


