3
CONTENTS
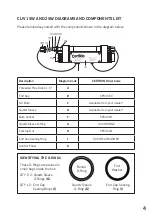
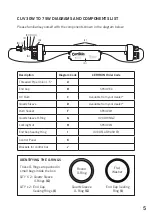
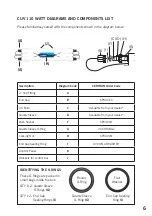
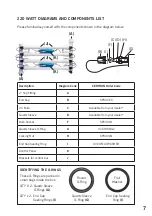
UV Diagram and components list
PAGE 4 - 7
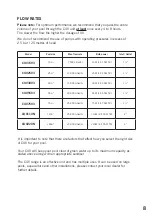
Flow Rates
PAGE 8
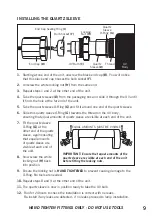
Installing the quartz sleeve
PAGE 9
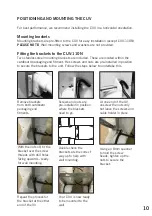
Positioning and mounting the CUV
PAGE 10
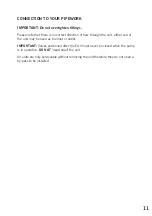
Connection to your pipework
PAGE 11
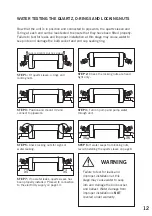
Water Testing
PAGE 12
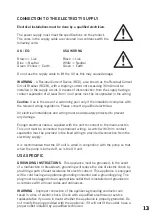
Connection to the Electricity Supply
PAGE 13
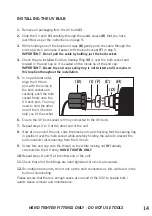
Installing the UV bulb
PAGE 14
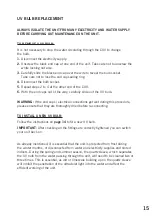
UV Bulb Replacement
PAGE 15
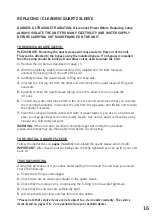
Replacing / Cleaning the Quartz Sleeve
PAGE 16
Control box replacement
PAGE 17
In Built Protection
PAGE 17
Trouble Shooting
PAGE 18
Frequently Asked Questions
PAGE 19
Guarantee
PAGE 20
UNBOXING THE UV
On unpacking, you will see that the UV bulb and quartz sleeve are packed separately
for safe transit. Please refer to pages 9 and 14 of this manual for instructions on how to
install the bulb and quartz sleeve. Quartz Sleeve O-Rings and flat washer sealing rings
are packed in separate small bags inside the box.
On the CUV's the stainless steel mounting brackets are pre-fitted. On the CUV110N,
the mounting brackets can be found in the cardboard end fitments, please remove these
and fit to the CUV110N.
Please take time to familiarise yourself with your UV and its components.
INTRODUCING THE CERTIKIN UV DISINFECTION SYSTEM
Congratulations on purchasing a Certikin UV disinfection system. Our range of
UV sterilisers have been manufactured using the latest technology and design
techniques. The UV will work alongside many different filtration systems designed
in combination with a residual sanitiser to disinfect pool water.
Please read this instruction manual carefully from start to finish before attempting
to install your UV.
Summary of Contents for Certikin CUV110N
Page 21: ......


