Maintenance
Accuracy Performance Tests
4
4-31
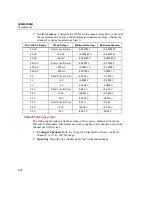
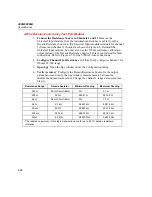
the instrument and has been inserted using the Configuration dialog. Use the
relay settings capability shown in the dialog to control the relays.
2.
Set Each Relay Pair
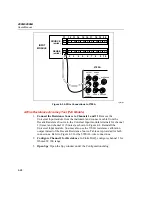
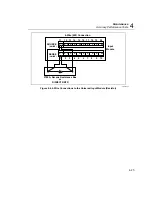
Set each relay pair. R#1 corresponds to the DIO relays
K1A/K1B.
3.
Verify Relays Close
Verify that relays close by measuring the contact
resistance. A contact resistance less than 1
Ω
is good.
Totalizer Tests
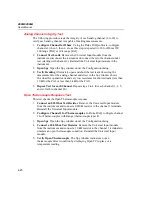
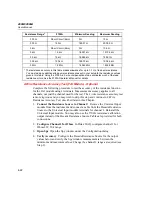
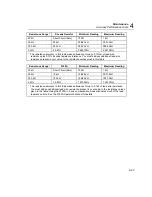
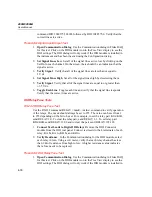
The totalizer tests check the correct operation of the totalizer including the
direction of counting and the signal level sensitivity. These tests can be run either
with RS-232 commands or using Fluke DAQ. For these tests, use the signal
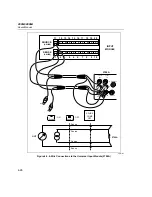
generator to generate the counts. The generator will be connected to the totalizer
input signal line (
Σ
). Connect the DIO channel 0 signal line to the totalizer enable
line
Σ
en) in the connector module.
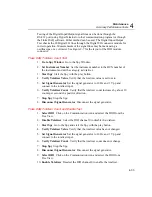
If you are using Fluke DAQ to perform the totalizer tests, select the DIO from
TreeView in the Configuration dialog. In the DIO Configuration dialog, Set the
start count in the DIO Configuration dialog to 0, deselect debounce (if selected),
and select direction as up. Click the Communication icon and select the DIO from
the TreeView. Deselect the DIO channel 0 (if selected) to enable the totalizer
RS-232 Totalizer Count Test
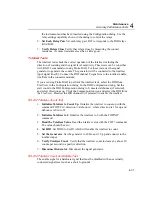
1.
Initialize Totalizer to Count Up
Initialize the totalizer to count up with the
command TOTCFG <direction>,<debounce>, where direction is 1 for up and
debounce is 0 for off.
2.
Initialize Totalizer to 0
Initialize the totalizer to 0 with the TOTINIT
command.
3.
Read the Totalizer Value
Read the totalizer value with the TOT? command.
The value should be zero.
4.
Set DIO
Set DIO 0 to 0 (off) which will enable the totalizer to count.
5.
Set the Generator
Set the generator to 10 Hz and 1 V pp and connect to the
totalizer input
6.
Verify Totalizer Count
Verify that the totalizer count increases by about 10
counts per second in a positive direction.
7.
Disconnect Generator
Disconnect the signal generator.
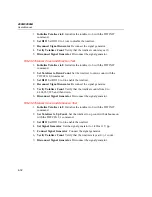
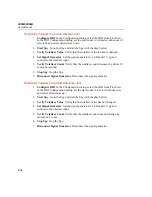
RS-232 Totalizer Count and Enable Test
The enable signal is a hardware signal that must be disabled with an externally
connected signal level such as a short to ground)
Summary of Contents for 2680A
Page 8: ......
Page 14: ...2680A 2686A Users Manual vi ...
Page 20: ...2680A 2686A Users Manual 1 2 ...
Page 98: ...2680A 2686A Users Manual 2 62 ...
Page 196: ......
Page 228: ...2680A 2686A Users Manual A 32 ...
Page 236: ...2680A 2686A Users Manual C 4 ...
Page 242: ...2680A 2686A Users Manual D 6 ...
Page 274: ...2680A 2686A Users Manual 6 ...


