2680A/2686A
Users Manual
4-30
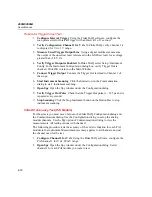
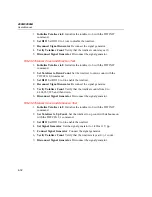
command DIO 1048575,524288 followed by DIO 1048575,0. Verify that the
correct lines are active.
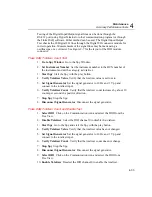
Fluke DAQ Digital Input/Output Test
1.
Open Communication Dialog
Use the Communication dialog in Fluke DAQ
for this test. Click on the DIO module icon in the TreeView display to see the
DIO settings. The DIO dialog will only work if the DIO module is installed in
the instrument and has been inserted using the Configuration dialog.
2.
Set Signal Lines Low
Set all of the signal lines active low by clicking on the
Set On for each channel. On the screen, there should be an indication that the
signal is active.
3.
Verify Signal
Verify that all of the signal lines are less than or equal to
1 V dc.
4.
Set Signal Lines High
Set all of the signal lines high by deselecting them.
5.
Verify Signal
Verify that all of the signal lines are equal to or greater than
+3.5 V dc.
6.
Toggle Each Line
Toggle each line and verify that the signal line responds.
Verify that the correct lines are active.
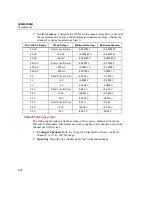
DIO Relay/Fuse Tests
RS-232 DIO Relay Fuse Test
Use the RS-232 command RELAY <mask>,<value> command to verify operation
of the relays. The mask should always be set to 255. The value can be set from 1
to 255 depending on the bit to be set. For example, to set the relay pair K1A/K1B,
send RELAY 1,0. To clear the relay pair, send RELAY 1,1. To set relay pair
K8A/K8B, send RELAY 128,0 and to clear the pair send RELAY 128,128.
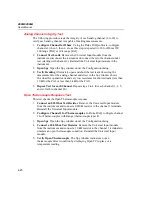
1.
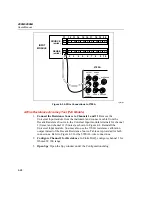
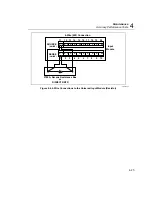
Connect Test Leads to Digital IO Relays
Remove the DIO Connector
module from the DIO rear panel. Connect test leads to the 4 terminals of each
relay, KA hi, KA lo, KB hi, and KB lo.
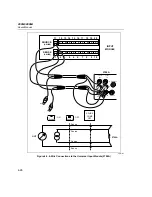
2.
Verify Resistance
In the Communication dialog for the DIO module, select
each relay in turn. Using a volt meter, verify that each relay channel has less
than 2
Ω
of resistance from high to low. A higher resistance value indicates
that a fuse needs to be replaced.
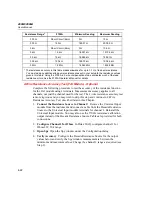
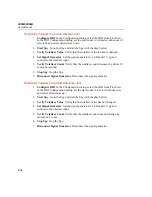
Fluke DAQ DIO Relay Fuse Test
1.
Open Communication Dialog
Use the Communication dialog in Fluke DAQ
for this test. Click on the DIO module icon in the TreeView display to see the
DIO settings. The DIO dialog will only work if the DIO module is installed in
Summary of Contents for 2680A
Page 8: ......
Page 14: ...2680A 2686A Users Manual vi ...
Page 20: ...2680A 2686A Users Manual 1 2 ...
Page 98: ...2680A 2686A Users Manual 2 62 ...
Page 196: ......
Page 228: ...2680A 2686A Users Manual A 32 ...
Page 236: ...2680A 2686A Users Manual C 4 ...
Page 242: ...2680A 2686A Users Manual D 6 ...
Page 274: ...2680A 2686A Users Manual 6 ...

