Installation
30
ScanIR3
5.4.3
Changing the Ethernet Settings for the Scanner
When using the linescanner on an Ethernet network you may need to change the IP address so that
the factory default address does not conflict with another device on the network. Change the IP
address following the procedure described below:
•
Make sure that the PC network adapter is configured as required, see sections 5.4.1
Changing the Ethernet Settings for the PC
•
Make sure that the scanner runtime software is stopped!
•
Switch off the scanner!
•
Switch on the scanner!
•
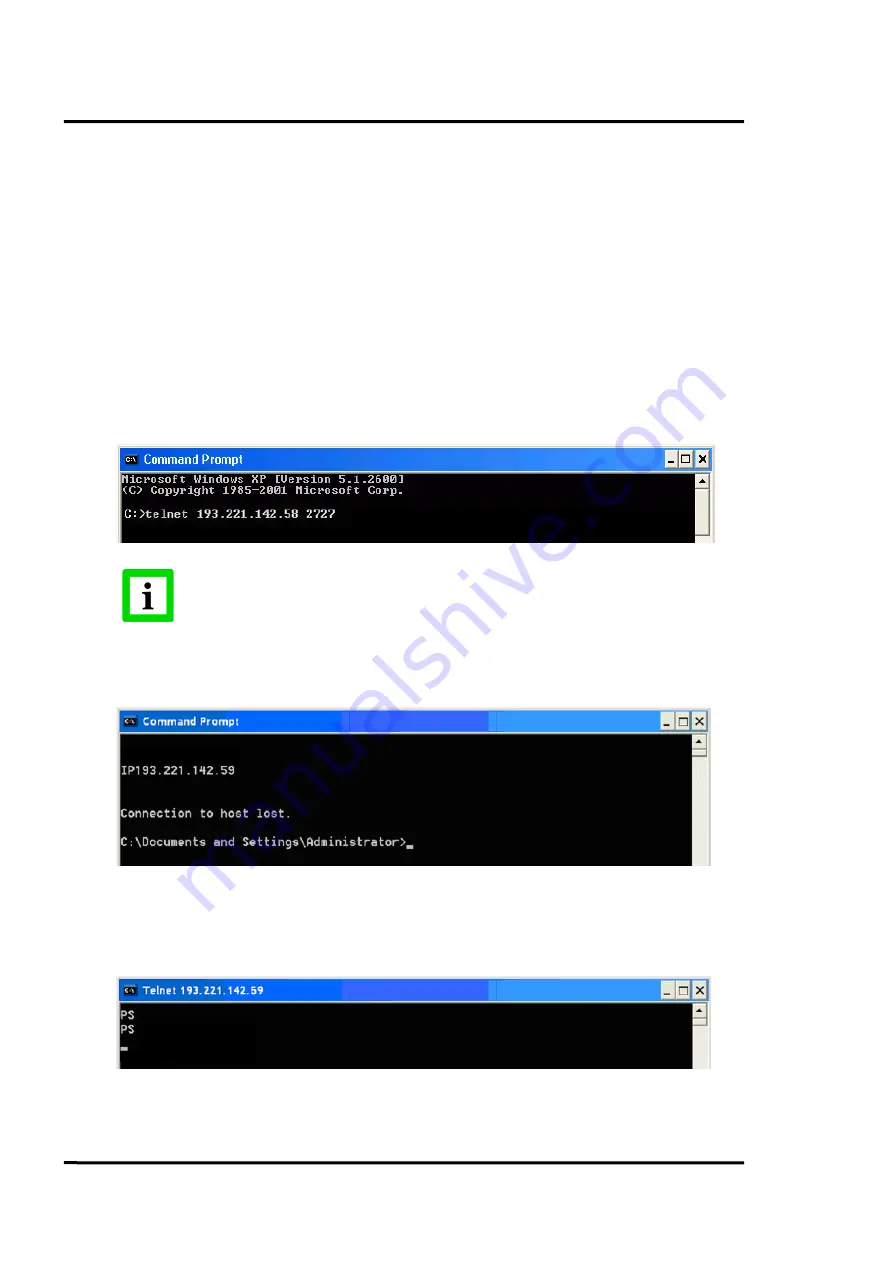
Open the Command Prompt window and start a Telnet session by using the command:
telnet <IPAddressScanner> <Port>
Windows 7 does not have Telnet enabled by default. Enable the Telnet Client by
using the command:
pkgmgr /iu:”TelnetClient”
•
Under Telnet you have access to the scanner command level. Give the new IP address for the
scanner with the command:
IP<NewScannerIPAddress>
•
With changing the IP address for the scanner you will immediately loose the connection, so
you have to restart a further Telnet session by using the new IP address for the scanner:
telnet <NewScannerIPAddress> <Port>
•
Save the new IP address permanentely in the scanner with the command:
PS
•
Stopp the Telnet session by closing the DOS window. The Ethernet communication will be
automatically closed.

