Operation
Low Range Piston Assembly
5
5-5
glg10.eps
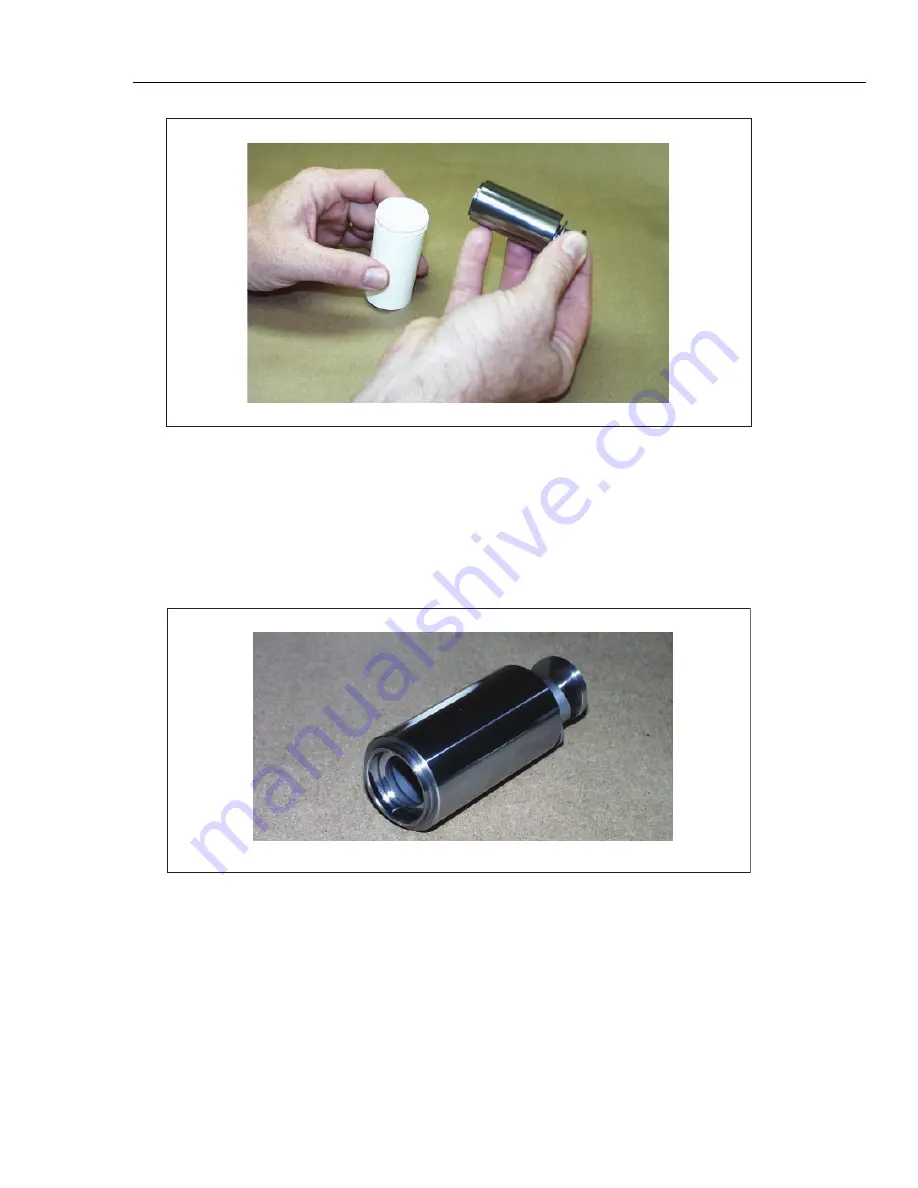
Figure 5-5. Handling the Low Range Piston and Cylinder
The Low Range Cylinder (2460-5-1) and Low Range Piston Assembly (2460-55) should
then be placed in the gauge after being cleaned according to the instructions in Chapter 6.
See Figure 5-6.
W
Caution
The O-Ring groove on the cylinder should be in the downward
position when the cylinder is placed in the gauge.
glg11.eps
Figure 5-6. Low Range Piston and Cylinder Showing O-Ring Groove
When screwing the Retaining Cap (2460-4-7) onto the cylinder, a slight upward force
may be necessary on the piston to properly seat the Piston Retainer (2460-5-5) into the
inner recess of the Retaining Cap. See Figure 5-7.
Summary of Contents for RUSKA 2465A-754
Page 5: ...iii List of Tables Table Title Page 2 1 Symbols 2 2 ...
Page 6: ...RUSKA 2465A 754 Users Manual iv ...
Page 8: ...RUSKA 2465A 754 Users Manual vi ...
Page 12: ...RUSKA 2465A 754 Users Manual 1 4 ...
Page 26: ...RUSKA 2456A 754 Users Manual 3 4 ...
Page 54: ...RUSKA 2465A 754 Users Manual 6 14 ...
Page 64: ...RUSKA 2465A 754 Users Manual A 10 ...
Page 66: ...RUSKA 2465A 754 Users Manual A 12 ...
Page 68: ...RUSKA 2465A 754 Users Manual B 2 glg32 bmp Figure B 1 P C ASSY LR CAL D ...
Page 70: ...RUSKA 2465A 754 Users Manual B 4 glg34 bmp Figure B 3 P C ASSY W O CLEANING KIT ...
Page 72: ...RUSKA 2465A 754 Users Manual B 6 glg36 bmp Figure B 5 PC ASSY MHR W O CLEANING KIT ...
Page 74: ...RUSKA 2465A 754 Users Manual B 8 glg38 bmp Figure B 7 P C ASSY HR CAL D W O CLEANING KIT ...
Page 80: ...RUSKA 2465A 754 Users Manual B 14 glg43 bmp Figure B 12 2465A 23 ...


