RUSKA 7050, 7050 & 7050LP
Users Manual
6-2
glc27.bmp
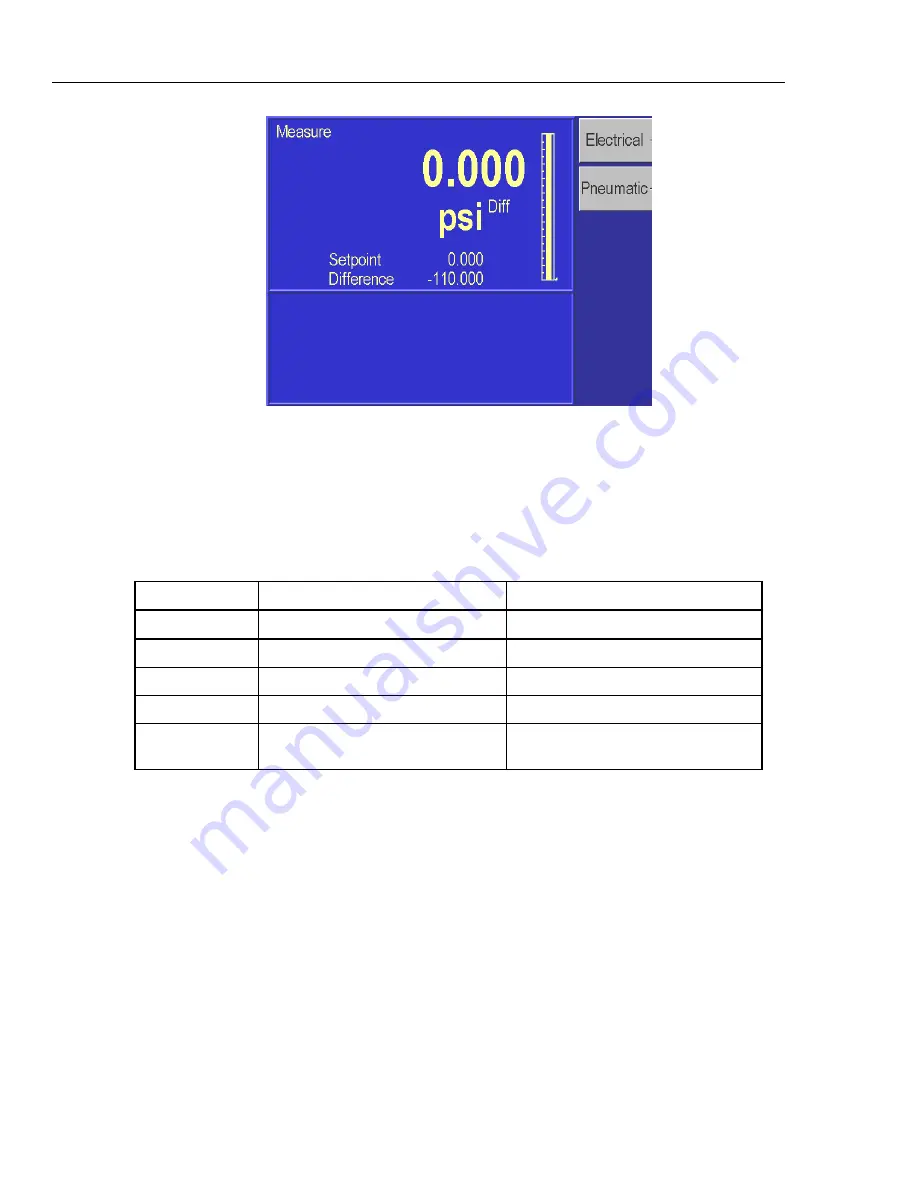
Figure 6-1. Menu | Test | Self - Menu
3.
Press ELECTRICAL [F1]. The electronics self test will run and display the results.
4.
Press PREVIOUS to return to the previous screen.
The electronics test runs eight sets of tests on various parts of the electronic modules.
Table 6-1 describes these tests and the possible actions needed if a test fails.
Table 6-1. Electronics Self Test
Test
Description
Action on failure
Processor
Tests the processor chip
Replace processor board.
Clock
Tests the real time clock
Replace processor board.
Timer
Tests 10 ms interval timer
Replace processor board
EEPROM
Tests the nonvolatile memory
Replace processor board
Oven
Tests operation of the sensor oven
Replace sensor assy. Allow oven to
warm up.
Removing the PPI’s Cover
WX
Warning
The PPI should only be opened by qualified
electrical/mechanical service technicians. Lethal voltages are
present and exposed in the power supply and display.
1.
Turn off the PPI and disconnect the power cord from the PPI.
2.
Locate and unscrew the four screws that secure the cover to the back panel.
3.
Place your hands near the middle of the cover and slide the cover towards the PPI’s
back panel.
4.
Lift up on the cover. With the cover removed, use typical electronic cleaning tools to
remove any accumulated dust from inside the instrument.
5.
Replace the cover before resuming operation.
Summary of Contents for RUSKA 7050
Page 3: ...7050 Change Language Hold key for 5 seconds mode enter...
Page 4: ......
Page 10: ...RUSKA 7050 7050i 7050LP Users Manual vi...
Page 12: ...RUSKA 7050 7050i 7050LP Users Manual viii 7 1 Packing the PPI 7 3...
Page 18: ...RUSKA 7050 7050i 7050LP Users Manual 1 6...
Page 32: ...RUSKA 7050 7050i 7050LP Users Manual 3 4...
Page 60: ...RUSKA 7050 7050i 7050LP Users Manual 5 14...


