


-2-
(5)
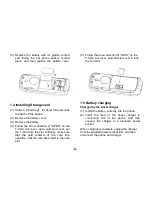
Replace the battery with its golden contact
part facing the set phone battery contact
piece, and then replace the battery cover.
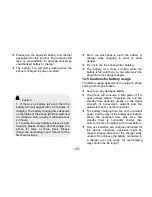
1.4 Installing Storage card
(1)
Hold on
【
End Key
】
for about three seconds
to switch off the phone.
(2)
Remove the battery cover.
(3)
Remove the battery.
(4)
Follow the arrow direction of "OPEN" on the
T-Card slot cover, open card slot cover, put
the T-Card into the slot vertically, make sure
that the gold contacts of the card face
upwards, until the card fixes itself in the card
slot.
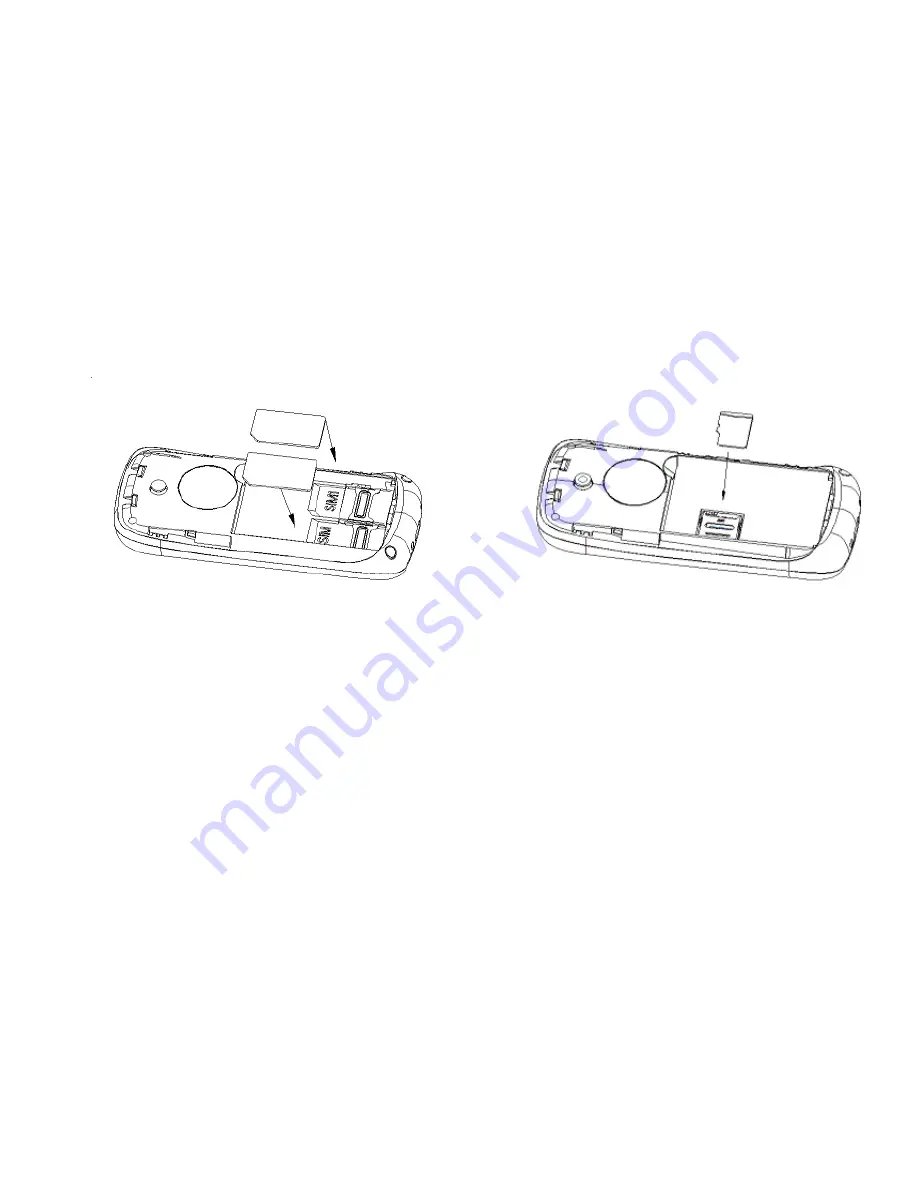
(5)
Follow the arrow direction of "LOCK" on the
T-Card slot cover, pull card slot cover to lock
the card slot.
1.5 Battery charging
Charged by the travel charger
(1)
Install the battery correctly into the phone.
(2)
Insert the lead of the travel charger to
connecting slot of the phone, and then
connect the charger to a standard power
socket.
When charging is complete, unplug the charger
from the standard power socket first, and then
disconnect the phone and charger.
Summary of Contents for DS187
Page 2: ......


