<
Back Next
>
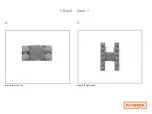
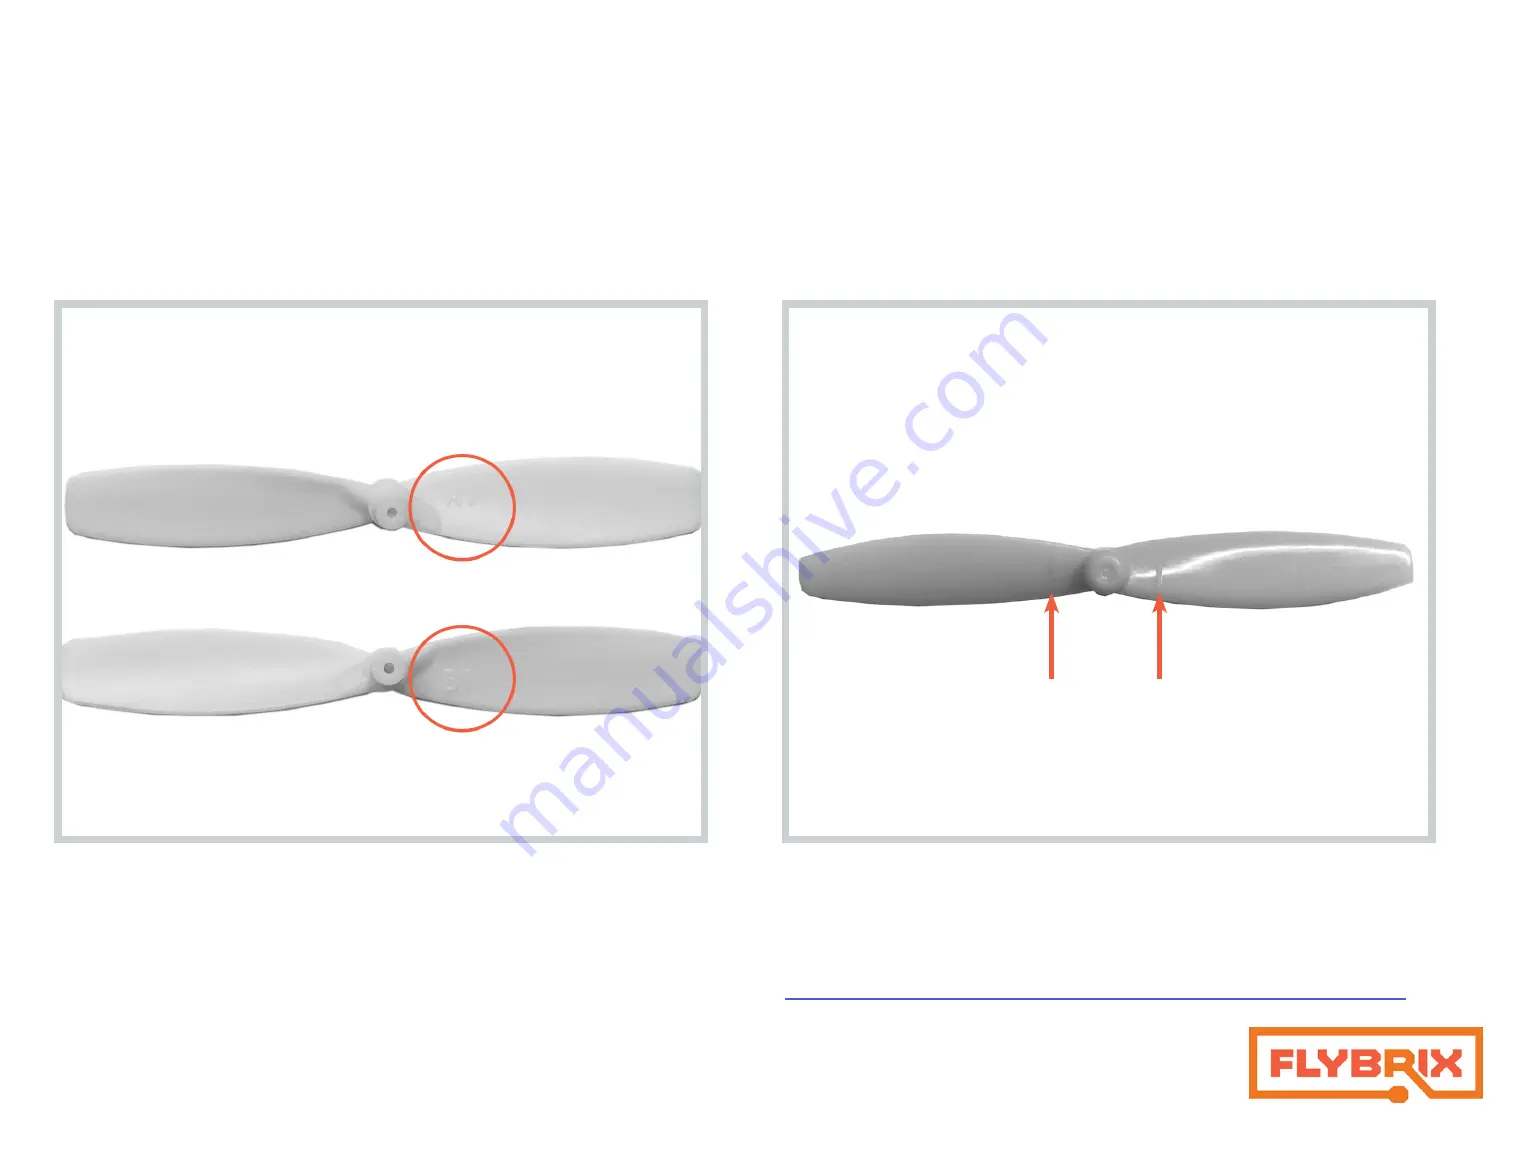
On the underside of the 60mm props, you’ll see “A” and “B” markings. (On the
larger, 65mm props, there are no “A” or “B” markings,. There are arrows on the top
of the
propellers, or you can rely on propeller shape to know how to attach them) .
When attaching your props, make sure the top of the propeller is facing up, and
the underside is facing down (toward the ground).
Take a moment to familiarize yourself with propeller shape, that way you’ll avoid
making mistakes attaching your propellers.... and you’ll be on your way to deeper
understanding of how propellers work!
Underside view of “A” and “B” Props
On the larger, 65mm props, there are no “A” or “B” markings,. There are
arrows on the top of the propellers that indicate the direction the pro-
peller spins. Now that you know the prop basics, the pro move is to rely
on propeller shape to know how to
attach them!
65 MM prop markings (top view)
To learn more about propellers, click here to read our blog article!
Summary of Contents for Angle Armed Quad
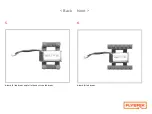
Page 20: ... Back Next 2 Attach 4 1x1 knobs 3 Attach 2 1x6 bricks ...
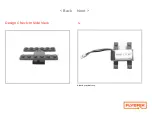
Page 21: ... Back Next Design Check In Side View 4 Attach your battery ...
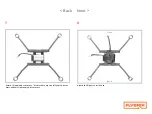
Page 22: ... Back Next 5 Attach 2 1x4 bricks and 4 1x1 knobs to the 1x4 bricks 6 Attach 2 1x6 bricks ...
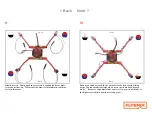
Page 30: ... Back Next 4 Attach the velcro tile to the 2x4 brick 5 Attach 2 1x4 bricks ...


