<
Back Next
>
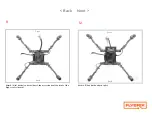
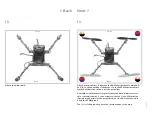
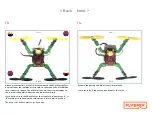
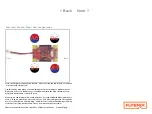
Here’s a summary configuration picture. Here you’ll see the red/blue motor has an
“A” prop attached in port O.
Use this handy map when you’re building your own airframes to make sure your
flights are a success! Build crazy cool airframes, attach the flight board, motors,
props and battery and see how it goes!
One way we experiment with new builds is to go crazy and build what we want to
see fly. Then we attach the motors, props etc. and give it a flight test. Through the
process of elimination and thinking... we adjust our creations like adding or taking
off bricks or moving parts around. That’s how we see what’s possible!
Share your experiments and creations on Flybrix.com/forum. Happy Flying!
Summary: Motor + Prop + Port Configuration
Front
Back
A,0
B,6
B,1
A,7
Summary of Contents for Angle Armed Quad
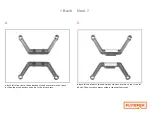
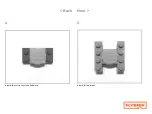
Page 20: ... Back Next 2 Attach 4 1x1 knobs 3 Attach 2 1x6 bricks ...
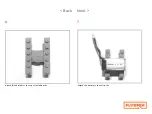
Page 21: ... Back Next Design Check In Side View 4 Attach your battery ...
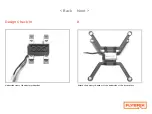
Page 22: ... Back Next 5 Attach 2 1x4 bricks and 4 1x1 knobs to the 1x4 bricks 6 Attach 2 1x6 bricks ...
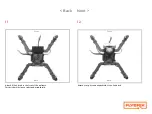
Page 30: ... Back Next 4 Attach the velcro tile to the 2x4 brick 5 Attach 2 1x4 bricks ...

