12
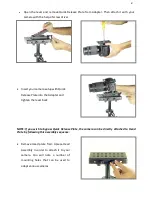
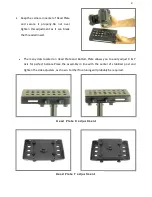
If the stabilizer be front heavy, loosen the screws on the sides of Head Plate and gently slide Head
Plate back until optimum balance is achieved. Tilting to the back means the load is tail heavy
requiring the plate to be adjusted forward on the head.
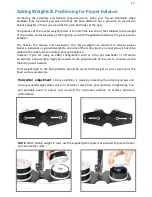
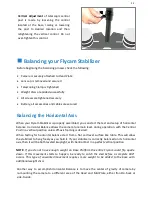
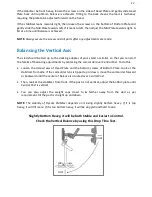
If the stabilizer leans towards right, then loosen the screws on the bottom of Bottom Plate and
gently slide the Mid Plate towards left. If it leans to left, then adjust the Mid Plate towards right. A
bit at a time until balance is achieved.
NOTE:
Always secure the screws and all parts after any adjustments are made.
Balancing the Vertical Axis
The sled should be tied up to the docking adapter of your stand or similar, so that you can start
the fore & aft balancing adjustments by centering the camcorder over Central Post. To do this-
Loosen the side screws of Head Plate and the bottom screws of Bottom Plate. Look at the
stabilizer from side. If the camcorder lens is tipped up or down, move the camcorder forward
or backward until the center of balance is situated over Central Post.
Then, look at the stabilizer from front. If the post is not vertical, adjust the bottom plate until
Central Post is vertical.
You can also adjust the weight cups closer to & farther away from the sled as per
requirement, till the post is straight up and down.
NOTE:
The stability of Flycam Stabilizer depends on it being slightly bottom heavy. If it is top
heavy, it will tilt more. If it is too bottom heavy, it will be sluggish and hard to aim.
Slightly Bottom Heavy, it will be both Stable and Easier to Control.
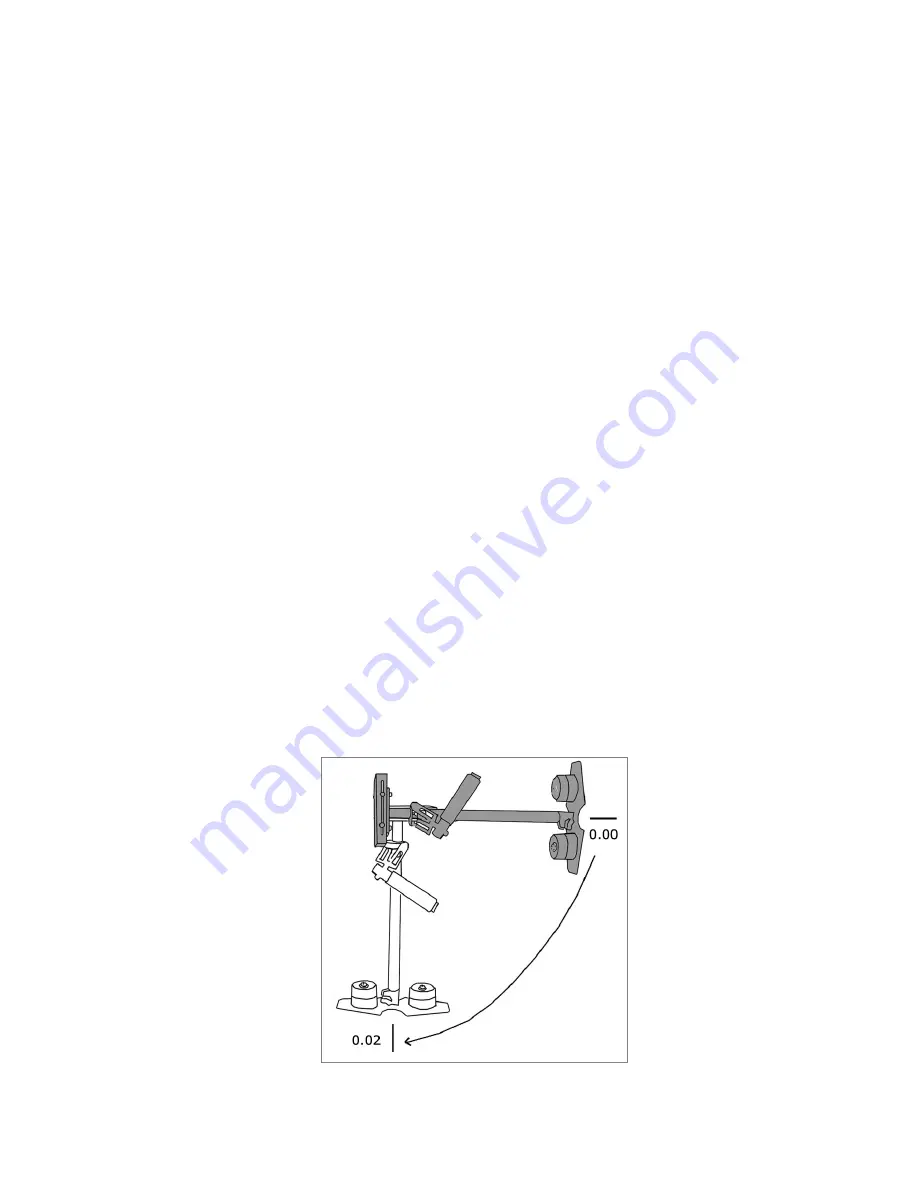
Check the Vertical Balance by using this Drop Time Test.

