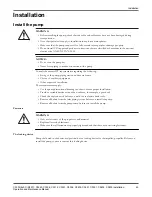
Make sure the sump is dry.
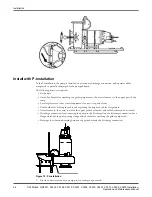
2. Place the discharge connection in the correct position.
3. Mount the anchor bolts.
4. Level the discharge connection, using a leveller and if necessary, shims.
5. Place the discharge connection in position, and tighten the nuts.
6. Connect the discharge pipe to the discharge connection.
7. Install the guide bars:
a) Secure the guide bars in the bracket.
b) Check that the guide bars are placed vertical by using a level or a plumb line.
8. Lower the pump along the guide bars.
On reaching the bottom position, the pump will automatically connect to the discharge connection.
9. Check that the pump is seated correctly at the discharge connection.
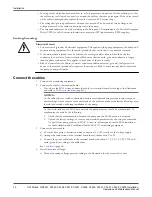
10. Secure the cables:
a) Make sure that the cables cannot be sucked into the inlet of the pump. Support straps are required
for deep installations.
b) Run the cables up to the electrical panel or junction box and connect them according to the
separate instructions.
11. Clean all debris from the sump, before filling the sump.
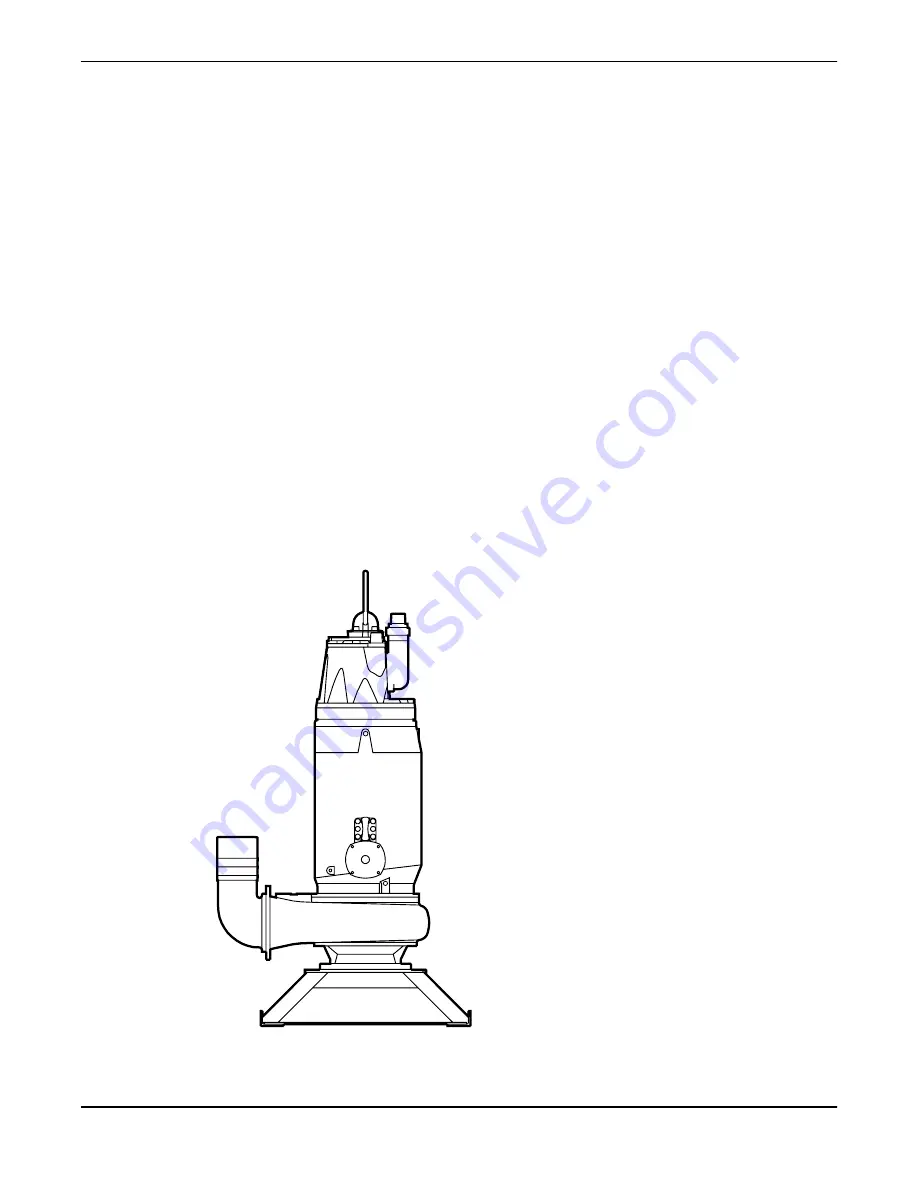
Install with S-installation
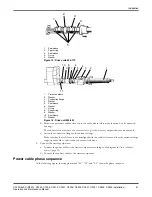
In the S-installation, the pump is transportable and intended to operate either completely or partially
submerged in the pumped liquid. The pump is equipped with a connection for hose or pipe and stands on
a base stand. For more detailed information about the different installation types, see the Parts List
document.
Figure 13: S-installation
1. Connect the discharge line.
2. Lower the pump into the sump.
Installation
C3300/6x5, C/R3231, C3240, C3306, C3312, C3351, C3356, C3400, C3501, C3531, C3602, C3800 Installation,
Operation and Maintenance Manual
47

