7
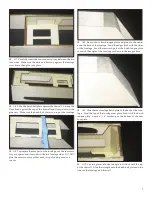
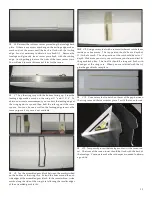
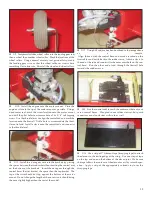
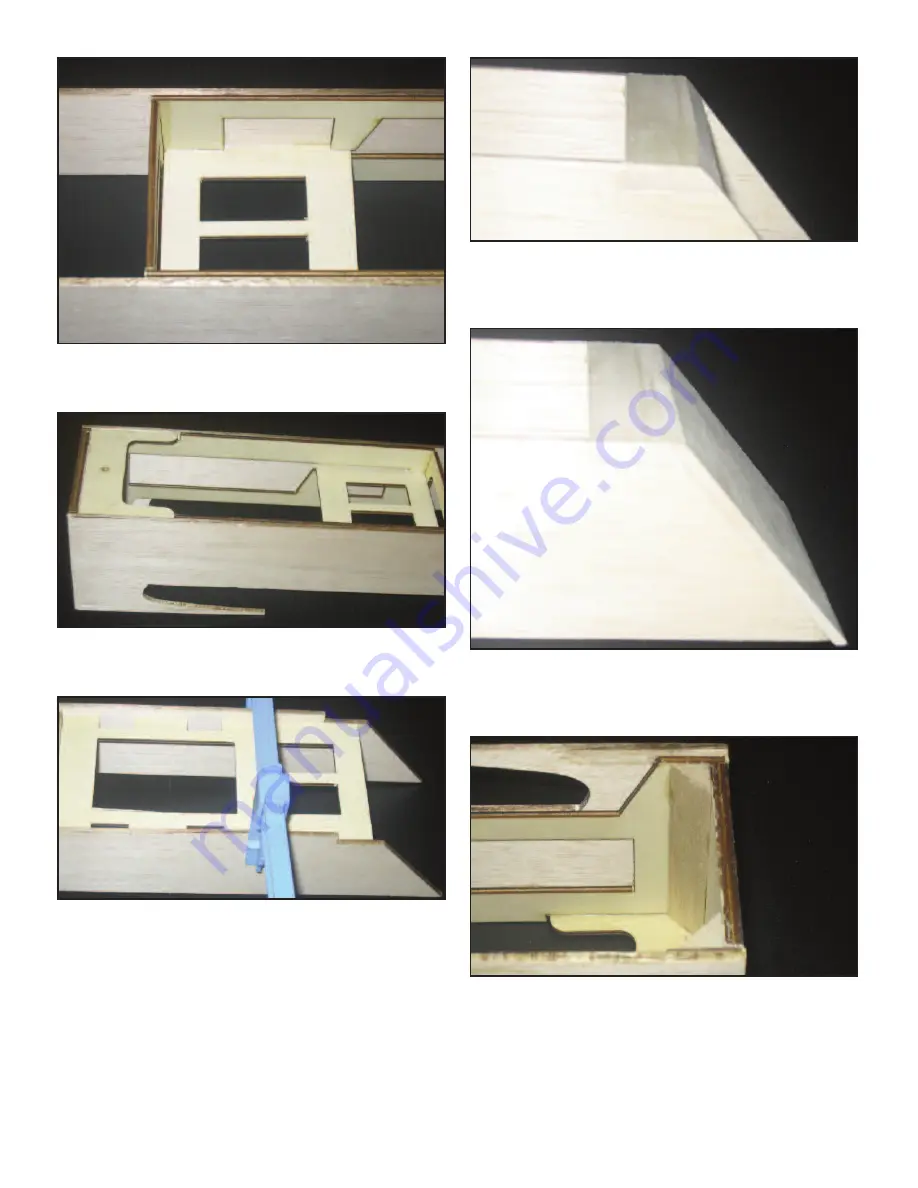
A7. Carefully insert the forward servo tray between the two
fuse sides. Make sure the back end butts up against the fuselage
cross brace, then glue into place.
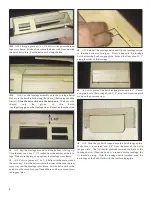
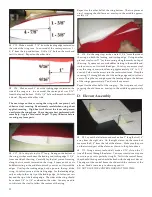
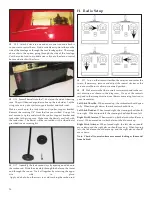
A8. Slide the hatch bolt plate against the firewall. Line up the
flaps flush against the top of the firewall and clamp down as the
glue sets. Make sure the hatch bolt plate is on top of the fuselage.
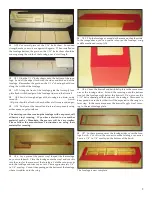
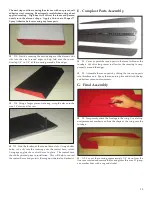
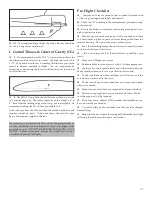
A9. To prepare the rear part of the fuselage, use the rear servo
tray as a spacer and clamp down the two fuselage sides. DO NOT
glue the rear servo tray at this time, it is only being used as a
spacer.
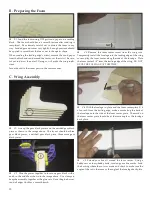
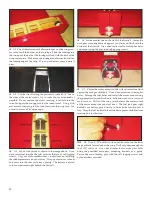
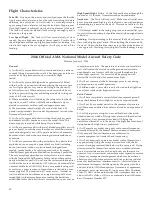
A10. Size and cut a hatch tongue plate and glue it to the notch-
es on the back of the fuselage. Sand the edges flush with the sides
of the fuselage. Sand the rearward part of the hatch tongue plate
to match the angle of the fuselage as shown in the image above.
A11. Glue the rear fuselage hatch plate to the back of the fuse-
lage. Sand the top of the fuselage rear plate flush with the hatch
tongue plate. Leave a 1/8” overhang on the bottom of the rear
fuse plate.
A12. Cut two pieces of balsa triangle to fit flush with the top
of the firewall. Glue the triangle onto the hatch bolt plate and the
sides of the fuselage and firewall


