8
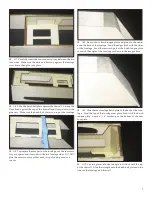
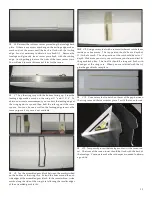
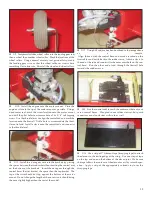
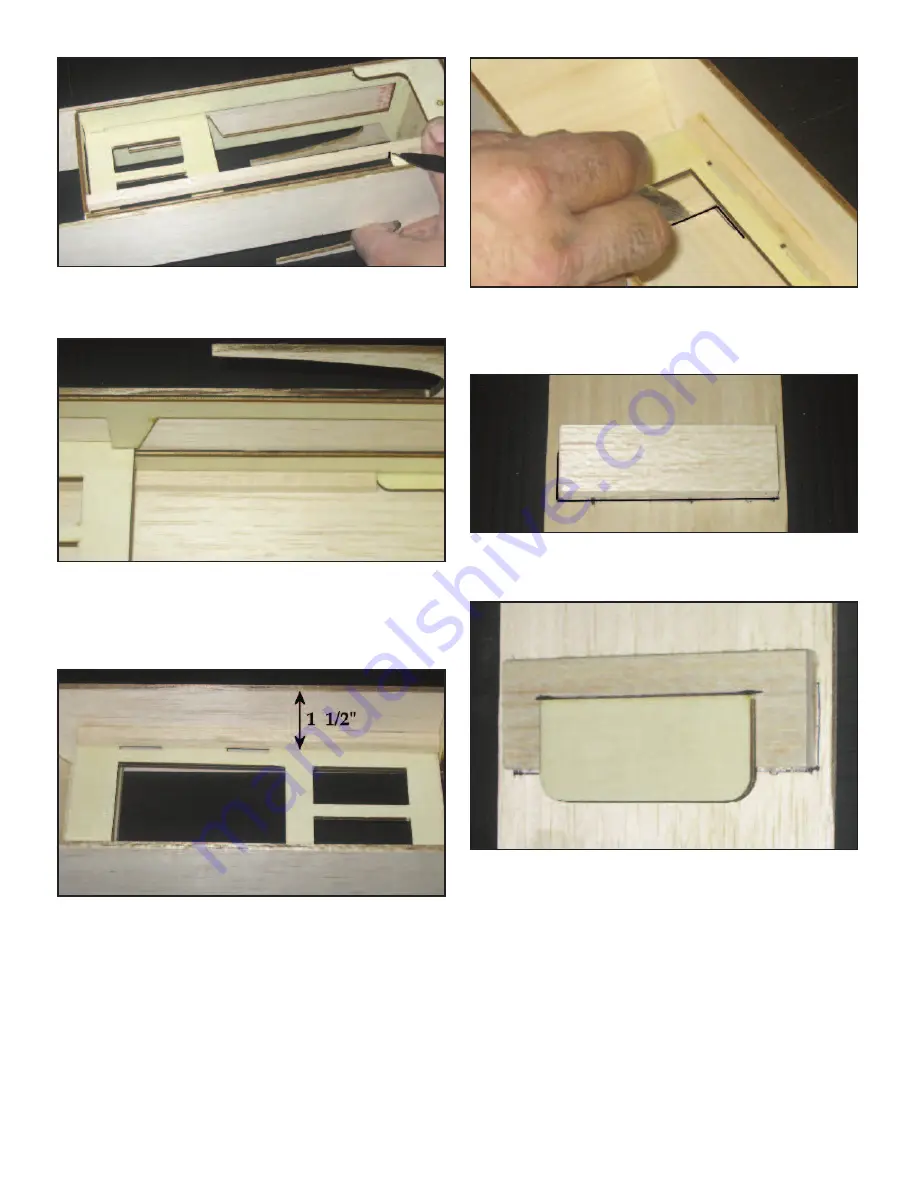
A13. Line up a piece of 1/4 x 1/4 balsa stick against the fuse-
lage cross brace. Scribe a line where the balsa stick lines up with
the hatch bolt plate. Cut the balsa stick along the line.
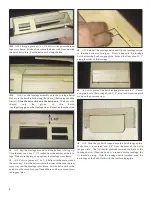
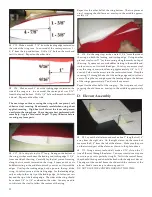
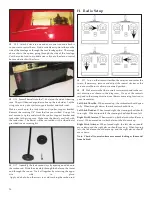
A14. Lay the fuselage assembly onto the fuselage hatch.
Make sure the hatch is flush along the sides of the fuselage and the
firewall.
Glue the balsa stick onto the hatch only.
The balsa stick
should
only
be
glued
to
the
hatch.
Avoid getting glue on the fuselage sides. Repeat on the other side.
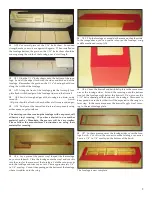
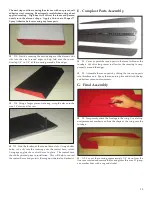
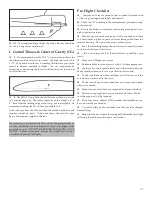
A15. Flip the fuselage around until the bottom is facing up.
Glue the rear servo tray 1 - 1/2 inches from the bottom of the fuse-
lage. Make sure the tray is up against the fuselage cross brace.
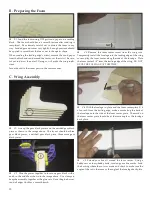
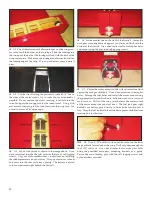
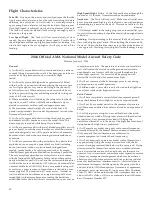
A16. Cut two pieces of 1/4 x 1/4 balsa stick the same size as
the servo tray. Glue the balsa sticks to the sides of the fuse, the rear
servo tray and the fuselage cross brace. Cut the balsa stick at the
notches on the servo tray, you’ll need these notches to mount your
radio gear later.
A17. Reinstall the fuselage hatch and flip the fuselage around
so that the bottom is facing up. Draw a line onto the fuselage
hatch across the hatch tongue plate. Extend the lines about 1/2”
along the sides of the fuselage.
A18. Cut a piece of the hatch tongue plate down to 3”. Center
and glue it onto the fuselage hatch 1/8” of an inch from line mark
made on the previous step.
A19. Glue the ply hatch tongue onto the hatch tongue plate.
Make sure it is centered and 3/8” from the front of the hatch
tongue plate. The lip should protrude towards the back of the
fuselage hatch. When the hatch is inserted onto the fuselage, the
fit should be snug. With the fuselage hatch installed, sand the
back edge of the hatch flush with the rear fuselage plate.


