162
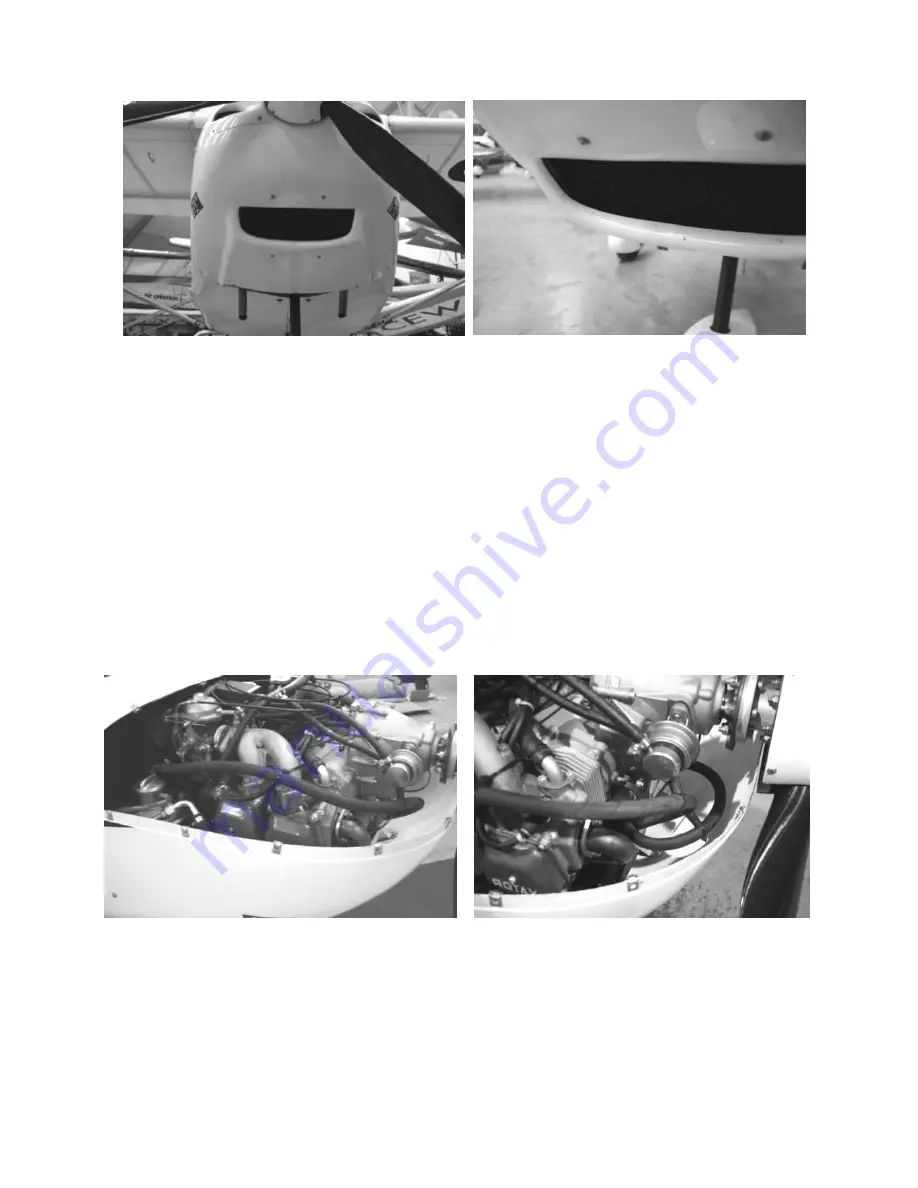
Figure 204 radiator position and attachment
d) With cowling in position. Check clearance from oil cooler to the heater jacket
intake on the exhaust. Cut this back as required to ensure a 10mm or so gap.
Install the hose from the port side of the oil cooler to pass around the
starboard side of the engine to the connection on the oil tank marked OUT.
The hose from the starboard side of the Oil cooler should be connected in a
smooth curve to the oil pump inlet on the front of the engine.
e) Remove the cowling now and Install the hose from the sump connection
beneath the engine passing beneath the lower cylinder head water pipes, but
above the exhaust pipes, to connect with the inlet on the oil tank (the angled
one towards the side of the tank, furthest from the filler cap).
f) Check that the oil pipes do not come close to or contact any part of the
exhaust, or anything else which may chafe or otherwise affect them.
Use cable ties to secure them to the engine / water pipes etc. when these
have all been fitted.
Figure 205 routing of oil hose from oil cooler connection to outlet on oil tank. Note use of
cableties through short lengths of fuel tubing to act as standoffs on fuel pump and inlet
manifold to secure hose.
Summary of Contents for Nynja Build
Page 1: ...1 Nynja Build manual Version 1 0...
Page 2: ...2 Figure 1 tube numbering scheme...
Page 3: ...3 Figure 2 Basic frame Skyranger...
Page 4: ...4 Figure 3 uncovered Skyranger frame...
Page 5: ...5 Figure 4 Uncovered Nynja frame Figure 5 Nynja fuselage with rear fairings removed...
Page 6: ...6 Figure 6 Nynja fuselage with rear fairings removed rear view Figure 7 simply assemble thus...
Page 22: ...22 Figure 13 forward fuselage from front quarter Figure 14 Cabin upper rear corner...
Page 60: ...60 Figures 65 cable arrangement further overview...
Page 86: ...86 Figure 100 Nynja elevator joiner with integral control horn...
Page 113: ...113 Figure 135 front jury strut attachment Figure 136 rear jury strut attachment...
Page 183: ...183 Figure 231 heavy duty power wiring schematic Rotax 912...
Page 184: ...184 Figure 232 low current wiring schematic Rotax 912...
Page 185: ...185 Figure 233 instrument wiring schematic Rotax 912...
Page 200: ...200 Nynja Build manual 1 0 18 2 One Piece Door Figure 250 one piece door frame...
Page 256: ...256 Nynja Build manual 1 0...
Page 257: ...257 Nynja Build manual 1 0 27 2 Wire locking...
Page 258: ...258 Nynja Build manual 1 0...
Page 259: ...259 Nynja Build manual 1 0...
Page 260: ...260 Nynja Build manual 1 0...
Page 265: ...265 Nynja Build manual 1 0...


