165
The sensor for this is actually the CHT sensor from the front port cylinder head.
Unscrew this and screw it into the water temperature fitting, using a touch of
sealant on the threads.
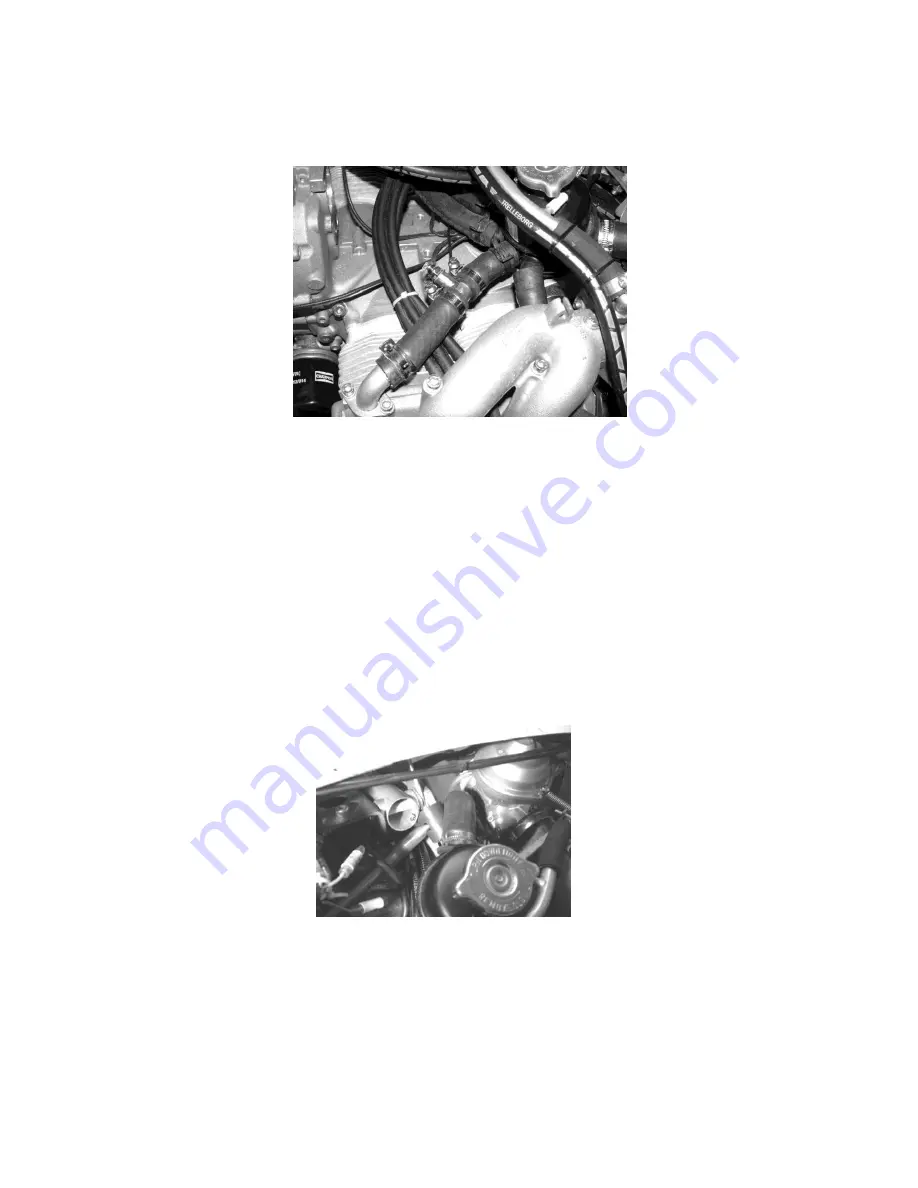
Figure 211 water temperature sensor.
f) Refit the hoses.
The hoses may have to be repositioned slightly to effect
maximum rotation of the expansion tank
.
g) Fit the rubber elbow on the port water pipe assembly to the expansion tank,
passing between the carburettor and the upper engine mounting plate.
Trial fit the inlet manifold and carburettor to check the positioning of the rubber
elbow. The elbow may touch the engine mounting plate. In this case position an
additional piece of rubber hosing to prevent wear.
h) When satisfied with the positioning, refit the manifold using a torque setting of
10Nm (1kgm, 7ftlb) on the 6mm diameter bolts.
i) The intake manifold balancing tube, crossing the engine in front of the
carburettors, must be curved forward more than its standard position to allow
more room for the expansion tank in its new position.
Figure 212 expansion tank and rubber elbow.
j) Fit the elbow at the front of the port water pipe assembly to the radiator.
It should be trimmed on the part closest to the water radiator to get the curve
forwards a s much as possible to give maximum clearance from the exhaust.
Make sure it is pushed home fully. Note all elbows are supplied over long and
should be trimmed for best fit. Before tightening the jubilee clips rotate the
elbows and piping to ensure best fit/maximum clearance.
Summary of Contents for Nynja Build
Page 1: ...1 Nynja Build manual Version 1 0...
Page 2: ...2 Figure 1 tube numbering scheme...
Page 3: ...3 Figure 2 Basic frame Skyranger...
Page 4: ...4 Figure 3 uncovered Skyranger frame...
Page 5: ...5 Figure 4 Uncovered Nynja frame Figure 5 Nynja fuselage with rear fairings removed...
Page 6: ...6 Figure 6 Nynja fuselage with rear fairings removed rear view Figure 7 simply assemble thus...
Page 22: ...22 Figure 13 forward fuselage from front quarter Figure 14 Cabin upper rear corner...
Page 60: ...60 Figures 65 cable arrangement further overview...
Page 86: ...86 Figure 100 Nynja elevator joiner with integral control horn...
Page 113: ...113 Figure 135 front jury strut attachment Figure 136 rear jury strut attachment...
Page 183: ...183 Figure 231 heavy duty power wiring schematic Rotax 912...
Page 184: ...184 Figure 232 low current wiring schematic Rotax 912...
Page 185: ...185 Figure 233 instrument wiring schematic Rotax 912...
Page 200: ...200 Nynja Build manual 1 0 18 2 One Piece Door Figure 250 one piece door frame...
Page 256: ...256 Nynja Build manual 1 0...
Page 257: ...257 Nynja Build manual 1 0 27 2 Wire locking...
Page 258: ...258 Nynja Build manual 1 0...
Page 259: ...259 Nynja Build manual 1 0...
Page 260: ...260 Nynja Build manual 1 0...
Page 265: ...265 Nynja Build manual 1 0...


