34
b) Apply threadlock and tighten the bolts holding the trailing edge U-brackets, as
they are not easily accessible later, but not so tight as to prevent easy rotation
of the fittings by hand pressure.
2.5.2 Fitting the rear cabin uprights.
Refer to figure 27
a) Assemble the rear cabin uprights
tu6
to the main undercarriage cross-beam
tu9
, using the second set of holes from the end.
Remember the bolt spacers on the two bolts at the bottom of
tu6
.
The bolts should all point rearwards through the main undercarriage
cross-beam
tu6
.
b) Lift the upper triangle into position on the rear cabin uprights
tu6
and
temporarily secure with an 8mm diameter bolt.
c) Secure the bolts through the rear cabin uprights
tu6
and the upper cabin
triangle tubes
tu10
including the proper spacers etc..
This is easier now the upper cabin triangle is in place, although it is still
worth leaving all the accessible bolts loose until more of the fuselage is
assembled.
The 8mm bolts securing the rear cabin uprights
tu6
are fitted with
spacers and the nut must not be done up yet as there are more pieces
to fit to it.
2.6 Rear cabin frame bracing.
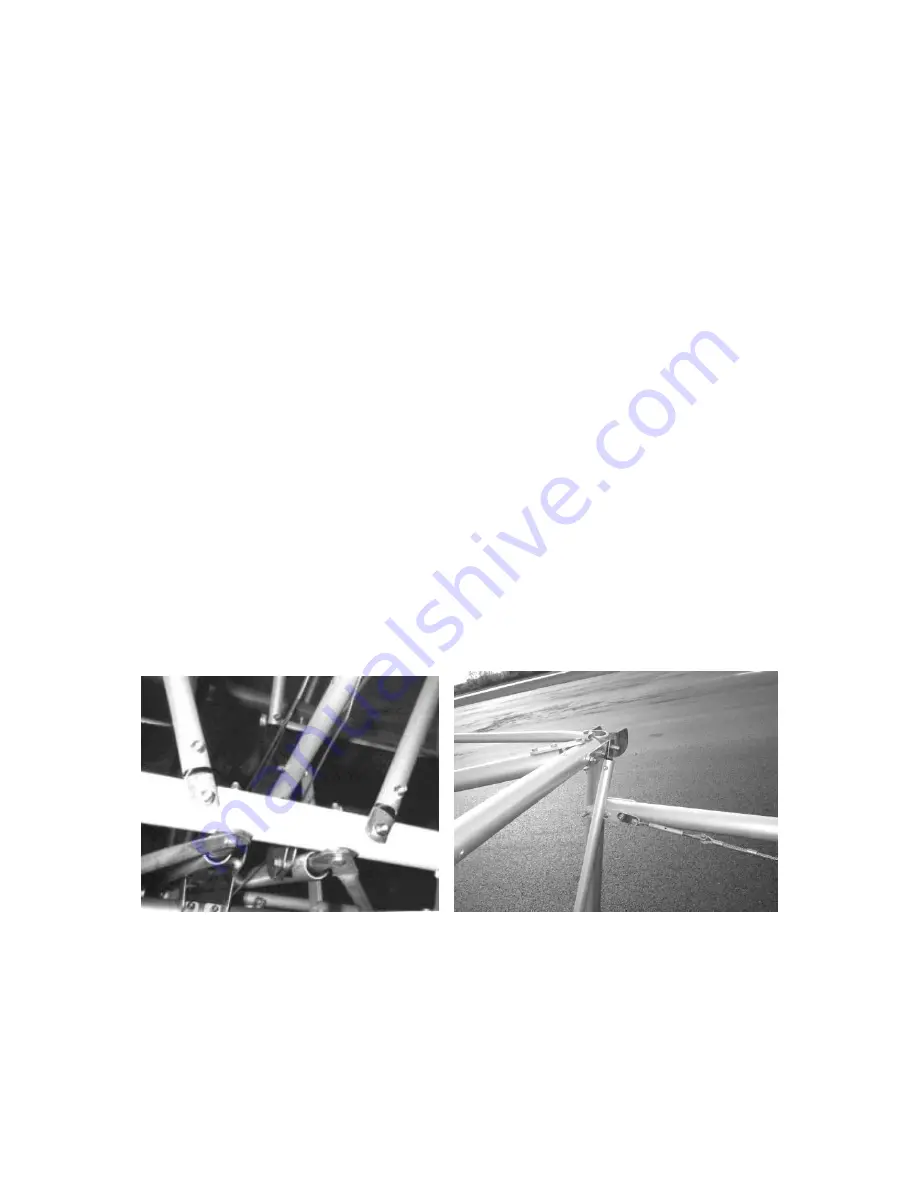
Figure 28 lower and upper ends of rear cabin frame diagonals.
a) Bolts and fittings for the TU9 tube are packaged separately
– in a bag marked
„SKR9/16‟. Find these now.
b) Assemble the steel end pieces into the rear cabin frame diagonals
tu27
.
The one with the 8mm hole goes at the upper end and the one with the
6mm hole goes at the lower end.
Summary of Contents for Nynja Build
Page 1: ...1 Nynja Build manual Version 1 0...
Page 2: ...2 Figure 1 tube numbering scheme...
Page 3: ...3 Figure 2 Basic frame Skyranger...
Page 4: ...4 Figure 3 uncovered Skyranger frame...
Page 5: ...5 Figure 4 Uncovered Nynja frame Figure 5 Nynja fuselage with rear fairings removed...
Page 6: ...6 Figure 6 Nynja fuselage with rear fairings removed rear view Figure 7 simply assemble thus...
Page 22: ...22 Figure 13 forward fuselage from front quarter Figure 14 Cabin upper rear corner...
Page 60: ...60 Figures 65 cable arrangement further overview...
Page 86: ...86 Figure 100 Nynja elevator joiner with integral control horn...
Page 113: ...113 Figure 135 front jury strut attachment Figure 136 rear jury strut attachment...
Page 183: ...183 Figure 231 heavy duty power wiring schematic Rotax 912...
Page 184: ...184 Figure 232 low current wiring schematic Rotax 912...
Page 185: ...185 Figure 233 instrument wiring schematic Rotax 912...
Page 200: ...200 Nynja Build manual 1 0 18 2 One Piece Door Figure 250 one piece door frame...
Page 256: ...256 Nynja Build manual 1 0...
Page 257: ...257 Nynja Build manual 1 0 27 2 Wire locking...
Page 258: ...258 Nynja Build manual 1 0...
Page 259: ...259 Nynja Build manual 1 0...
Page 260: ...260 Nynja Build manual 1 0...
Page 265: ...265 Nynja Build manual 1 0...


