Chapter 1
Fully charge battery before using your Flymaster for the first time.
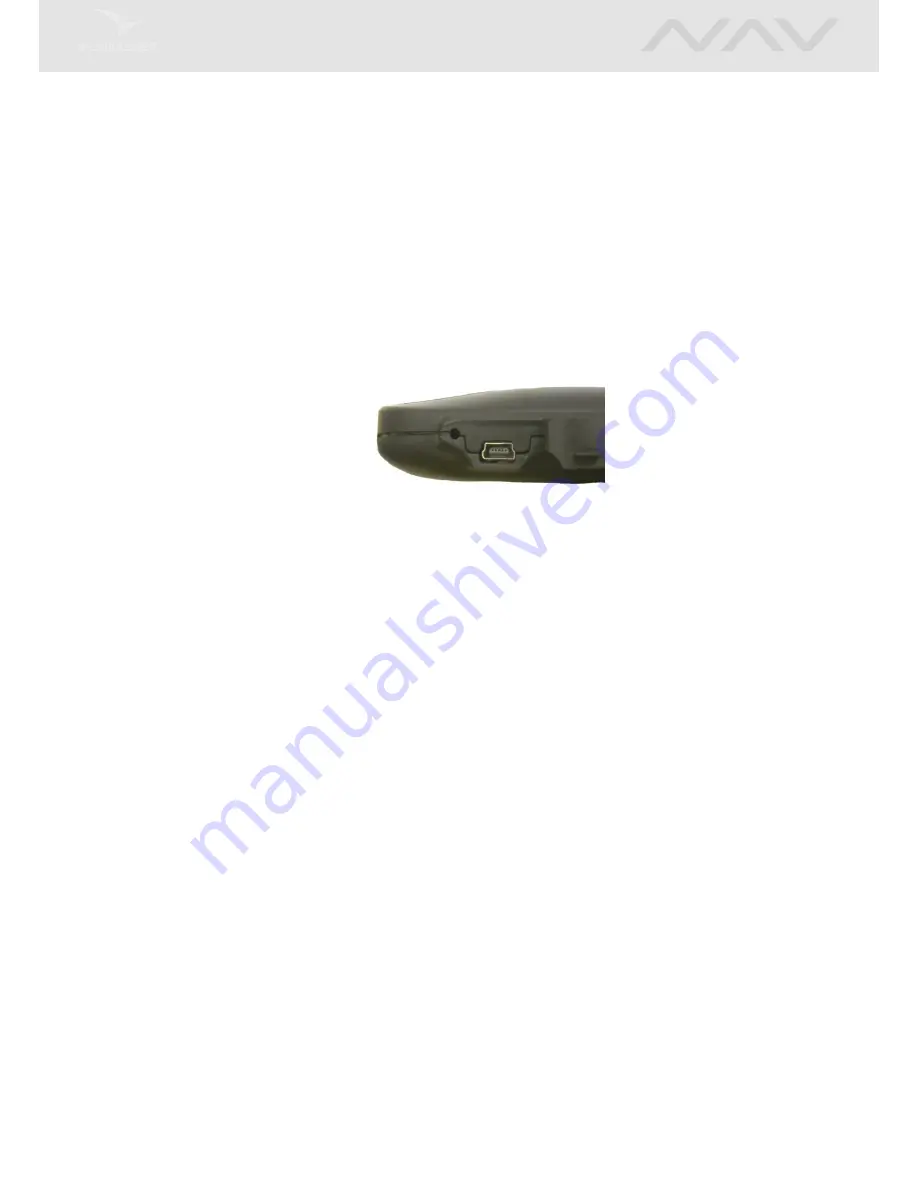
Figure 1.1: right view
The battery may be charged by either connecting the NAV USB connector to the wall socket
charger or USB cable. USB connector can be found on the right side of the NAV (see figure
1.1
).
1.1
Charging the Battery
Flymaster NAV has an advanced battery power management system, which gives the pilot accurate
information about the battery state, as well as the charging time and battery remaining time.
To charge the Flymaster NAV battery you can use the wall charger, the USB cable, or the car
charger. Original Flymaster accessories are recommended in order to avoid damage to the power
management system.
The Flymaster NAV has 2 charging modes, namely,
Quick Charge
and
Slow charge
. The charging
mode choice is automatic and based on the power source.
Quick charge
mode is activated when
charging with the wall charger or the car charger, while Slow Charge mode is activated when a USB
cable connected to a PC or MAC is used.
Charging, and battery status information is shown on both the power up screen and the
Shutdown
menu.
When the Flymaster NAV is connected to a power supply (wall charger or via USB cable), even
with the unit off, the instrument will show if it is being
Slow
or
Fast
charged. The time remaining
to full charge is also shown. This may not appear immediately a power source is connected since
the instrument requires some time to calculate the remaining charge time required. A
Slow
charge
is ok for topping up the battery but not for fully charging. Please use the wall or car charger to
fully charge the instrument.
Note: The instrument will not charge when it is turned on and connected to a PC. To
charge the battery from a USB to PC connection the instrument must be turned off.
This behavior is deliberate to prevent overwhelming competition organizer’s download
hubs.
5
Summary of Contents for NAV
Page 1: ...User manual Document version 3 4...
Page 25: ...24...
Page 37: ...Figure 8 2 Critical Airspace Data 36...
Page 61: ...Figure 14 1 Firmware Update 60...


