background image

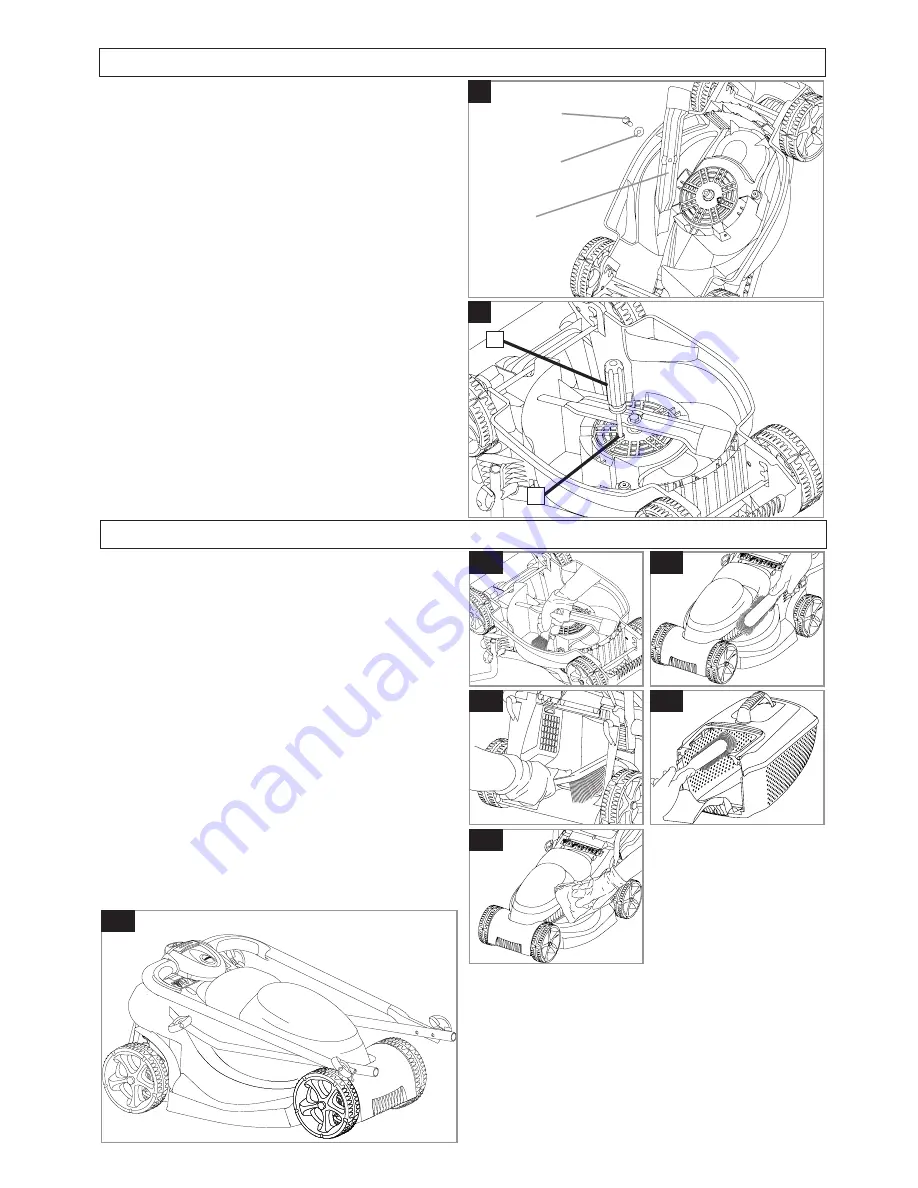
Removing and Fitting the Blade

Caring for your Lawnmower

Cleaning

USE GLOVES

IMPORTANT:- It is very important that you keep your lawn-
mower clean.  Grass clippings left in any of the air intakes or
under the deck could become a potential fire hazard.

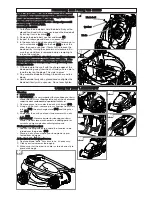
1. Remove grass from under the deck with brush. (R1)
2. Using a soft brush - remove grass clippings from all air

intakes (R2), the discharge chute (R3) and the grass
box (R4).

3. Wipe over the surface of your lawnmower with a dry

cloth (R5).

IMPORTANT:- Never use water for cleaning your lawn-
mower.  Do not clean with chemicals, including petrol, or
solvents - some can destroy critical plastic parts.

Storing your Lawnmower:

Loosen the wing knobs to enable the handles to be
folded over the product (S1).

Store in a dry place where your lawnmower is pro-
tected from damage

At the End of the Mowing Season
1. Replace blade, bolts, nuts or screws, if necessary.
2. Clean your lawnmower thoroughly.
3. Make sure that the electric cable is stored correctly to

prevent damage.

R1

Switch off, wait until the blade has stopped rotating and
disconnect from the mains electricity supply BEFORE at-
tempting to remove or refit the blade.
Always handle the blade with care - sharp edges could
cause injury.  USE GLOVES.
Removing the Blade
1. To remove the blade bolt, hold the blade firmly with a

gloved hand and with a spanner, loosen the blade bolt
by turning it anti-clockwise (P).

2. Remove the blade bolt, washer and blade.(P)
3. Inspect for damage and clean as necessary.
4. In the event of a blade becoming difficult to remove, in-

sert a screwdriver (Q1) into the hole (Q2) to lock the
drive, then use a spanner (13mm A/F) to loosen the
blade bolt by turning the spanner anti-clockwise.  En-
sure the screwdriver is removed before atempting to
turn on the machine.

Renew your metal blade after 50 hours mowing or 2 years
whichever is the sooner - regardless of condition.  If the
blade is cracked or damaged replace it with a new one.
Fitting the Blade
1. Fit the blade to the shaft with the sharp edges of the

blade pointing away from the shaft and you are able to
read the text on the blade ‘This side to grass’

2. Re-assemble blade bolt through the washer and the

blade.

3. Hold the blade firmly with a gloved hand and tighten the

blade bolt firmly with a spanner.  Do not over tighten.

P

blade

blade bolt

washer

Q

R2

R3

R4

R5

1

2

S1

Summary of Contents for Speedi-Mo

Page 1: ... IMPORTANT INFORMATION Read before use retain for future reference Speedi Mo Original Instructions ...

Page 2: ...t people especially children or pets are in the area Beware of sharp blades remove plug from mains before maintenance or if cable is dam aged Blades continue to rotate after the machine is switched off Keep the cable supply away from the blade electric cable with moulded on plug grassbox upper grassbox lower cable clip x 2 bolt x 2 instruction manual upper handle lower handle x 2 start stop lever ...

Page 3: ...Remove the plug from the mains before leaving the product unattended for any period before clearing a blockage before checking cleaning or working on the appliance if you hit an object Do not use your product until you are sure that the entire product is in a safe operating condition if the product starts to vibrate abnormally Check im mediately Excessive vibration can cause injury Maintenance and...

Page 4: ...x handle into the slots in the grass box upper until it clicks securely into position E 3 Starting at the rear of the grassbox locate the grass box upper into the grassbox lower by aligning the clips F1 Ensure all clips are correctly located F2 before clicking into position 4 Clip the two halves together ensuring all clips are se curely connected Assembly Instructions B C Grassbox D Fitting Fully ...

Page 5: ... There are two start stop levers fitted Either one can be used for starting the lawnmower IMPORTANT Do not use the start stop levers intermit tently To Stop your Lawnmower 1 Release the pressure on the Start Stop lever L M 1 6cm 4cm How to Mow 1 Start mowing the edge of the lawn nearest to the power point so the cable is laid out on the lawn you have already cut 2 Mow twice a week during the growi...

Page 6: ...from the mains electricity supply BEFORE at tempting to remove or refit the blade Always handle the blade with care sharp edges could cause injury USE GLOVES Removing the Blade 1 To remove the blade bolt hold the blade firmly with a gloved hand and with a spanner loosen the blade bolt by turning it anti clockwise P 2 Remove the blade bolt washer and blade P 3 Inspect for damage and clean as necess...

Page 7: ...low Pages To obtain service on your product simply telephone or visit your local Service Centre Should you require service under the terms of our guarantee the Service Centre will require proof of purchase All of the centres listed stock genuine Spare Parts NOTE Our Service Repairers act on their own behalf and are not empowered to commit or legally bind Husqvarna UK Ltd in any manner whatsoever I...

Page 8: ...108 EC 2000 14 EC 2011 65 EU based on the following EU harmonized standards applied EN60335 1 EN60335 2 77 EN50366 EN55014 1 EN61000 3 2 EN61000 3 3 The maximum A weighted sound pressure level LpA at the operator s position measured according to EN60335 2 77 is given in the table The maximum hand arm vibration weighted value ah measured according to EN ISO 20643 on a sample of the above product s ...

Reviews: