background image

Pre-operation Checks

- 13 -

Brakes

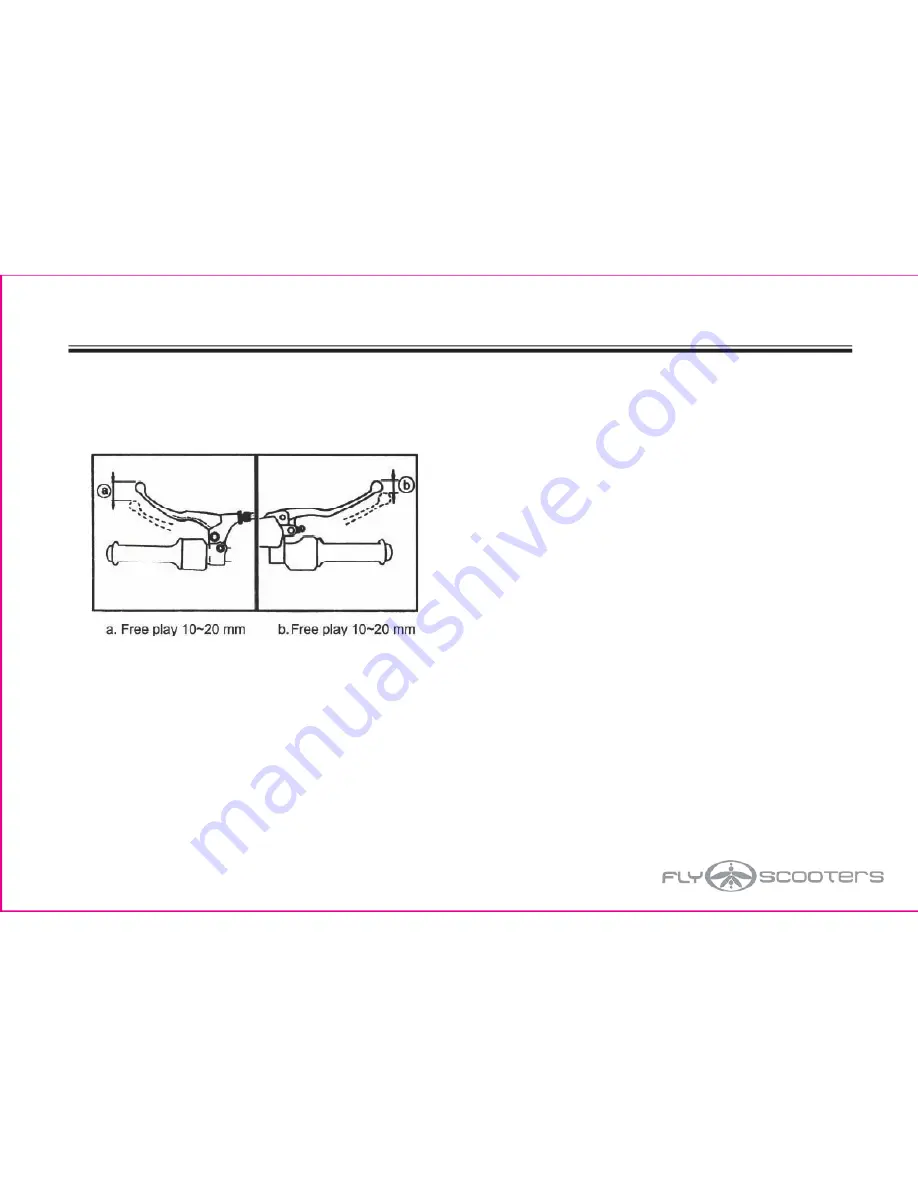
Check  for  correct  free  play  in  the  brake 
levers and adjust them if necessary.  Make 
sure  the  brakes  are  working  properly  by 
testing at a low speed shortly after starting 
out.

A soft, spongy feel in the brake lever indicates 
a problem in the brake system.  Do not operate 
the  scooter  until  the  problem  in  the  brake 
system has been corrected.  Visit an authorized 
Flyscooters dealer for immediate repair.

Summary of Contents for il bello

Page 1: ...Owner s Manual Read this manual carefully It contains important safety information No one under the age of 16 should operate this scooter Model il bello Engine 50cc 150cc flyscooters ...

Page 2: ... offers helpful hints on scooter safety proper maintenance features and functions and other essential information to ensure the proper operation of your Flyscooter We would also like to remind you to carefully review Flyscooters warranty policy available at www flyscooters com To activate your warranty coverage you must register online at www flyscooters com under the section titled Rider Support ...

Page 3: ...Engine oil 15 Tires 16 17 Fittings 18 Lights signals switches 18 Mirrors 18 Fuel 19 OPERATION Starting engine 20 21 Starting off 21 Acceleration 22 Parking 22 Break in period 23 PERIODIC MAINTENANCE Periodic maintenance 24 Maintenance chart 25 Engine oil 26 27 Gear oil replacement 28 Cleaning air filter 29 Spark plug inspection 30 Brake lever adjustment 31 Brake fluid check 32 Brake fluid replacem...

Page 4: ...nt Always Wear Protective Gear It is a proven fact that helmets significantly reduce the number and severity of head injuries Always wear helmets eye protection sturdy boots gloves and other protective gear when riding Make Yourself Visible Some drivers do not look for scooters while driving and are often unaware of their presence on the road To make yourself highly visible wear bright reflective ...

Page 5: ...For safe riding it is important to inspect your scooter before every ride and perform recom mended maintenance in accordance to the maintenance chart or when needed for safe opera tion Load Limit Guidelines Your scooter has been designed to carry you and one passenger When you carry a passenger you may notice some changes in acceleration and braking Exceeding the weight limit or carry ing an unbal...

Page 6: ... levers 3 Helmet hook 4 Instrument panel 5 Main switch 6 Seat Cushion 7 Air box 8 Seat lock 9 Brake light 10 Rear reflectors 11 Gas tank 12 Center stand 13 Kick starter 14 Side stand 15 Muffler 16 R L rear turn signals 17 Headlight 18 R L turn signals ...

Page 7: ...indicates the direction of the turn signal that is activated 4 Fuel Gauge Fuel guage indicates the level of fuel remain ing in the fuel tank It does not work when main switch is in the OFF position Fill the tank with 90 octane or higher gasoline High Beam Indicator Lights up when high beam is in use Caution Use high beam only during day light hours or at night when there is no on coming traffic or...

Page 8: ...1 Speedometer 2 Odometer 3 Turn signal indicators 4 High beam indicator 5 Fuel gauge Description ...

Page 9: ...essing the electric ignition button or by manually kick starting the engine OFF Position All electrical circuits are switched off The engine stops The ignition key can be removed in this position LOCK Position The steering column is locked when in this position The ignition key can be removed Main Switch ...

Page 10: ...trument Control 7 2 Turn the key fully to LOCK position 3 Pull to remove the key 1 Push the key inward on the main switch Turn the handlebar fully to the left and lock the steering column to prevent theft ...

Page 11: ...to the direction you want to turn Push the white center button to cancel Signals do not self cancel 3 Horn button 4 Light switch Your scooter is designed to have constant running light in accords with DOT requirements Lights can not be turned off 5 Electric starting switch 6 Engine kill switch Engine off Engine on Squeeze the brake lever and press the button to start the engine ...

Page 12: ...he access panel by pulling back on the door 3 Turn the fuel cap 1 4 of a full turn counter clockwise Seat Storage Access To access the storage compartment under the seat insert the key into the lock and turn as shown below Return the seat to its origi nal position and press down to engage the lock ...

Page 13: ... Rear Brake Lever The rear brake lever is located by the left handlebar Squeeze the lever to apply rear brake Front Brake Lever The front brake lever is located on the right handlebar Squeeze the lever to apply front brake ...

Page 14: ... can be found underneath the seat cushion To access this storage space unlock the seat and lift the seat cushion Front Helmet Hook The helmet hook is used to hang helmet bags or other items while the scooter is parked It should be clear of items when you are riding your Il Bello ...

Page 15: ... Throttle Engine Oil Tires Wheels Fittings Light Switches Fuel PAGE 13 14 15 15 16 17 18 18 18 Mirrors 19 SUMMARY Check operation freeplay fluid level and leakage Fill only with DOT4 brake fluid Check for smoot operation Adjust if necessary Check oil level Add10W 40 motorcycle oil if necessary Check tire pressure wear and damage Check all chassis fittings and fasters Tighten if necessary Check ope...

Page 16: ...e sure the brakes are working properly by testing at a low speed shortly after starting out A soft spongy feel in the brake lever indicates a problem in the brake system Do not operate the scooter until the problem in the brake system has been corrected Visit an authorized Flyscooters dealer for immediate repair ...

Page 17: ...uid leaks out from the pipe joints by the handlebar or at the master cylinder by brake discs If any leakage is found stop riding the scooter immediately and contact an authorized Flyscooters dealer for servicing Check the brake fluid level in the brake reservior by the handlebar Add DOT4 brake fluid if necessary ...

Page 18: ...e grip returns to the original posi tion by spring force when it is released Ask an authorized Flyscooters dealer to make any necesary adjustments Engine Oil Check 1 Maximum level 2 Mnimum level Engine oil should be filled between maximum and minimum level as shown in the diagram above Use only quality motor oil with ratings of 10W 40 ...

Page 19: ...urability and safe operation always check and adjust the tire pressure before each ride The tire pressure must be adjusted according to the total weight of the cargo rider passenger accessories and vehicle speed Refer to each tire wall for the proper inflation pressure guide ...

Page 20: ...punctured The total weight of the cargo rider passen ger and accessories should not exceed the maximum loading limit of your scooter Operating an overloaded scooter may cause tire ruptures accidents and serious injuries Proper loading affects the riding character istics of your scooter including handling braking and acceleration Do not carry loosely packed items that can shift during travel Distri...

Page 21: ...ur scooter to an authorized Flyscooters dealer for proper torque adjustment every six months Lights Singals and Switches Check all the lights Make sure they are all in working condition Check the operation of the handlebar switches and the main switch Mirrors To ensure maximum visibility adjust mirrors as shown in the illustration ...

Page 22: ...stration Over filling the tank can flood the fuel system results in the scooter not starting and or stalling out under normal operating conditions Avoid spilling gasoline on painted surfaces If spill occures wipe off spilled gasoline immedi ately Use only high quality 90 octane or higher unleaded gasoline ...

Page 23: ...ine fails to start release the starter switch for a few seconds then try again Each attempt should not last longer than 5 seconds to perserve battery life Starting the Engine Only start the engine when your scooter is at a complete stop Check to be sure that all kick stands are returned to their original position 1 Turn the main switch to the ON position 2 Check that the engine kill switch in posi...

Page 24: ...ate ventila tion Sit on the seat with both feet firmly on the ground on both sides of scooter Straighten the handlebar and release the brake levers Check for oncoming traffic and use your turn signal Twist the throttle slowly to accelerate If the scooter has not been ridden for over an hour allow engine to warm up for 1 3 mins before riding Starting Off 1 2 3 4 Flyscooters higly recomments taking ...

Page 25: ...oter look for a flat and firm surface to stop Make sure there is no gravel or other objects that can make the surface slippery causing you and or the scooter to fall over Turn off the engine by turning the main switch to the OFF position and or by turning the key to the OFF posi tion The muffler is extremely hot after riding Park the scooter in a place where no one is likely to come in countact wi...

Page 26: ...ime Because various parts of your engine adjust themselves to the correct operating tolerances prolonged full throttle riding or any condition that might result in excessive stress or heat to the engine should be avoided Keep the riding speed below 50 miles per hour within the first 500 miles 1 0 100 miles Keep the prolonged throttle speed below 35 mph 2 100 200 miles Keep the prolonged throttle s...

Page 27: ...ay require you to alter the schedule for regular maintenance This section is provided to you for educational and reference purposes only All service and maintenance should be done at an authorized Flyscooters dealer Im proper adjustments and repairs may void your warranty Consult your Flyscooters dealer whenever possible for questions and concerns The most important points of scooter maintenance a...

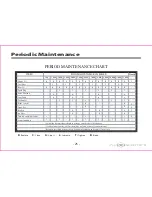
Page 28: ... 9 000 10 000 11 000 12 000 R R R R R R R R R R R R R R R R R R R R R R R R R R C C C C C C C C C C C C C C C C C C C C C C C A A A A A A A A R R R R B R R R R B L L L L T T T T T T L Screws and Nuts T Follow the distance intervals when mileage exceeds those listed above If ridden in dusty areas air filter should be replaced at more frequent interval Between specificed actions check clean adjust t...

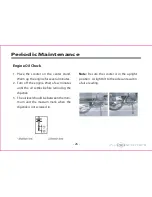
Page 29: ...minutes Turn off the engine Wait a few minutes until the oil settles before removing the dipstick The oil level should be between the mini mum and the maxium mark when the dipstick is not screwed in 1 2 3 Note Be sure the scooter is in the upright position A slight tilt to the side can result in a false reading ...

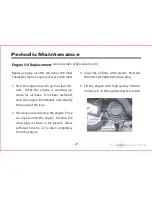
Page 30: ...p the engine Place an oil pan under the engine Remove the drain plug as shown in the picture Allow sufficient time for oil to drain completely from the engine Clean the oil filter with solvent Reinstall the filter and tighten the drain plug Fill the engine with high quality 10W 40 motorcycle oil through the dipstick mouth 4 5 Replace engine oil after the initial 300 miles Thereafter replace engine...

Page 31: ...e the drain screw Refill the gear case with 75W 90 weight gear oil and replace the filler screw Start the engine and check for leaks Caution Do not let foreign material enter the gear case Wipe off any oil spilled on tire or wheel 1 2 3 4 5 Replace the gear oil after the first 300 miles Thereafter replace gear oil again every six months or 1 000 miles whichever occurs first see our video at flysco...

Page 32: ...ir filter element Wash it gently but thoroughly in solvent do not use water Replace air filter if it is dam aged Squeeze out excess solvent and dry Reinstall the air filter and air filter cover The air filter affects the performance and fuel consumption of your scooter Keep it clean It should be cleaned at intervals specified in this owner s manual or sooner depending on riding conditions 1 2 3 4 ...

Page 33: ...you should periodically inspect it for signs of deterioration Deposits around the electrode area cause the spark plug to slowly break down and erode You should replace the spark plug if there are signs of wear Before installing the spark plug adjust the gap to 0 8mm with a gauge for best perfor mance An incorrect gap can cause damage to the scooter s engine Spark plug gap 0 8mm ...

Page 34: ... rear brake lever free play before brake engages should be adjusted to 2 5 mm at the brake lever s end Loosen the locknut and turn the adjusting bolt clockwise to increase free play coun ter clockwise to decrease free play Be sure to tighten the locknut after adjustments ...

Page 35: ...the brake fluid level make sure the reservior is level Use only DOT4 brake fluid when refilling Incorrect brake fluid will cause the rubber to deteriorate thus causing leakage and poor brake perfor mance Water and other foreign objects should not enter into the brake fluid system Brake fluid deteriorates painted surfaces and plastic Therefore spills hsould be cleaned up immediately If experiencing...

Page 36: ...ld be done only by trained personnel at authorized Flyscooters dealerships The following components should be replaced during periodic maintenance checks or when they become damaged a Replace all rubber seals every 2 years b Replace all hoses every 4 years Recommended lubricant DOT4 ...

Page 37: ...g joints while checking to see that the center and side stands move up and down smoothly Check the torque of screws Make sure the stands are securely tighted to the frame Apply blue Locktite to kickstand bolts on initial check of scooter Recommended Lubricant Lithium based grease ...

Page 38: ...ght Operation Check Place the scooter on a level surface Hold the scooter in an upright position and apply the front brake Push down hard on the handlebars several times and check that the front forks rebound smoothly If any damage oil leakage or jerky movement is found with the front forks contact an authorized Flyscooters dealer for repair 1 2 3 ...

Page 39: ...the ground Hold the lower end of the front forks and move them forward and backward If any free play can be felt ask an authorized Flyscooters dealer to inspect and adjust the steering Wheel Bearings Inspection Place the scooter securely on the center stand Rotate the front and the back wheel Check to see if there is any free play in the wheel hub or if the wheel does not turn smoothly Consult an ...

Page 40: ...n switch check fuse for broken wire and remove the bad fuse Your scooter is equipped with a spare fuse also inside the small plastic casing Insert new fuse making sure its tight If there is no spare fuse you can purchase fuses from your authorized Flyscooters dealer Be sure to use a 15A fuse If fuse blows contact your dealer Note Do not use fuses of higher amperage rating than 15A Subsitution of f...

Page 41: ...dd liquid The battery will lose its charge if the scooter is not operated for an extended period of time Remove the battery from the scooter when you do not plan to ride your scooter for more than a month Turn the main switch to OFF position before removing the battery Avoid storing battery in areas with live fire or intense heat ...

Page 42: ...Electric Circuit Diagram 39 ...

Page 43: ...y situation exists when a warranted part or a dealer is not reasonably available to the owner repairs may be performed at any available service establishment or by the owner using any replacement part The Distributor shall reimburse the owner for the expenses including diagnostic charges not to exceed the Distributor s suggested retail price for all warranted parts replaced and labor charges based...

Reviews: