13
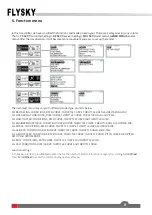
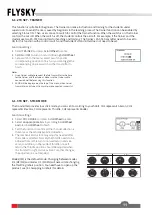
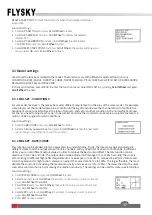
The Timer function is used for timing in races, including count up and countdown. You can also use it to test a
tank of fuel or a full battery and confirm the usage time. The transmitter provides two timers, which can be set
independently to achieve different timing functions. Start, stop and reset switches can be set to enable, disable or
reset the timer by the switch. The timer alarm time can also be set. After setting the time, the system will send an
alarm for reminder 10 seconds prior to the expiration. The main interface will display it after the timer is set.
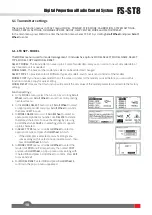
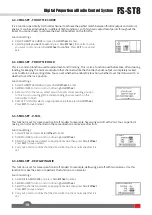
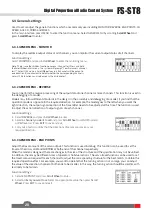
Used to set which controls can be assigned iincluding Trim, Knob and Switch, then the controls can be assigned to
some functions in controlling the output. The channel numbers can be set via
CH NUM
.
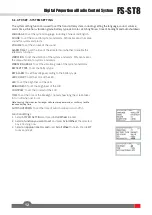
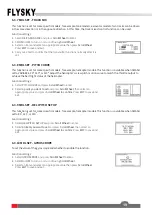
Used to update the firmware of the transmitter. When the firmware needs to be upgraded, it is need to put the
transmitter into upgraded mode using this function first.
6.1.5 TX SET - TIMERS
6.1.6 TX SET - SWITCHES SETTINGS
6.1.7 TX SET - FIRMWARE UPDATE
Function settings:
1.
Select
TIMERS
and press
Scroll Wheel
to enter
.
2.
For
TYPE, the selected box is flashing now
when select it. Select
UP
or
DOWN
. If
DOWN
is selected, you need to set the time using
Scroll Wheel,
then
press
EXIT
to save it.
3.
Set switches to START, STOP and RESET using Scroll Wheel. You can also
set a throttle trigger value to start the timer to calculate the working time
of the throttle after the timer is on.
4.
For ALARM, set ON or OFF using Scroll Wheel. If a alarm is set, you need to
set the alarm time using Scroll Wheel.
Press
EXIT
to save it.
Function settings:
1.
Select
SWITCHES SETTINGS
and press
Scroll Wheel
to enter
.
2.
Select
a control you want to set using
Scroll Wheel
.
3.
Select an appropriate item and press
Scroll Wheel to confirm.
Press
EXIT
to
save and exit.
Function settings:
1.
Download the latest firmware
.
2.
Connect the transmitter and the PC via a Type-C USB cable. Open the
firmware on a computer.
3.
At the transmitter side, select
FIRMWARE UPDATE
. The system will show a
prompt menu, select
OK
and press
Scroll Wheel
to put the transmitter into
updating mode
.
Click
Update
on the firmware screen on the computer.
Notes:
1.
You can set three-position switch to two-position switch via this function.
2.
In addtion, you can set the position-level when the physical switch needs to be changed
here.
Notes:
1.
Always ensure sufficient power supply for the transmitter when using this function. To
avoid the receiver losing control, make sure to power off the receiver before starting
this function.
2.
Don't disconnect the Type-C USB cable during the firmware updating, otherwise the
transmitter may occur a fault.
3.
You can also upgrade the firmware through FLYSKYAssistant.

