FS-ST8
Digital Proportional Radio Control System
6
4. Operation guide
After setting up, follow the instructions below to operate the system.
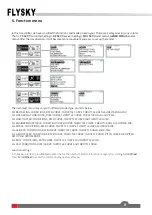
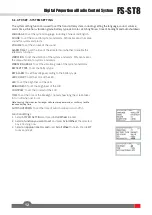
This LED is a multi-color indicator. It displays in a variety of colors such as red, green, blue, yellow, cyan, purple,
white, and dazzling colors. You can set a color as required. You may set it to none.In addition, you may set it to
display the electricity level. The brightness of LED can also be adjusted via TX SET> SYSTEM SETTINGS >LED.
Follow the steps below to perform the settings:
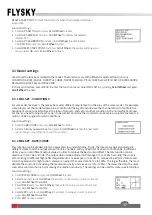
1. Power on the transmitter. Press MENU to enter the function menu. Select
TX SET
(Transmitter Settings ) and then
press
Scroll Wheel
to enter.
2. Select SYSTEM SETTINGS and press Roller to enter the system settings menu. Scroll the
Scroll Wheel
to select
LED
COLOR
and press
Scroll Wheel
, the selected item is flashing now.
3. Scroll the
Scroll Wheel
to select the appropriate item and press
Scroll Wheel. Press EXIT to save and exit.
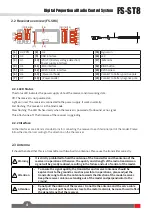
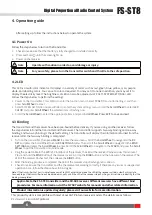
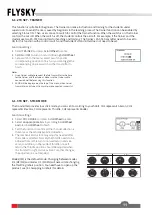
Follow the steps below to turn on the transmitter:
1.
Check to make sure that that battery is fully charged and installed correctly.
2.
Press and hold until the screen lights up.
3.
Power on the receiver.
4.3 Binding
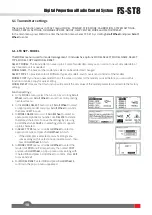
The transmitter and the receiver have been pre-bound before delivery. If you are using another receiver, follow
the steps below to bind the transmitter and the receiver. The transmitter supports two-way binding and one-way
binding, and two-way binding is the default setting. The transmitter will display the information returned from the
receiver after the two-way binding is completed.
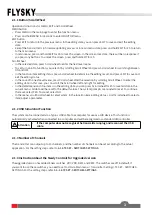
4.1 Power On
Note • Operate with caution in order to avoid damage or injury.
Note
• For your safety, please turn the transmitter switch and throttle to the safe position.
•
Applicable to the FS-ST8 transmitter and the FR-SR8 receiver. Different receivers have different bind
procedures. For more information visit the FLYSKY website for manuals and other related information.
•
Product information is updated regularly, please visit our website for more information.
4.2 LED
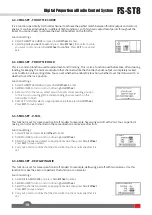
1.
Turn on the transmitter, then press
MENU
to enter the main menu. Scroll the
Scroll Wheel
to navigate to the
RX
SET
and press the Scroll Wheel to enter
RX SETTINGS
menu. Then scroll the
Scroll Wheel
to navigate to the
BIND
SETTINGS
and press the
Scroll Wheel
to enter. Scroll the
Scroll Wheel
to navigate to the
START
and press the
Scroll
Wheel
to put the transmitter into bind mode.
2.
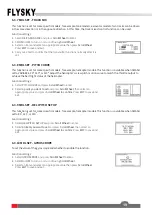
Plug the power cable to the BVD/VCC interface of the receiver, the LED of the receiver flashes slowly this moment.
Press and hold the
BIND
button of the receiver over 3S, or tap the
BIND
button and then power on the receiver. The
LED of the receiver flashes fast, then release the
BIND
button.
3.
After the binding process is completed, the LED of the receiver stops flashing and is solid on.
4.
Check to make sure the transmitter and the the receiver are working correctly, if there are any issues or unexpected
operation arise, follow the steps above to bind again.
Note: If the transmitter that has its radio frequency set to 1WAY enters bind mode, the LED of the receiver will be in slow flashing state.
You need to put the transmitter to exit bind mode manually and if the LED of the receiver stops flashing and is solid on, indicating that the
binding is completed
.
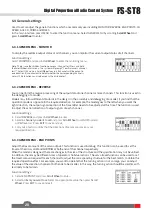
This product system is compatible with most of our ANT Protocol receiver models. The details are as follows:
RF standard: 2.4 GHz
ANT protocol


