12
1. Inspect the entire system to make sure that everything is working as expected.
2. Perform a range test as described in the
16.6 Range Test
section of the user manual.
DANGER
• Do not use the model if there are any abnormal behaviors during the test.
DANGER
• Do not exceed the maximum rated range during use.
CAUTION • Interference from other transmitting devices may reduce signal quality.
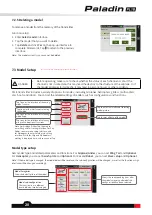
5.3 Pre-operation Checks
Always perform the following steps before each operating:
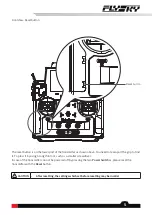
1. Power off the receiver.
2. Press and hold both
Power Switch
es on the transmitter until the screen powers off.
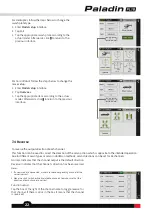
5.4 Power Off
Follow these steps to power off the system:
DANGER
• To avoid any risk of loosing control of the model, always power off the receiver before
powering off the transmitter.
Note: After powering off the transmitter, please wait for 3 seconds before turning it on again.
Since it takes time to store data after the transmitter screen goes off, you need to wait for 5S before powering it on
again. The transmitter will not reboot immediately in the restart after the screen is turned off.
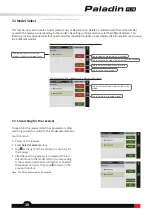
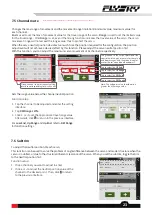
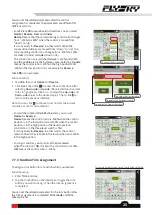
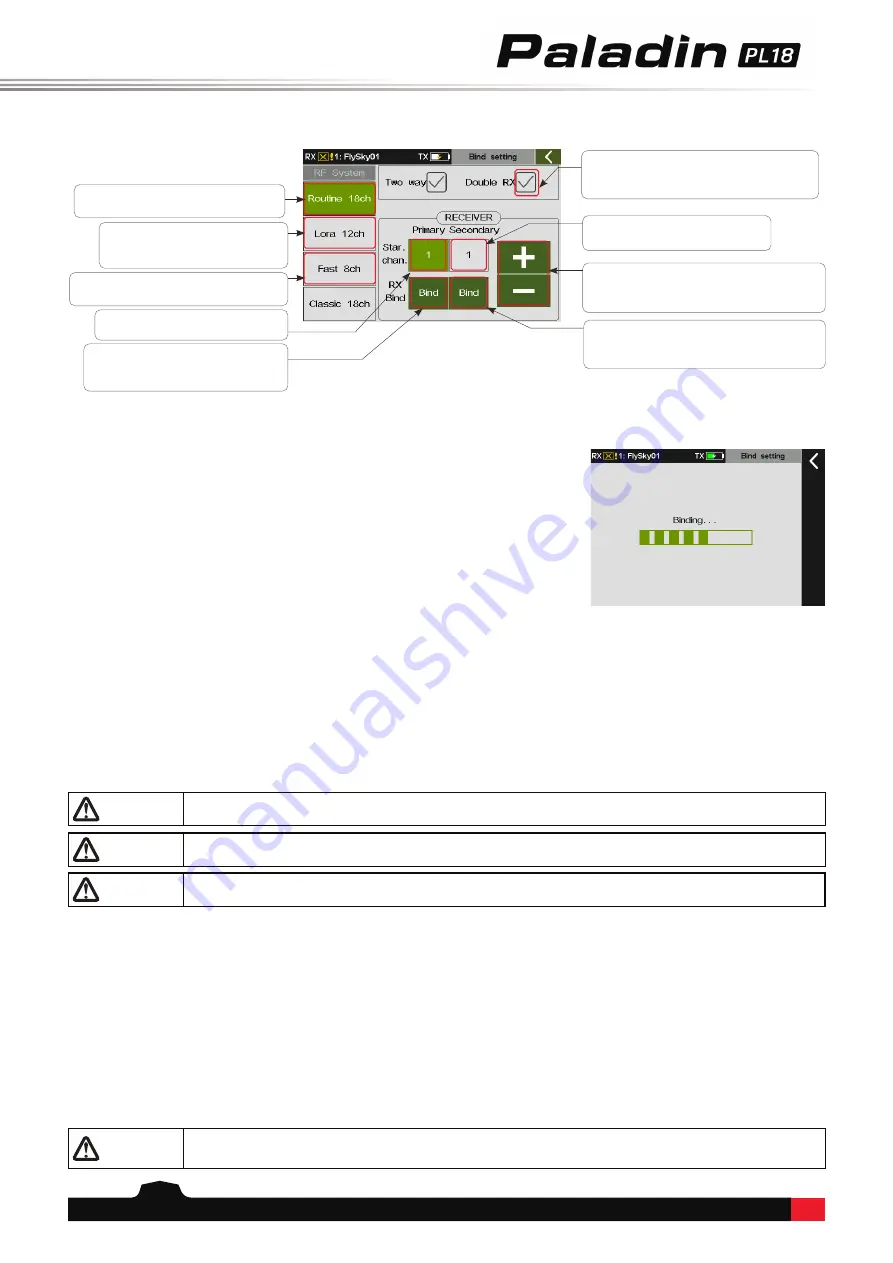
The binding interface of enhanced receiver:
Provides 18 channels with moderate
communication distance.
Provides 12 channels with super
anti-interference and moderate
communication distance.
Note: Routine 18ch, Lora 12ch and Fast
8ch can only be bound with enhanced
receivers.
Provides 8 channels, fast
communication within short distance.
To set the starting channel of the
primary receiver.
To set the starting channel of the
secondary receiver.
To increase/decrease a value. Increases a
value by tapping
+
and decreases a value
by tapping
-
.
To bind the transmitter with the secondary
receiver. Click it to put the transmitter into
bind mode.
To bind the transmitter with the
primary receiver. Click it to put the
transmitter into bind mode.
To set double receivers or not. If there is a
tick, indicating that the double receivers
are set.
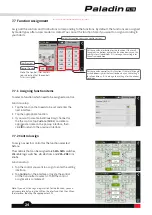
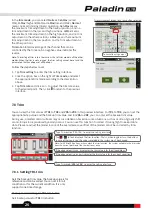
Function Settings:
1. Power on the transmitter, enter the bind setting interface via
Home
1
>
Basic
>
RX settin
g.
2. Tap
Bind setting
and enter the binding setting interface. Then set
some items, such as selecting suitable RF System, choosing two way
or not, or setting the starting channel. Afterwards, click
Bind
to put
the transmitter into bind mode.
3. Put the receiver into bind mode (Refer to the manual of the receiver
for details.)
4. The LED of the receiver stops flashing and is solid on, indicating that
the binding process is completed.
5. Check to make sure the transmitter and receiver are working
correctly, repeat steps 1 to 3 (binding process) if any problems arise.

