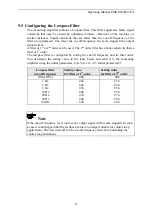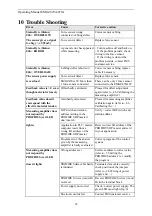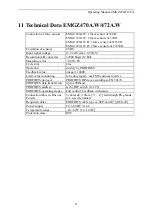
Operating Manual EMGZ470A/472A
20
9.4
Mathematical Method (Module 1 only)
If the material tension cannot be simulated, calibration has to be done by calculation.
This way of calibrating is less accurate because the exact angles are often unknown. In
addition the actual mounting conditions, which usually deviate from the ideal world,
can seldom taken into account.
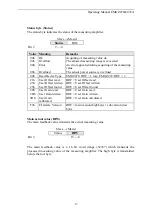
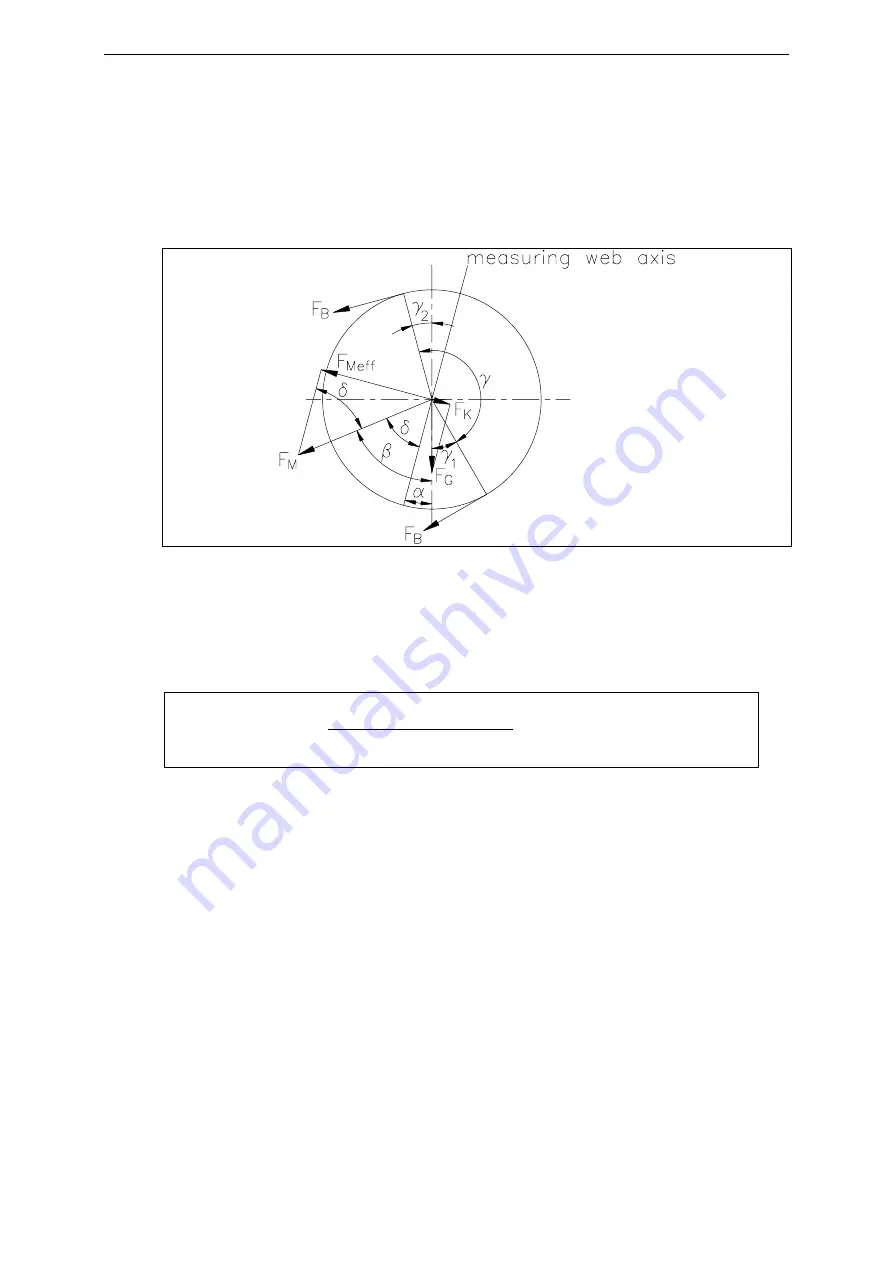
fig. 11: Force vectors in the FMS force measuring bearing
C431012e
•
Offset adjustment has to be done as described under „Simulating method,
calibration using control byte“.
•
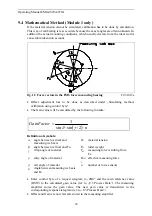
The Gain value will be calculated by the following formula:
Definition of symbols:
α
angle between vertical and
measuring web axis
F
B
material
tension
β
angle between vertical and F
M
F
G
roller
weight
γ
wrap angle of material
F
M
measuring force resulting from
F
B
γ
1
entry angle of material
F
Mef
f
effective measuring force
γ
2
exit angle of material
n
number of force sensors
δ
Angle between measuring web axis
and F
M
•
Enter control byte of a request telegram to „2Bh“ and the main reference value
(HSW) to the calculated gain value (ref. to „8.5 Process Data“). The measuring
amplifier stores the gain value. The new gain value is transmitted in the
corresponding response telegram (ref. to „8.5 Process Data“).
•
Offset and Gain are now fail safe stored in the measuring amplifier.
(
)
n
GainFactor
⋅
⋅
=
2
/
sin
sin
1
γ
δ


