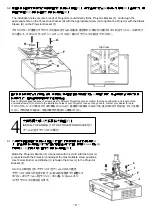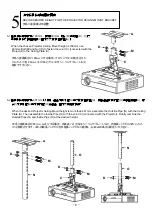
background image


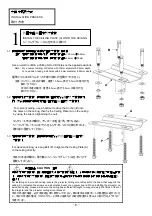
1. 

電鑽


POWER DRILL or MASONRY DRILL


電気ドリル・石材用ドリル 

2. 

鑽頭


DRILL BIT 

ドリルビット


  -

水泥天花板


FOR MASONRY CEILING

      コンクリート天井:

10mm


  -

木質天花板


FOR WOOD STUD CEILING


木質天井:

4.5mm


  3. 

鐵鎚


HAMMER 

金づち


4. 

扳手


WRENCH

  レンチ:

12mm /13mm


  5. 

十字螺絲起子


CROSS-HEAD SCREW DRIVER


十字ドライバー


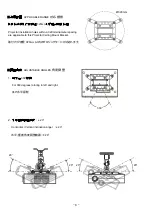
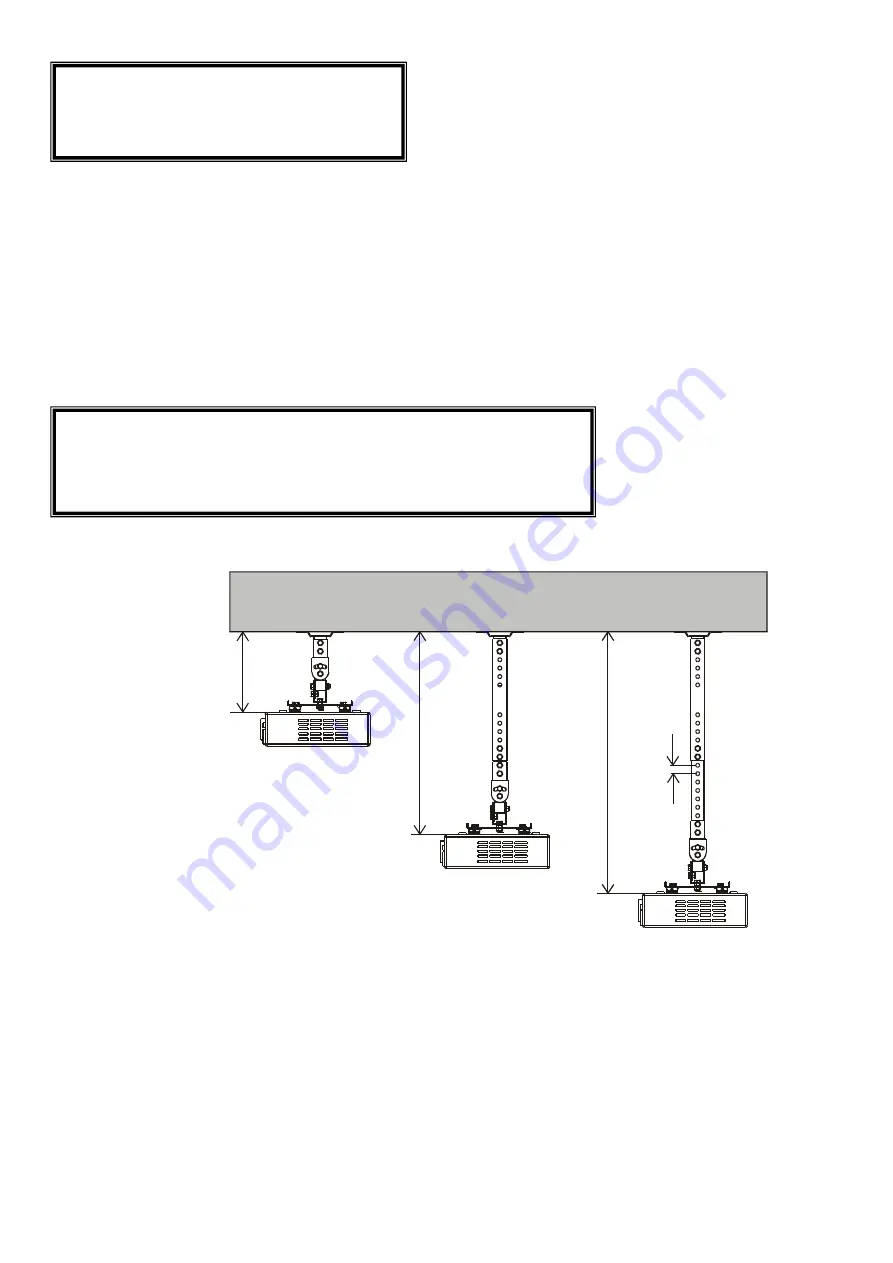
■高度


HEIGHT


高さ


1.

投影機架最短高度為

190mm


最長為

621mm


Vertical Range of Ceiling Mount


Form 190mm up to 621mm 


天井からセット底面までの寸法: 

最小高 190mm、最大高 621mm 


2.

高度可由

481mm

可調整至

621mm


孔位間距

20mm


Adjustable height


      Form 481mm to 621mm (with intervals of 20mm) 


高さの調整: 

481mm

621mm

 (穴ピッチ:20mm) 


安裝時所需工具


TOOLS REQUIRED FOR INSTALLATION 

取付工具 

投影機架適用範圍


APPLICABLE RANGE OF THE PROJECTOR CEILING MOUNT BRACKET 

取付範囲 

190mm 

481mm 

20mm 

621mm 

- 3 -

Summary of Contents for TKLA-7220

Page 1: ...INSTALLATION MANUAL 4712302590382...

Page 2: ...rthquake and hurricane 4 The projector ceiling mount bracket must be installed by professional personnel 5 At least two persons are needed to install or remove the product in order to prevent from any...

Page 3: ...nt bracket is removed the drilled holes and bolts will be left in the ceiling or the applied position Stains may occur after long term use 13 The projector ceiling mount bracket is designed to support...

Page 4: ...5 CROSS HEAD SCREW DRIVER HEIGHT 1 190mm 621mm Vertical Range of Ceiling Mount Form 190mm up to 621mm 190mm 621mm 2 481mm 621mm 20mm Adjustable height Form 481mm to 621mm with intervals of 20mm 481mm...

Page 5: ...n holes within a 320mm diameter spacing are applicable to this Projector Ceiling Mount Bracket 320mm ADJUSTABLE ANGLES 1 360 For 360 degrees rotating to left and right 360 2 20 Horizontal Vertical inc...

Page 6: ...IC SLEEVE 8PCS 12mmL BOLT 4PCS 40mmL BOLT 6PCS OUTSIDE PIPE 1PC INSIDE PIPE 1PC LAG BOLT 4PCS ENCLOSED PARTS G Due to different specifications of screw holes for different Projectors please confirm th...

Page 7: ...the wrench tightening the nuts B A 1 3 P A For wooden ceiling use Lag Bolt P to tighten the Ceiling Plate A to the ceiling directly A P INSTALLATION PROCESS A INSTALL THE CEILING PLATE A ONTO THE CEIL...

Page 8: ...lease make sure the Nylon Nut E is tightened very firmly D C C F E F D F 1mm E 3 1 G H J I G Go through the appropriate hole on the Three Hole Washer H with the appropriate Screw G to tighten the Arms...

Page 9: ...ected with the Joint with the Arms J connected with the Projector and adjust the most suitable screw positions Use 12mmL Bolt L and Washer I to fasten the Arms J to the Projector Bracket F F J F J I 1...

Page 10: ...81mm N A O C N O When the desired Projector Ceiling Mount height is more than 481mm assemble the Outside Pipe N with the Ceiling Plate A Then assemble the Inside Pipe O with the Joint C connected with...

Page 11: ...are tightened very firmly and every part of the ceiling mount bracket is assembled very rigidly 6 2 After horizontal adjustment please tighten the nut 6 3 After adjusting the angle please tighten the...

Reviews: