Clock Operation
The clock has two modes: Program, and Operate. In
program mode, the display shows event data (day,
start and stop time); in operate, it shows the current
time and day.
- Press
TIMER
to enter program mode and display
or enter events.
- Press
CLOCK
to put the unit into operate mode.
Press
RESET
with a pencil or ball point pen to clear
all memory data, including day and time.
In operate mode, pressing the
MANUAL
button
repeatedly shifts the unit to
on
,
off
or
auto
as indi-
cated by a small bar above the text:
-
On
. Output is energized
-
Off
. Output is deenergized
-
Auto
. Output is energized according to the
event schedule in clock memory.
Press
MANUAL
repeatly to shift the clock to its next
state (
on
->
auto
->
off
->
auto
->).
When output is energized, the red LED is lit and
control is transferred to the
CYCLE
/
CONT
switch.
- If the switch is set to
CONT
, the receptacle is
energized directly.
- If the switch is set to
CYCLE
, the repeating cycle
(dip switch) timer is enabled. It powers the
receptacle during the “on” cycle only. In cycle,
therefore, power to the receptacle requires both
the red LED to be lit
and
the dip switch timer
be in an “on” phase.
To set clock day and time
Push and hold
CLOCK
and press the
DAY
button to
advance the day setting. Release both buttons to
set.
Push and hold
CLOCK
and press the
HOUR
button to
advance the hour. Release both buttons to set.
Push and hold
CLOCK
and press the
MIN
button to
advance the minute. Release both buttons to set.
To display, enter or change events in memory
Press
TIMER
button to enter program mode. The dis-
play shows “1
ON
” – the scheduled start time of
event 1. Small bars show the days of the event.
Press the
HOUR
and
MIN
buttons to set or change the
event start time.
Press
DAY
repeatedly to rotate among available day
options: Su thru Sa (all 7 days); Mo thru Fr (week-
days only); Sa thru Su (weekends only); or a single
day (Su; Mo; Tu; We; Th; Fr; or Sa only).
Press
TIMER
again to save “1
ON
” start data and show
the “1
OFF
” setting. Use the
HOUR
,
MIN
and
DAY
but-
tons as above to change the Event 1 end time.
Press
TIMER
again to access Event 2 start. Repeat for
all events. When finished, press
CLOCK
to exit pro-
gram mode.
To enable automatic operation
Press
CLOCK
, then press
MANUAL
to enter the
auto
setting.
- If you enter
auto
from
on
(
on
->
auto
), output
remains
on
until the next scheduled Off time;
- If you enter
auto
from
off
(
off
->
auto
), output
remains off until the next scheduled On time.
To clear timer memory
Press
RESET
button to clear time and day settings
and all programs.
To override program settings
To stop fogging during a program event, press the
MANUAL
button to the
off
position.
To begin fogging outside a program event, press the
MANUAL
button to the
on
position.
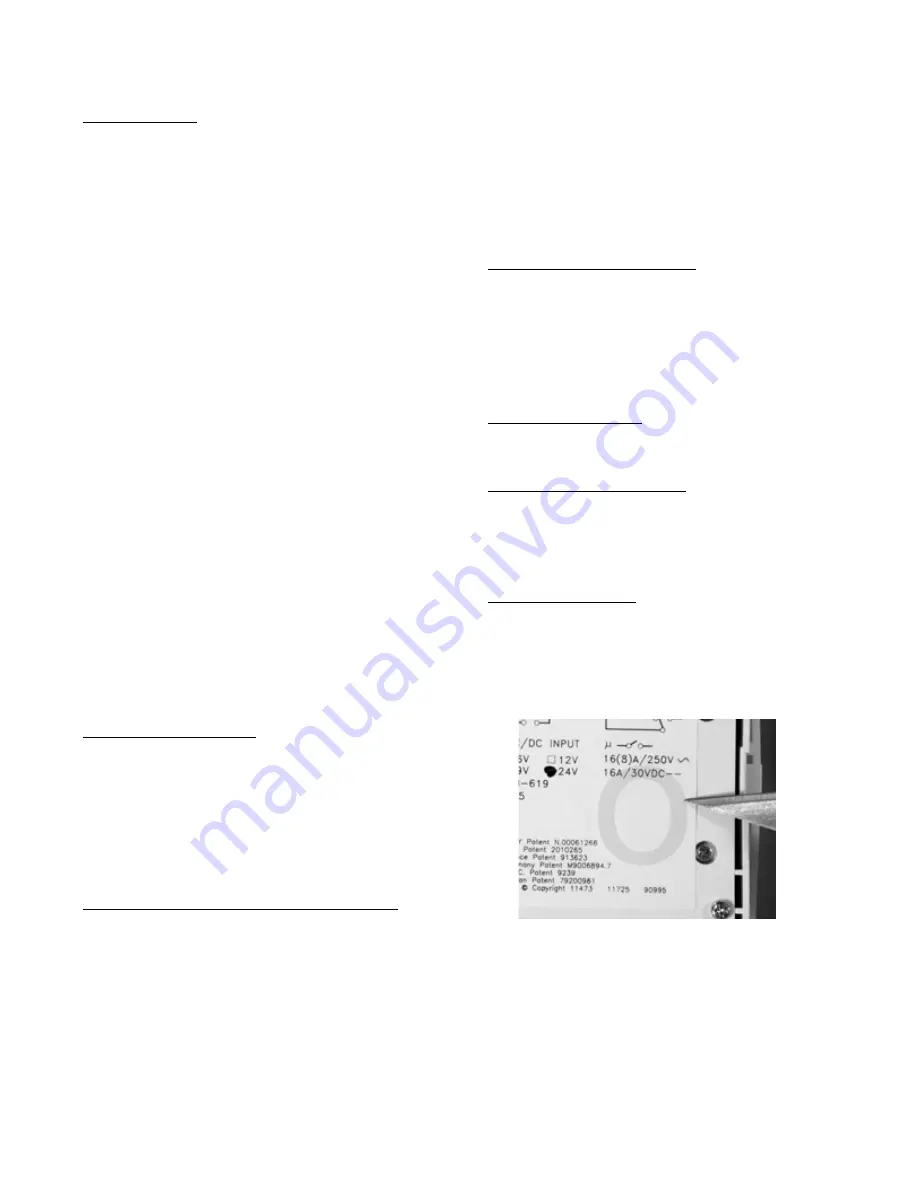
To replace the battery
Open the box cover, unscrew four large-head
screws and lift the unit out from the enclosure. Turn
unit over. The circular cover of the battery enclo-
sure is beneath the circuit diagram approximately
as shown.
Remove the label, or cut along the outline of the
cover with a sharp knife. Twist the cover to release.
Replace with 3V CR2032 battery.


