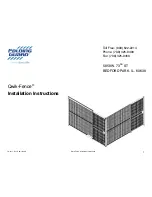
FGI-011_Rev.D 08/10/2015 Qwik-Fence Installation Instructions
Toll Free: (800) 622-2214
Phone: (708) 325-0400
Fax: (708) 325-0450
5858 W. 73
RD
ST
BEDFORD PARK, IL. 60638
Qwik-Fence
®
11
Hinge Door Assembly
Fig.
8
‐
2
Step 8: Installing Hinge Door (Optional)
Prior to beginning installation make sure that your plan includes a door and that it is a Hinge door.
Prior to beginning installation make sure that the door is manufactured per your requirements and
matches the overall plan layout in terms of hinge and lock.
Prior to beginning make sure that all the parts required for a Hinge door assembly are included.
Prior to beginning make sure that your side posts are already installed and are secure in their location.
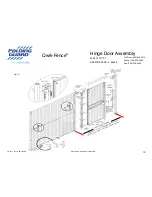
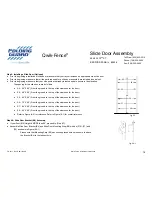
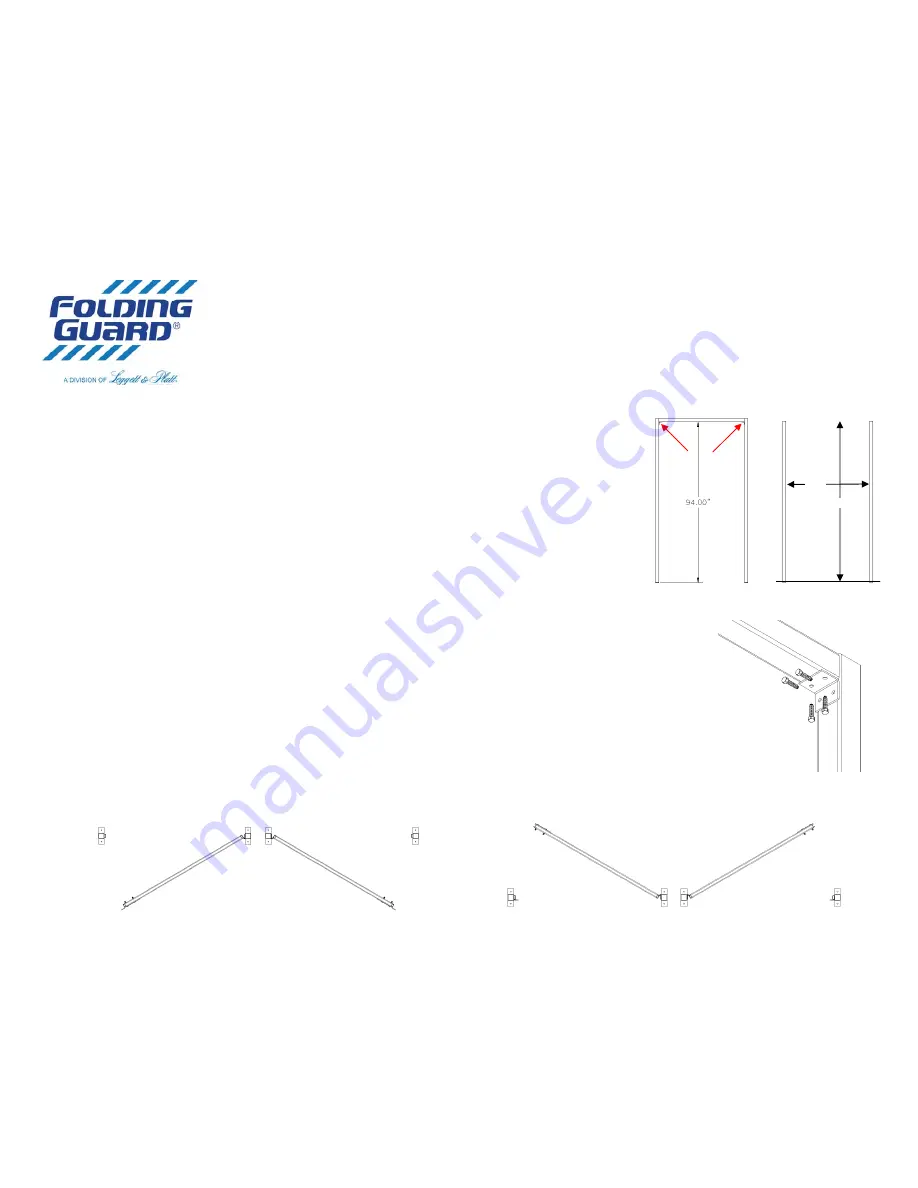
The spacing for the Hinge doors are as follows:
H3 – 37.5” X 96” (From the ground to the top of the clearance for the door) 37.5” header width.
H4 – 49.5” X 96” (From the ground to the top of the clearance for the door) 49.5” header width.
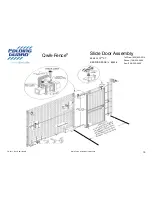
Refer to Figure (8-2) for reference. Refer to Figure (8-1) for overall instructions.
Step 8A: Installing Header Bar (D4)
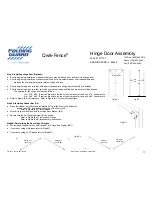
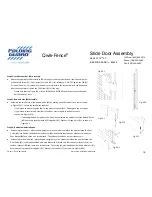
Place the Header bar (D4) at approximately 94” from the floor to the bottom of
header bar (D4), and even with the top of the Posts (M2).
Refer to Figure (8A-1) for reference.
Attach it to the vertical post with the Hinge Door Bracket (B3)
Secure with the Self Tapping Screw (F1) as shown.
Refer to Figure (8A-1) for location of clips.
Refer to Figure (8A-2) for assembly instructions.
Fig.
8A
‐
1
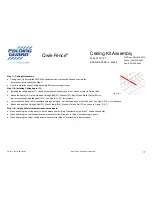
Step 8B: Determining the Door Hinge Direction.
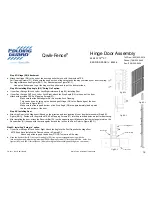
The included Hinge door can be attached 1 of 4 ways. See Figure (8B-1)
If your door swings IN please refer to (
Step 8F
).
If your door swings OUT please refer to (
Step 8D
).
Fig.
8A
‐
2
Clip Location
H3
H4
96”
Swing Out
Lock Left
Swing Out
Lock Right
Fig.
8B
‐
1
Swing In
Lock Left
Swing In
Lock Right

