FGI-011_Rev.D 08/10/2015 Qwik-Fence Installation Instructions
Toll Free: (800) 622-2214
Phone: (708) 325-0400
Fax: (708) 325-0450
5858 W. 73
RD
ST
BEDFORD PARK, IL. 60638
Qwik-Fence
®
9
Floor Bracket Assembly
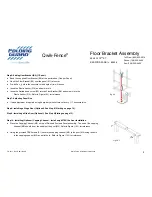
Step 6: Adding floor Bracket (B2) (1/Panel).
Bend the supplied Floor Bracket (B2) at the perforation. (One per Panel)
Hook the Floor Bracket (B2) over the panel (M1) at center.
Pre-drill a
5
/
16
hole in the concrete to the depth of (two) 2 inches.
Insert the Plastic Anchor (F13) and hammer it in.
Insert the Slotted head screw (F5) into the Floor Bracket (B2) and screw it into the
Plastic Anchor (F13). Refer to Figure (6-1) for reference.
Fig.
6
‐
1
Step 7: Adjusting Panel Size.
If size adjustment is required using heavy-duty wire cutters, cut every 1½” horizontal wire.
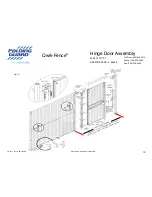
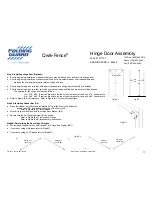
Step 8: Installing a Hinge Door (Optional). See Step 8 (Starting on page 10).
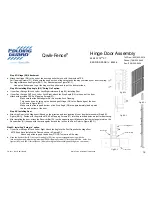
Step 9: Installing a Slide Door (Optional). See Step 9(Stating on page 13).
Fig.
10
‐
1
Step 10: Installing (Optional) Capping Channel. Install only AFTER the Door Installation.
Place the Capping Channel (M3) on top of Finished Post and Panel assembly. The end of the capping
channel (M3) should be at the middle of the post (M2). Refer to Figure (10-1) for reference.
Using the provided TEK Screws (F1) secure the capping channel (M3) to the post (M2) using the hole
in the capping channel (M3) as a pilot hole. Refer to Figure (10-1) for reference.

