background image

REF4/5 and REF5BB Compressor Retrofit

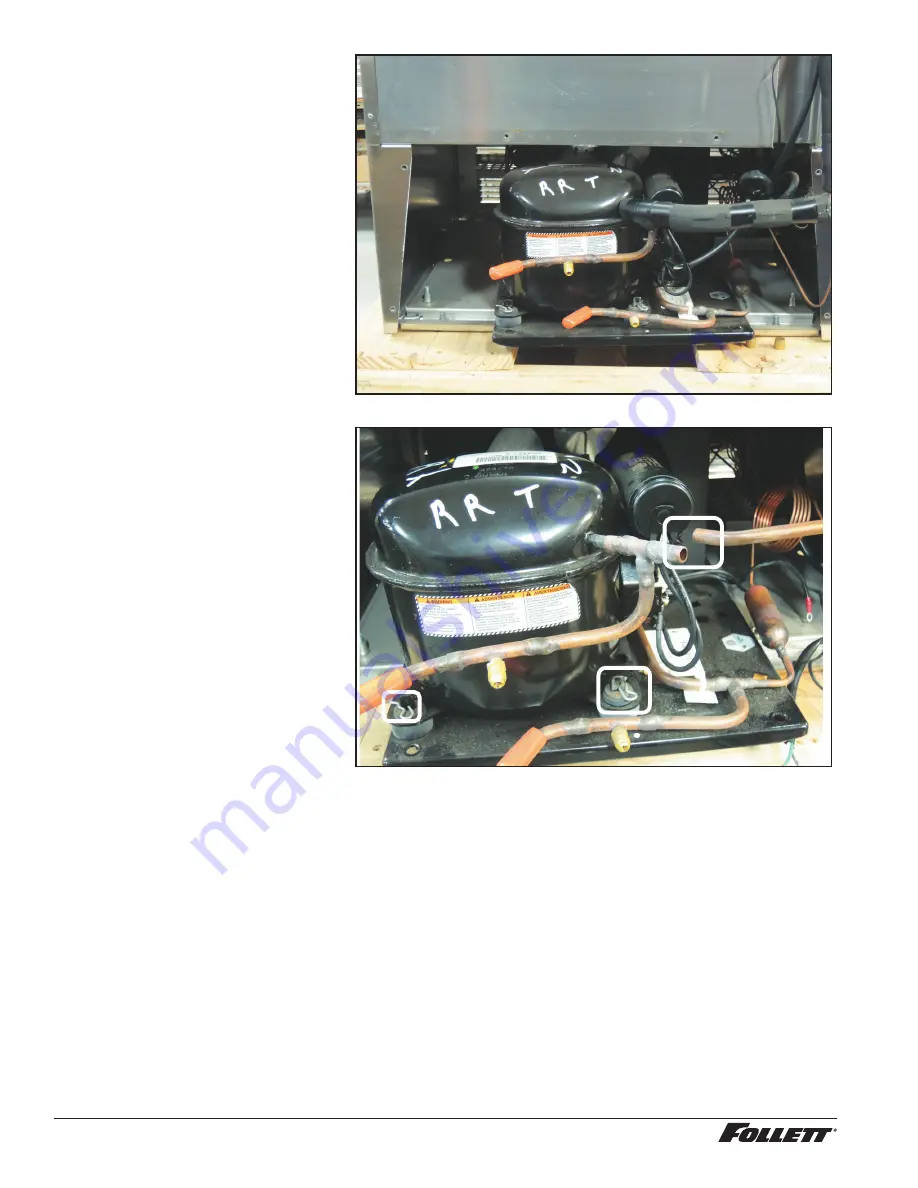
3.  Recover the refrigerant from 

the unit and remove the 
insulation back at least 6 
inches from suction line “tee” 
fitting.

Fig. 2

4.  Cut the suction line back 

approximately 1" from the 
brazed connection of the “tee”

5.  Remove the four cotter 

pins and washers for the 
compressor mounts.

Fig. 3

Summary of Contents for REF4

Page 1: ...for REF 5BB models 1 4 Schrader fitting P N 01026004 Velcro loop 4 P N 206405 Velcro hook 4 P N 206406 Ty wrap P N 00112227 x4 90 elbow x P N 206526 not included with P N 01061951 4 tubing P N 205149 not included with P N 01061951 Ty wrap P N 201776 x4 Hose clamp P N 202011 not included with P N 01061951 13 tubing P N 205149 not included with P N 01061951 30 insulation P N 204865 Installation 1 Re...

Page 2: ...gerant from the unit and remove the insulation back at least 6 inches from suction line tee fitting Fig 2 4 Cut the suction line back approximately 1 from the brazed connection of the tee 5 Remove the four cotter pins and washers for the compressor mounts Fig 3 ...

Page 3: ...trofit 6 Cut the discharge line approximately 1 inch from the brazed connection of the compressor discharge stub Fig 4 7 Temporarily cap discharge line and suction line 8 Remove wiring to old compressor and remove old compressor Fig 5 ...

Page 4: ...ew filter drier is included for REF 5BB models and is recommended to be changed as well 10 Install new compressor mounts on new compressor and set compressor in place on condensing unit Fig 6 11 Hand form existing tubing to connect to discharge stub or fabricate new copper tube to connect to discharge stub Fig 7 ...

Page 5: ...5 REF4 5 and REF5BB Compressor Retrofit 12 Fabricate new copper tube to connect to compressor suction stub Fig 8 13 Install supplied Schrader fitting to stub on compressor Fig 9 ...

Page 6: ...ast 500 microns for 30 minutes 17 Charge unit with R404A refrigerant 7 9 oz on REF 4 5 and 10 oz on REF 5BB 18 The replacement compressor is taller and will not allow the drain pan to be installed in the original position on REF4 5 models Adhere the supplied Velcro tape to the bottom of the drain pan Fig 11 Fig 11 19 Reinsulate suction line with supplied insulation and wire tie in place using supp...

Page 7: ...in Fig 13 21 Locate the drain pan next to the left side panel approximately 6 inches back from the rear lip of the unit 22 Install the new drain line as pictured 23 Apply power to the refrigerator and allow it to pull down to temperature and cycle 24 Install rear cover Fig 14 ...

Page 8: ...1061969R00 Follett Corporation 6 14 801 Church Lane Easton PA 18040 USA Toll free 877 612 5086 1 610 252 7301 www follettice com Follett is a registered trademarks of Follett Corporation registered in US ...

Reviews: