background image

5

Fig. 4

Fig. 3

1

2

Fig. 2

Fig. 1

1

2

Fig. 5

Your FoodSaver

®

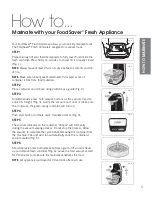
 Fresh Appliance allows you to quickly marinate foods. 

The FoodSaver

®

 Fresh Containers are great to marinate foods.

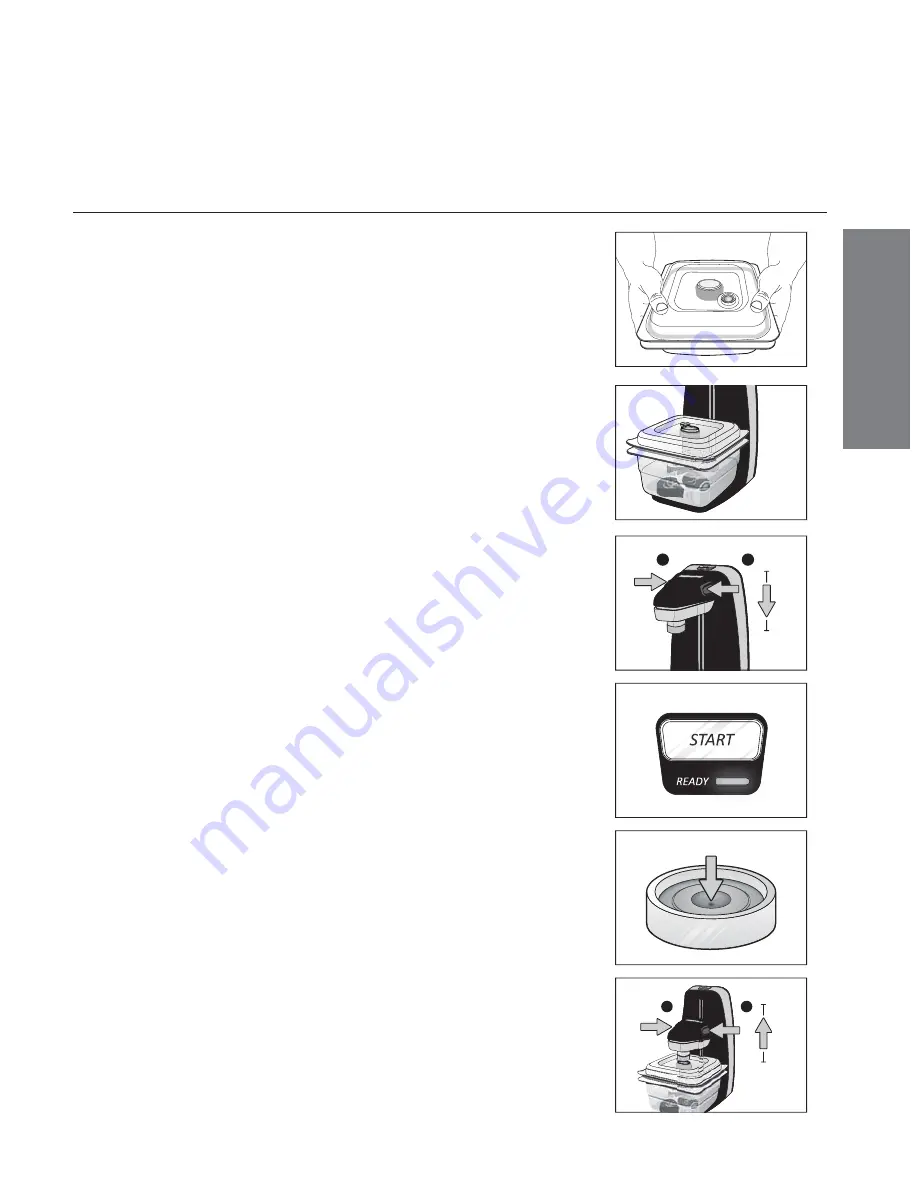
STEP 1

Prepare enough of your favorite marinade to fully cover food inside the 
fresh container. Press firmly on all sides to ensure lid is properly closed 
(Fig. 1).

NOTE:

 Always leave at least 2.5cm of space between contents and top 

of rim.

NOTE:

 Make sure rubber gasket underneath lid as well as rim of 

container is free from food materials.

STEP 2

Place container on unit base using platform as a guide (Fig. 2). 

STEP 3

Simultaneously press both release buttons at the vacuum head to 
adjust its height (Fig. 3). Guide the vacuum port until it clicks onto 
the container, the green ready indicator will turn on.

STEP 4

Push start button to initiate quick marinate process (Fig. 4).

STEP 5

The vacuum indicator on the container “dimple” will form early 
during the vacuum sealing process. Do not stop the process. Allow 
the vacuum to complete the cycle before removing the container from 
the machine. The unit will stop automatically once the container is 
vacuum sealed (Fig. 5).

STEP 6

Simultaneously press both release buttons again to lift vacuum head 
up and remove fresh container (Fig. 6).  Leave the food vacuum sealed 
for 20 minutes to make sure the marinate penetrates the food.

NOTE: 

Let appliance cool down for 20 seconds after each use.

 How to...

Marinate with your FoodSaver

®

 Fresh Appliance

HOW TO MARINA

TE

Fig. 6

Summary of Contents for Fresh VS1300

Page 1: ...VS1300 User Guide...

Page 2: ...um Seal with FoodSaver Zipper Bags How To Marinate with your FoodSaver Fresh Appliance Care and Cleaning of your Fresh Appliance FoodSaver Fresh Containers Zipper Bags Guidelines Food Preparation and...

Page 3: ...ch any hot surface Do not operate any electrical appliance with a damaged cord or after the appliance has been damaged in any manner If damage is suspected return the appliance to the nearest Sunbeam...

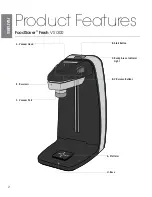
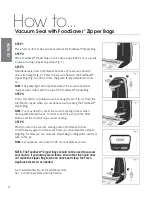
Page 4: ...2 A Vacuum Head FoodSaver Fresh VS1300 FEATURES E Reservoir F Vacuum Port B Start Button H Base C Ready Green Indicator Light D 2 Release Buttons G Platform Product Features...

Page 5: ...g the vacuum sealing process Do not stop the process Allow the vacuum to complete the cycle before removing the container from the machine The unit will stop automatically once the container is vacuum...

Page 6: ...FoodSaver Zipper Bag NOTE You may need to cancel the vacuum sealing process when dealing with delicate foods In order to do that just push the Start Button and the unit will stop vacuum sealing STEP...

Page 7: ...e vacuum head to adjust its height Fig 3 Guide the vacuum port until it clicks onto the container the green ready indicator will turn on STEP 4 Push start button to initiate quick marinate process Fig...

Page 8: ...removed for cleaning Check gasket to ensure it is free from food residues Clean it with warm soapy water and let dry STEP 3 Wash in warm soapy water STEP 4 Air dry before replacing STEP 5 Check Vacuum...

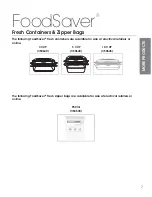
Page 9: ...lable for sale at electrical retailers or online 3 CUP VS0640 950ml VS0500 5 CUP VS0640 10 CUP VS0645 The following FoodSaver Fresh zipper bags are available for sale at electrical retailers or online...

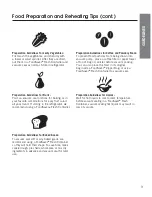
Page 10: ...the cob After blanching immerse vegetables in cold water to stop the cooking process Finally dry vegetables on a towel before vacuum sealing Note Some foods including broccoli Brussels sprouts cabbag...

Page 11: ...FoodSaver Fresh Container so they will hold their shape To save time make cookie dough pie shells whole pies or mix dry ingredients in advance and vacuum seal for later use Preparation Guidelines for...

Page 12: ...ism that causes Botulism can grow without air and sometimes cannot be detected by smell or taste Although it is extremely rare it can be very dangerous To preserve foods safely it is critical that you...

Page 13: ...ppliance cool down for 20 seconds after each use allow air to enter Sometimes moisture or food material along seal edges of the zipper or beneath the valve prevents bag from sealing properly Wipe the...

Page 14: ...12 NOTES Notes...

Page 15: ...13 WARRANTY...

Page 16: ...e copywrited 07 17 CSH SL0617 FSV52131 Need help with your appliance Contact our customer service team or visit our website for information and tips on getting the most from your appliance Australia v...

Reviews: