FORCE1 RC
12
CALIBRATION
TRANSMITTER CALIBRATION
1. Turn on the transmitter.
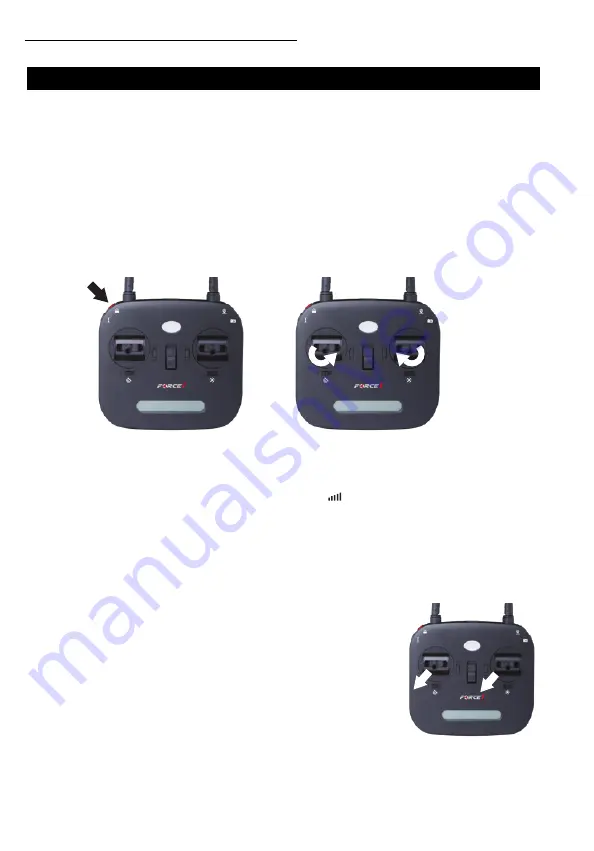
2. Push the Calibration button and hold for 3 seconds.
3. Transmitter will beep 3 times, and the indicator light will start flashing slowely.
4. Rotate control sticks in any direction for 2 full rotations.
5. Push the Calibration button and hold again for 3 seconds.
6. Transmitter will beep 3 times, and the indicator light will start flashing faster indicating
calibration completion.
NOTE
Your transmitter is calibrated when manufactured, but may be required after a crash or notice of
improper operation.
PAIRING WITH DRONE
When the transmitter is in signal connection status, power on the drone by inserting the battery. The
transmitter will emit a single beep sound, and the signal icon will appear on the LCD screen. This
means that the drone has successfully linked to the transmitter.
GYROSCOPE CALIBRATION
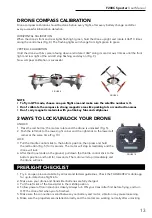
Set the drone on a horizontal surface. Push down both of the control sticks to the lower left corner (Fig.
7). When the front and rear lights are both green and flashing rapidly, it means that the gyroscope is
under calibration. When the lights turn solid, the calibration is successful.
NOTE
• All drone gyroscopes have been calibrated when manufactured
• Gyroscope calibration is required if pilots find the drone cannot exit the
aircraft initialization detection procedure
• Do not power on the drone when calibrating the transmitter
DRONE INITIATION
After signal connection, the drone enters Initialization Detection Mode, and
the front and rear lights flash red, light green and green. Make sure the drone
is on a flat, still surface for this; it takes about 8 seconds. Once the front and
rear lights glow light green and flash, initialization detection is done and the
drone enters compass calibration.
FIGURE 6
FIGURE 5
FIGURE 7
Summary of Contents for F200C SPECTER
Page 23: ......


